Document Storage
Store files organised by Document Type and manage versions of those documents.
Store a New Document or an Updated Version
Create a new document using any editor you choose, saving the file to your local computer.
Select Administration > Setup > Documents > Document Storage. When the Documents window appears, click the New button in the toolbar.
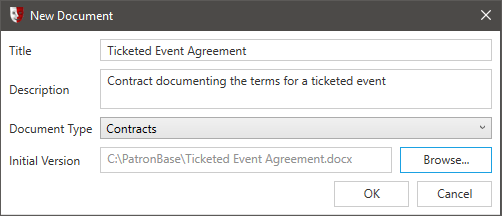
The New Document window appears and is used to identify the document you have already created and add it to the document storage in the cloud.
Provide a Title for the document. This is the identifier that will be used in PatronBase for the new document. Add a Description to provide additional information about the purpose and content of the document.
Select a Document Type. The options here will depend on what types have been created for your system. See Document Types for more information and to find out how to add and modify Document Types.
Select the document you created and saved to your computer by clicking the Browse button and using the file browser to locate and select the file.
Click OK when the window has been completely filled in.
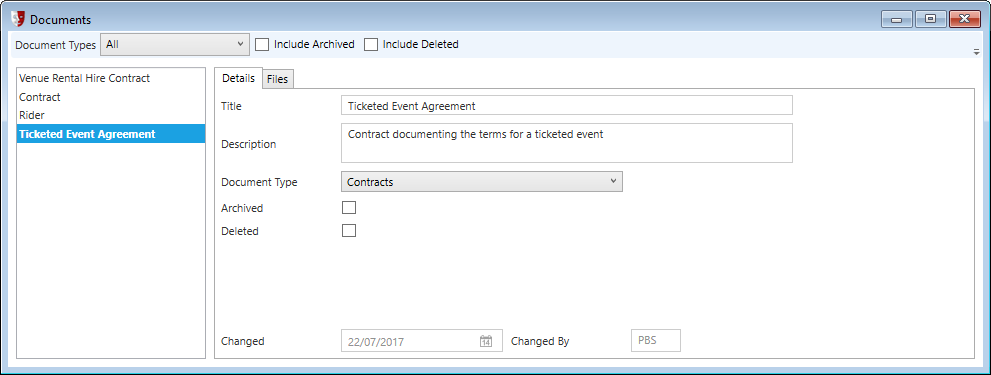
You will be returned to the Documents window, where you will see the new document has been added to the list at the left. Use the Document Types dropdown selection list to filter the list of files by type. You can also Include Archived and/or Include Deleted files in the list. By default these options are not selected, as it is presumed that archived and deleted documents are no longer active or of interest in the majority of situations.
In the Details tab for the selected file, you will see the Title, Description and Document Type provided for the selected document. Here you can flag the document as Archived and/or Deleted.
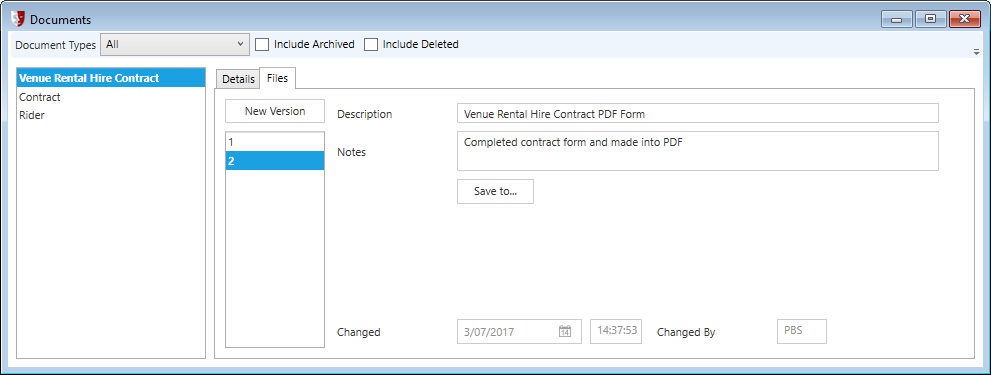
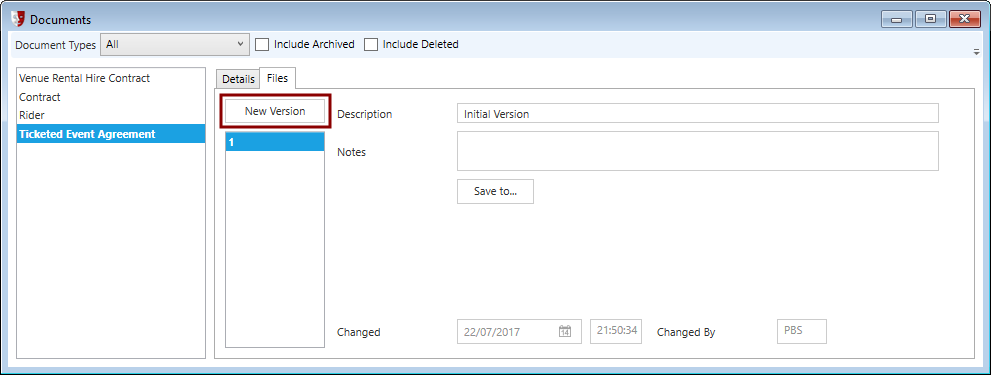
The Files tab is used to manage various versions of the selected file. A new version of a file can be added to become the latest version of the stored document by clicking the New Version button.
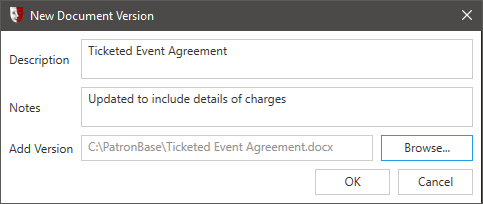
Just like when a new document is added, you select the new version by clicking the Browse button to located and select the file using a file explorer window. What is different is that instead of a Title and Description, this time you annotate the version with an updated Description and some additional Notes, which might be used for explaining what has changed since the last version of the document.
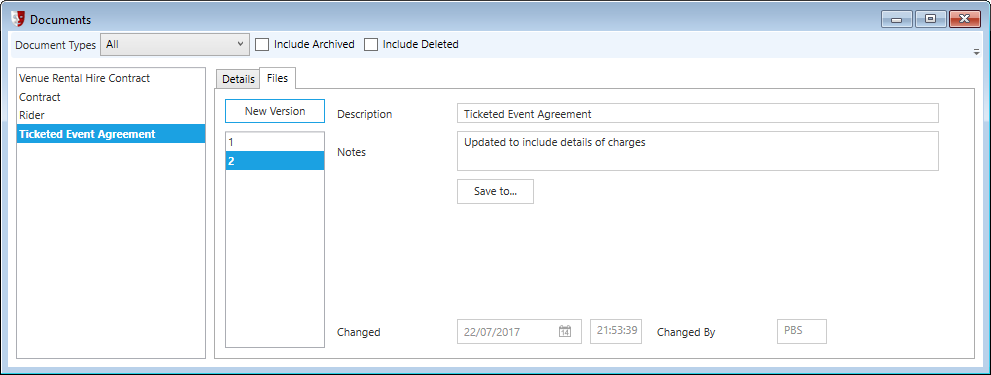
Once you click OK to accept the details for the new version, it will be added to the numbered version list under the New Version button. Select a version to see the Description and Notes for that specific version.
Save a File to Local PC
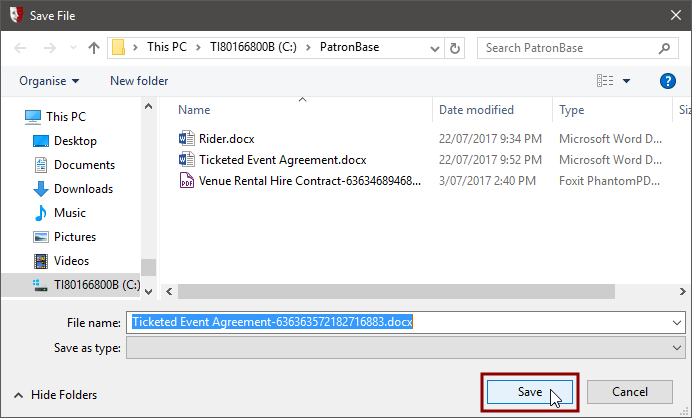
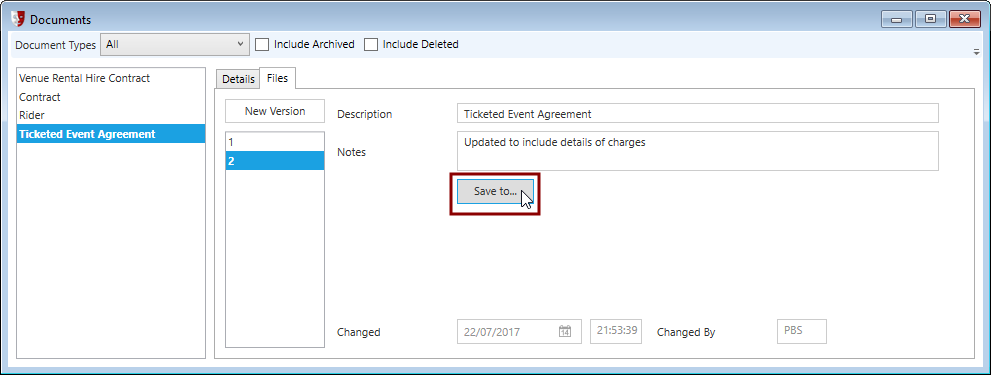
To extract a file from the cloud based Document Storage, select Administration > Setup > Documents > Document Storage then select the file you want. Select the Files tab, and select the version of the file you want. Click the Save to button.
A Save File dialog window will open. Navigate to the location on your PC you wish to store the file. The File name will default to the name of the file provided to the document storage system, with an additional unique number. You can choose to edit this file name before saving if you choose. Click the Save button to save the file to the selected location.