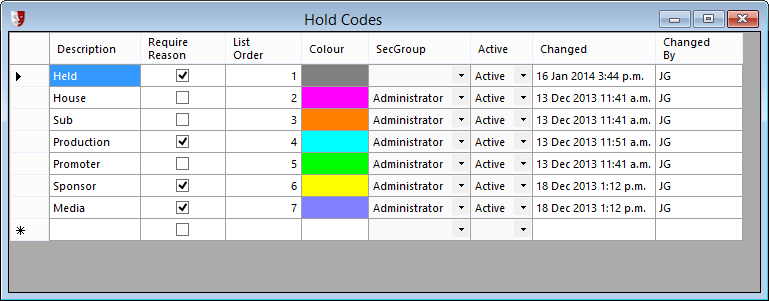
Hold Codes
There are a variety of reasons seats are held, and Hold Codes let you categorise the seats you put on hold according to those reasons. To edit Hold Codes you must have Edit Hold Code privileges on your account. See Group Functions to check or set this privilege for your security group.
You can have as many hold codes as you like, according to the reasons seats are held for the house.
A typical example might look like this:
Creating New Hold Codes
In Administration, open the Hold Codes window by selecting Setup > Organisation > Hold Codes from the menu. Here you can edit existing Hold Codes or create a new hold code.
To create a new hold code, click the New button in the toolbar. A series of windows will prompt you for values for each of the columns in the table.
Description
Enter a short descriptive label for the new hold code category. This appears in lists where you need to select from the available Hold Codes.
List Order
This lets you specify where in the list of codes you would like the new code to appear. Adjust the List Order numbers for other Hold Codes as necessary if you would like a new code to appear between existing codes.
By default, when defining a venue and a block of seats is created, they will be assigned the first code in the list as the Default Hold Code. For convenience, give the first position in the list to the hold code that will be suit the majority of seats. Subsequently, you will only need to select the seats that will be reserved for special reasons and assign alternate Hold Codes to them.
Colour
Select a colour chip that will represent the hold code in the Performance Graphic when the Hold Code filter is selected. You can select from the Basic colors available or click the Define Custom Colors >> button to make a custom colour selection.
Once the new hold code is created, you can then change other settings for the new code:
Require Reason
Tick the Require Reason checkbox if you want the box office operator to enter an explanatory message when they click the Hold button on the performance graphic. Note that a reason is not required when seats are held when productions are being created or season subscriptions are set up, even if this checkbox is ticked.
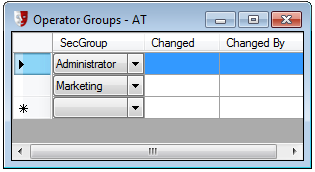
SecGroup
Select the group of users that can release seats using the hold code. The security group must have the Hold/Release seats function assigned to the group. If the security group you want to select does not appear in the list, see Operators
Operators need to be set up for several reasons. Individual transactions require that an operator be associated with them, for audit purposes. Operators also need to be identified for security purposes, so as to allow access to different parts of the system depending on what Group they are a member of and the privileges that have been assigned to that group(s).
At least one operator needs to be Setup initially.

Using the [New] button on the toolbar, to create a New Operator:
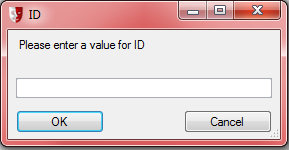
The 'ID' needs to be unique, in that each Operator requires a unique ID although their names could be the same. Usually the operator’s initials suffice.
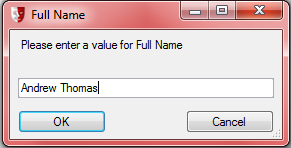
Then add their Full Name, and press [OK].
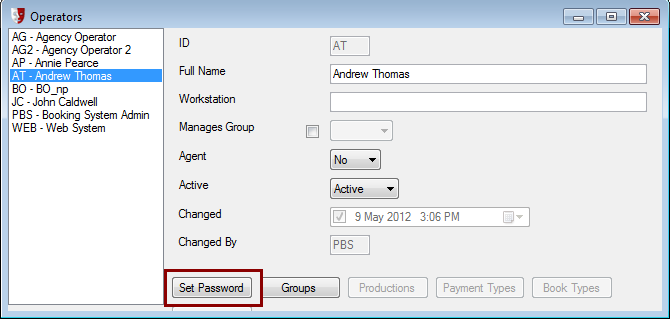
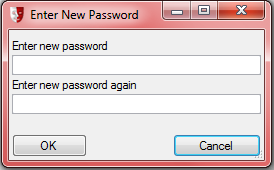
A 'Password' is required for all users. When it is typed in it will appear as a row of asterisks (******). The password is case-sensitive, which means that the same password but with a capital letter will be a different password as far as the system is concerned, so the user must remember what case is used.
The 'Workstation' field if filled in with a specific Machine name (as found in the Windows System attributes) will limit this Operator to only be able to login on that specific PC.
The 'Manages Group' field refers to any Membership Module group that is being managed by the system. When ticked the drop down will list all available Membership groups. An operator can only manage one Membership group at a time.

The 'Agent' Yes/No option refers to whether this Operator is accessing the system via the Agency Module, if set to Yes the [Agency] button becomes active:
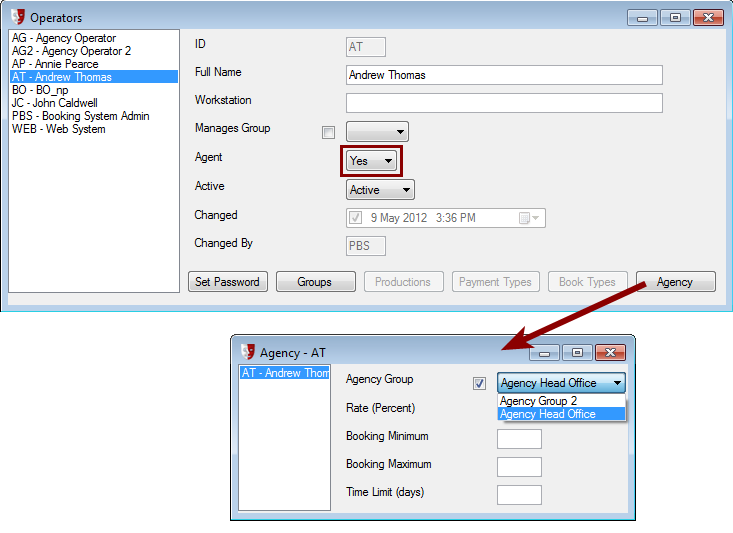
Select an Agency Group that this Operator is associated with, from the available list.
These groups are setup as below in Security>Agency Groups.
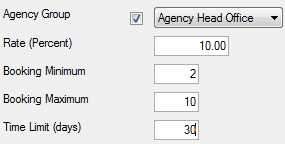
Once an Agency Group is selected, other constraints can be set, such as:
|
|
Percentage commission paid on Agency Sales Minimum number of tickets allowed to be sold Maximum number of tickets allowed to be sold How many days in advance of the performance that the Agent Operator can book tickets for |
The 'Groups' button displays and can edit, what Security Group(s) and therefore what sort of access that this Operator has to the system, see below
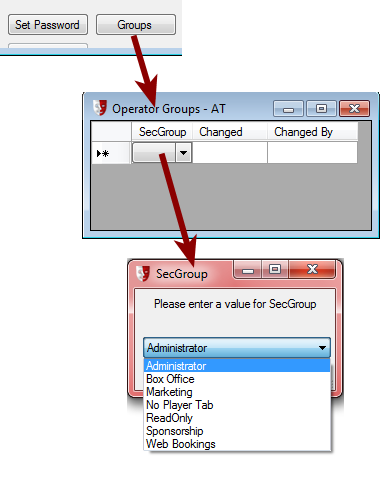
To delete a Security Group from an Operator, Highlight and use the [Delete] button on the toolbar; you will be asked to confirm that you want to delete the group.
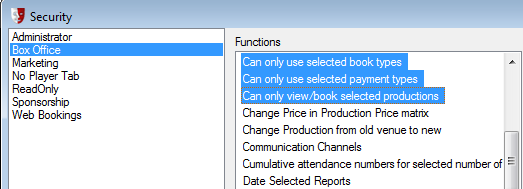
If any of the Security Groups that are associated with the Operator have Operator constraints then that restraint’s button will become active:
The Greyed Out buttons will become active once the associated Security privileges are activated for the Group that this Operator is a member of:

Security > Group Functions
|
|
Moved into the Read/Write list associated with that Security Group |
to add the Hold/Release seats privilege to that group.
Finally, click the Save button in the toolbar.
Removing Hold Codes
If a Hold Code is not already in use in the system, for instance if it has only just been created but is in fact not needed, then simply select the row by clicking somewhere in the row, then click the Delete button in the toolbar.
This will not work if the code is already in use in the system, however. You will see an error saying: "This item is still in use." To mark such a code as obsolete and no longer to be used, change the option in the Active column from Active to Inactive.