Listing Products for Sale
Products can be such items as programmes, vouchers, or merchandise. Products can also include services and fees, such as room rental and booking fees.
To add products to the system, select Setup > Sales > Products in Administration, then click the New button in the toolbar.
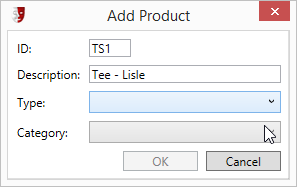
In the Add Product window, give the new item a unique ID code and a useful Description. Next, select the appropriate Type and Category from the dropdown lists.
The new product will be added to the Products list. In the Details tab on the right, fill in applicable information for the new product.
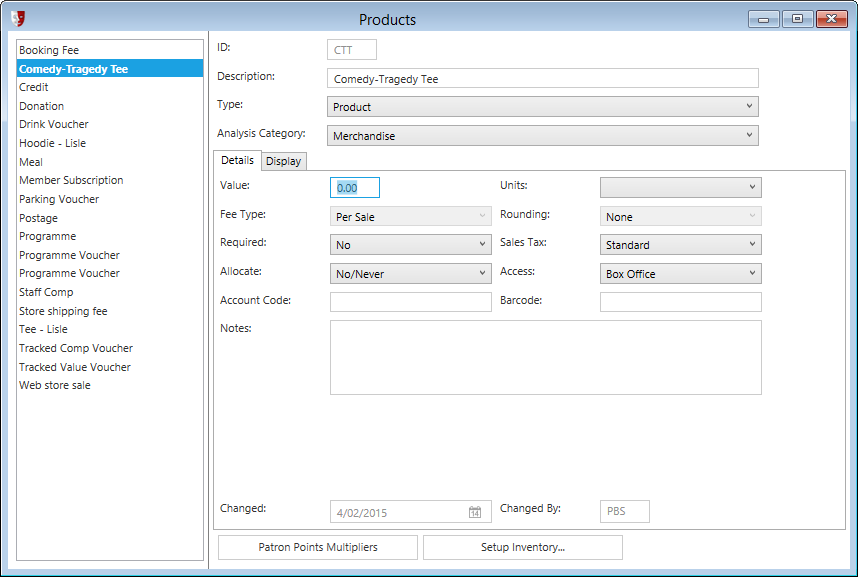
Identify the product in the Description field.
The Type field lets you identify the type of the product, allowing you to differentiate between products, services, fees, vouchers, and so on. The specific list of product types available is up to you, and can be configured in Administration by selecting Setup > System > Product Types.
The Analysis Category is a list of the product categories and sub-categories as defined in Setup > Sales > Product Categories.
Next, complete the Details tab for the new product.
Value is the sticker price for the product. Fill this in for vouchers, donations, services, or anything that is not Inventory managed. Prices for Inventory items will be specified elsewhere.
Units is a list of options identifying the units of sale. The options available can be configured in Administration by selecting Setup > Sales > Units of Measure.
Fee Type is relevant for product types that are fees, and the options are Per Sale or Percentage.
Rounding is usually fixed at None for most product types.
Required allows a fee to be levied for each sale, such as a booking fee. Select between No and Yes options.
Sales Tax permits selection between the various levels of sales tax available. Ensure that you have the appropriate options defined for your location in Administration under Setup > Sales > GST Rates. If different rates for GST or VAT are applicable for different types of products or services, make sure you have selected the correct sales tax rate for the product.
Allocate is used to indicate if the product is to be associated with a specific production. Products such as confectionery that are sold independently of productions would use the No/Never option. A programme, however, might be given the Required option, on the assumption that any programme sold will be related to one production or another. A product that requires a production selection will prompt the operator for the production to be selected from the list when the product is added to a sale. Or, the new product might be given the Optional option. which will not require the operator to make a selection from the production list, but will allow the operator to make this selection if they have the time.
Access allows the product to be available for purchase at All points of sale, or limited to Box Office or Web. Inactive can be used for obsolete products, and Restricted constrains the sale of products to operators with restricted access permissions.
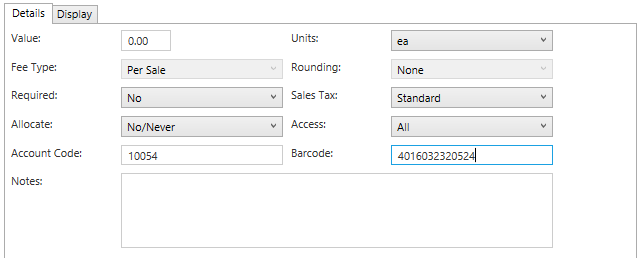
Account Code associates the product with the account code used within your accounting system.
Barcode contains the number that corresponds to the barcode on the product. This may be the barcode provided on the product by your supplier, or a barcode you are adding to the product. You can either enter the barcode number manually, or while the text entry cursor is inside the Barcode field, scan an exemplar barcode and the field will be automatically completed. Fill this in for any product that is not Inventory managed. Barcodes for Inventory items will be specified elsewhere.
Notes is a place for you to make any additional notes or comment about the product that might be useful to someone making changes to the product details in the future.
Next, check out the Display tab.
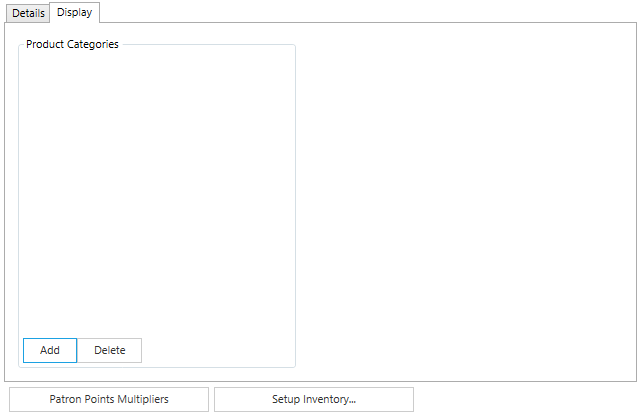
Although we have already made a selection for the Analysis Category above, here we can list multiple Product Categories for the product. This may make it easier to find the product in QuickPOS. Imagine Walker’s Crisps are sold at both the candy concession stand and in the lounge bar. It would be awkward for lounge bar staff to have to repeatedly navigate to the Snack Bar category every time someone wanted a packet of chips with their pint. By also putting the product in the Alcohol and Bar product category, staff will easily be able to add the product to the patron’s bill.
 There is some redundancy here between the Product Categories list and the Category field above the tabs. This will be resolved as the Inventory system is refined.
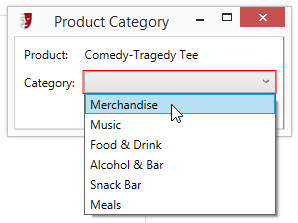
For each product category we want to add, we will click the Add button at the bottom of the Product Categories list. Select an option from the Category drop-down list.
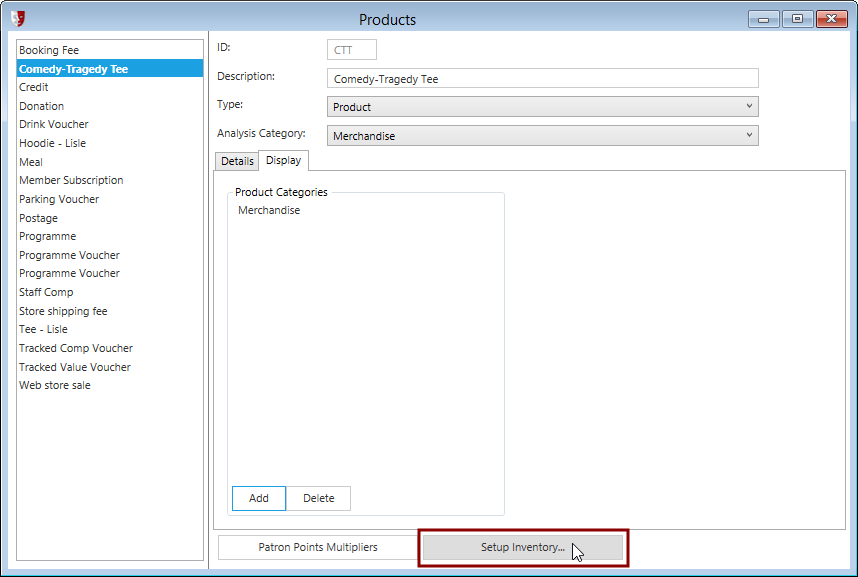
For many products, the task of defining the product is now complete. If a product is to be managed by Inventory, some further details are necessary. In this case, click the Setup Inventory button at the bottom of the screen.
A series of new tabs will be added to the product details.
The first tab is the Inventory Detail tab.
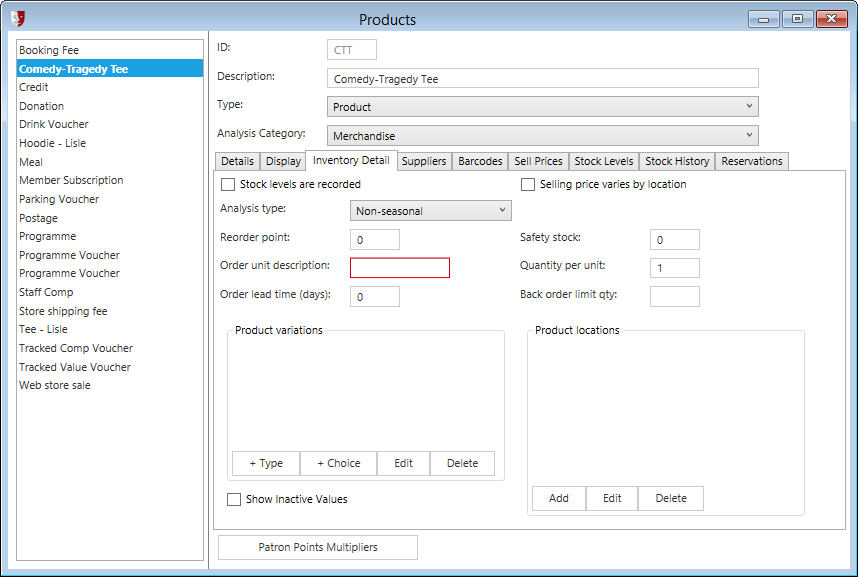
Stock levels are recorded is a checkbox to tell Inventory if it should track quantities of the product.
Selling price varies by location is ticked if the same product carries a different sell price at different sales points.
Analysis type allows selection from the options specified in Administration at Setup > Inventory > Financial Types. This may be useful for financial reporting breakdowns.
Reorder point is the quantity at which an order is triggered to restock the product. This should be the Safety stock plus the quantity that is likely to sell during the Order lead time. Initially, this may need to be a guess, but the number can be refined over time when the rate of sales can be determined.
Safety stock is the minimum acceptable quantity for an item. This will normally be set at a level to ensure that no sales are lost because of zero stock, even if sales are somewhat stronger than normal during the Order lead time. Again, initially this may need to be a guess, but a statistical analysis of historic sales can help determine a suitable value.
Order unit description describes the units used when ordering a product. It may be sold at retail as single units, but it may be ordered from a supplier by the carton, crate, box, barrel, or some other aggregation. Enter the description of the order unit.
Quantity per unit specifies how many product units are in an order unit. If t-shirts are ordered by the carton, and a carton of t-shirts contains 20 individual t-shirts, the Quantity per unit would be 20.
Order lead time (days) identifies how long it will take a new order to be received. Initially you can use service claims provided by your suppliers, but historical data can be used for greater accuracy.
Back order limit qty can be used to constrain repeat orders from being issued when existing orders are still pending.
Below these settings is found the Product variations box. Here we specify different variations found in the product. This is useful for products that come in different sizes or colours.
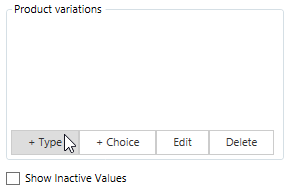
Click the Type button to add a new variation type. When the Product Variation Type window appears, enter a description for the variation in the Variation field.

If each variant can have a different price, tick the box Selling price varies for each variation value.
If the variation relates to a measure of quantity, for example when beer is sold by the pint and by the 12oz glass, tick the box This variation is a measure of quantity.
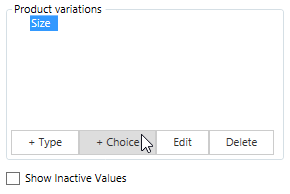
Click OK, then make sure the newly added product variation is selected in the list. To specify the different variants available for the new product variation type, click the Choice button.
When the Product Variation Choice window appears, enter a description for the choice in the Description field, and a short reference code in the Code field.
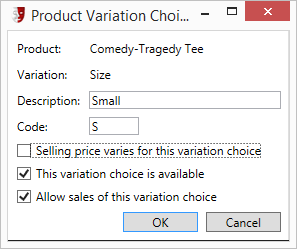
Tick the box Selling price varies for this variation choice if this choice will be sold at a different price from other choices.
Tick the box This variation choice is available if the item is still stocked or available from suppliers.
Tick the box Allow sales of this variation choice to make the item available for purchase at the various points of sale.
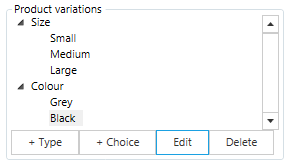
Click OK to complete the definition of the variation choice, and repeat the process for each choice available in this variation type.
If there is another type of variation available for the product, it can also have its Type and Choice options added to the list.
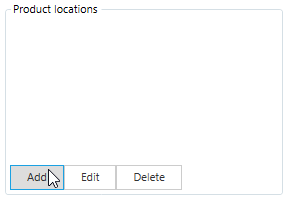
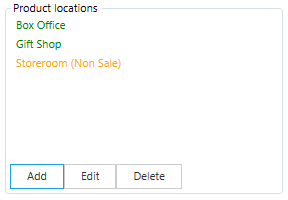
Next to the Product variations box is the Product locations box. This is where all the stockpoints are listed for the product. To add a new stockpoint location, click the Add button.
When the Product Location window appears, select a stockpoint from the Location list. This list of locations is defined in Administration by selecting Setup > Inventory > Locations.

Tick the Allow sales from this location if the stockpoint is also a point of sale. If the product location is a storage facility, this would be unticked.
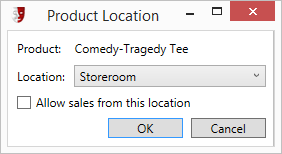
Click OK and repeat to add more Product locations to the list.
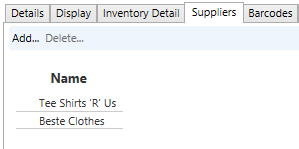
The Suppliers tab is the next tab for the product details. For each supplier of the product, click the Add... button and select a supplier from the list.
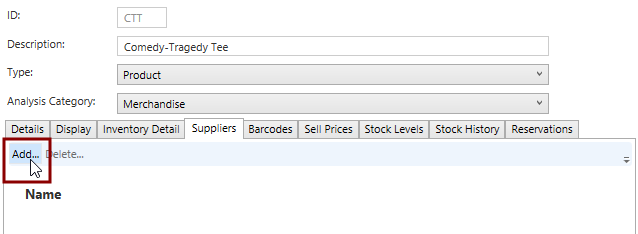
The suppliers list you select from is created in Administration by selecting Setup > Inventory > Suppliers.
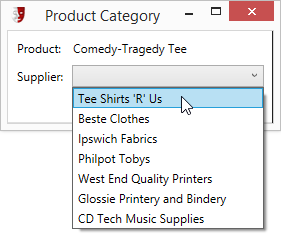
List each of the suppliers for the product you are detailing.
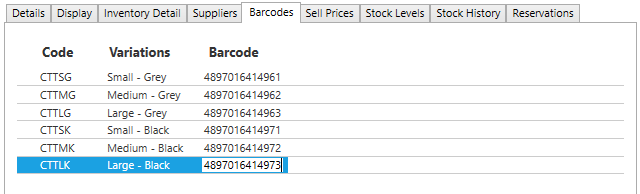
Next, select the Barcodes tab and specify a barcode number for each of the product variants. This will allow the product to be scanned and identified using a barcode reader at points of sale.
Click in the cell below the Barcode column header in the table, next to the item in the Variations list you are going to identify. This cell will contain the number that corresponds to the barcode on the product. This may be the barcode provided on the product by your supplier, or a barcode you are adding to the product. You can either enter the barcode number manually, or while the text entry cursor is inside the Barcode field, scan an exemplar barcode and the field will be automatically completed.
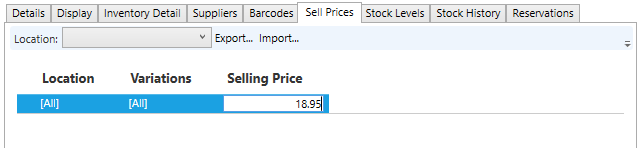
The Sell Prices tab is where you detail the prices for a product managed in Inventory.
If you have earlier identified that product variation types and choices are sold at different prices, then there will be a matrix of variations that need to have the price for each specified.
If you have earlier identified that a product is sold at different prices in different locations, you will need to fill out prices for each location identified in the Location field above the table.
For each variation listed in the Sell Prices table(s), enter the Selling Price for the variation and location. Here is a simple example showing what the table will look like if all locations and variations are sold at the same price:
To learn about the other tabs in the Products window, see the help section Maintaining Inventory Records.
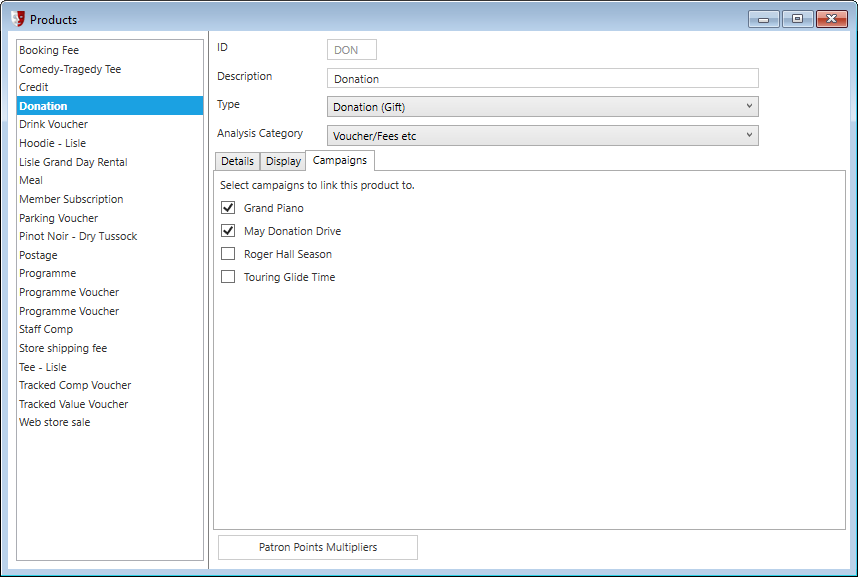
Campaigns for Donation Products
The Campaigns tab is intended for use with products that are set up as a donation product Type. The Campaigns are defined in PatronBase Fundraising and selecting particular campaigns as relevant to specific donation products means that when donations are secured by someone using Fundraising, Fundraising is able to create a sale of the appropriate donation product for completion in PatronBase Box Office.
Select the campaigns that should be associated with the donation product. Different donation products may be associated with different campaigns.