Grouping Patrons
The concept of grouping patrons is a key idea in the Marketing module. You can define as many patron Groups as you like, using characteristics of your patrons that you deem relevant or important. You could, for instance, create School and Media groups. You then collect information about your patrons and include them in applicable groups, adding drama and dance teachers to your School group, and press reviewers to your Media group. Later, you will be able to query the PatronBase database to select patrons that have been identified with these groups. See Mining the Patron Database for more information.
Understanding Internal Groups
Besides the groups you can create yourself, there are a number of internal groups in the PatronBase system. Patrons get added to these groups by the system based upon your touchpoints with these patrons.
The internal groups are:
- Advance Booking Period. Patrons can be identified by how far in advance of a performance they bought tickets.
- Book Type. Patrons can be selected based on the price level or book type of tickets bought.
- Brochure Group. Patrons can be identified by the number of brochures left with them.
- Donor. When a patron makes a donation in a sale, they are added to this group.
- New Patron. Patrons can be found based on when they were added to the database, by date or production.
- Patron Attributes. Patrons can be selected based upon custom attributes you specify.
- Patron Category. Based on the selected category for a patron in their contact details. Patron Category is a customisable list. See Categories in Setting Up Patrons for more information.
- Patron Gender. Identify patrons based upon their gender, or identify companies. People can also be identified by their year of birth or selected using a birth date range.
- Patron Type. Based on the selected type for a patron in their contact details. Patron Type is a customisable list. See Patron Types in Setting Up Patrons for more information.
- PatronPoints. Supporting an optional loyalty programme, if activated.
- Payment Type. Who has used one or more of a range of Payment Types during a period.
- Performance. Patrons can be identified that attended one or more selected performances.
- Post Code. Patrons can be identified by their post code or from within a range of post codes.
- Product. Patrons can be selected from those who have bought items from the range of products on sale.
- Production. Patrons can be identified that attended one or more selected productions.
- Season. If the optional Subscription module is active, patrons that subscribe to a season are automatically added to this group.
- Sponsor. Patrons marked as a sponsor in the Marketing module will be automatically added to this group.
- TopN. List the top number of patrons by either value or by ticket count.
Additionally, if the optional Members module is in use, each Member Group a patron can be subscribed to will also be an internal group that can be queried.
Creating Patron Groups
To create a custom Patron Group, select Maintenance > Groups from the Marketing menu.

When the Groups window appears, click the New button in the toolbar, or click in the Group Name field in the table next to the *.

Type in the Group Name for the new group, then select the type of the group from the list of Member options.
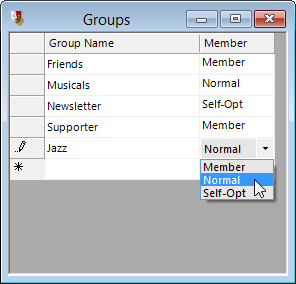
The Member options are:
- Member. The group will be a Member Group that patrons can subscribe to.
- Normal. The group can have patrons added to it using the methods described in Adding Patrons to a Group.
- Self-Opt. You can add patrons to the group using the methods described in Adding Patrons to a Group, and patrons can add themselves to the group when they edit their personal details on the Web module.
Deleting Patron Groups
From the Groups window, select the Group Name of the group you want to delete. Click the Delete button in the toolbar. The group will be removed from the list of groups. There is still one step required to preserve this change. Click the Save button in the toolbar, or click the x close window button. If there are currently no patrons in the group, it will be deleted.
However, if there are patrons in the group, a warning message will be displayed:

Click Cancel if you would rather not delete the group; maybe build a query and see which patrons are in the group first. Click OK to delete the group, even though it had patrons in it. Any patrons that were in that group will not be deleted, but their association with the group being removed will disappear.
Adding Patrons to a Group
By collecting information on patrons and adding them to relevant groups, you prepare your database with information to query later.
Identifying a Patron With a Group
Find a patron, and in the Patron window, select the Groups tab.
Tick checkboxes next to any groups you want the patron to be part of.
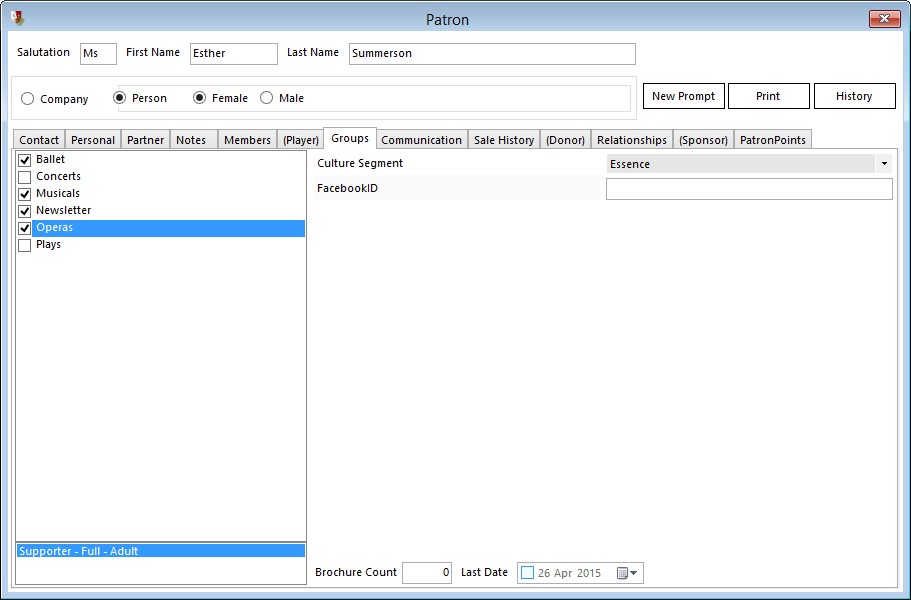
If you want to add groups to this list, see Creating Patron Groups.
Populating a Group Using a Query
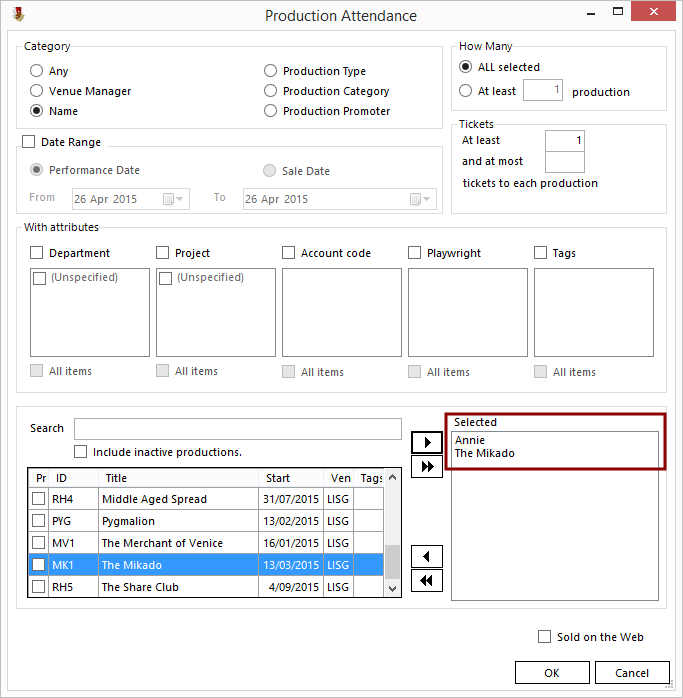
A more advanced and powerful way of adding people to a group is by using a query. To learn how to build a query, see Mining the Patron Database. Let’s say you want to create a group of patrons who enjoy musicals. You might build a query that identifies all patrons who attended performances in both of two recent productions, Annie and The Mikado. Being quite different shows, it is likely that patrons who attended both productions have a liking for musicals.
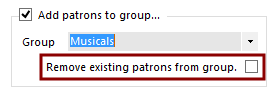
At the bottom of the Query window, you will find a box with a checkbox Add patrons to group... To associate all patrons found by the query who attended the two productions with a Musicals group, tick the Add patrons to group... box then select the group from the options in the Group list. If the group is not yet in the list, add the group first, as described in Creating Patron Groups.
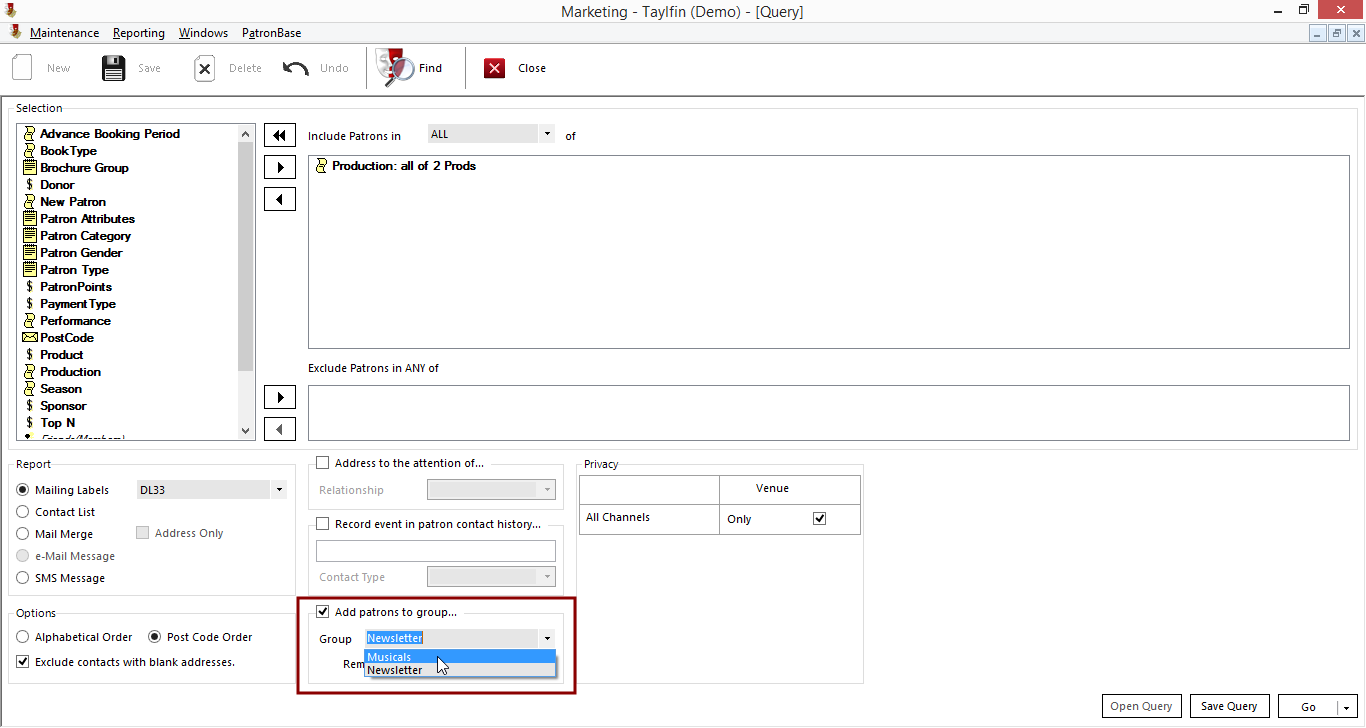
Additionally, you have the option of ticking a box Remove existing patrons from group. Select this if you want only the patrons identified by your new query to be members of the group. If you would rather add the patrons found by the query to those already in the group, leave it unticked.
Click Go and the query will be executed, automatically adding this list of patrons to the group you chose.