Configure QuickPOS
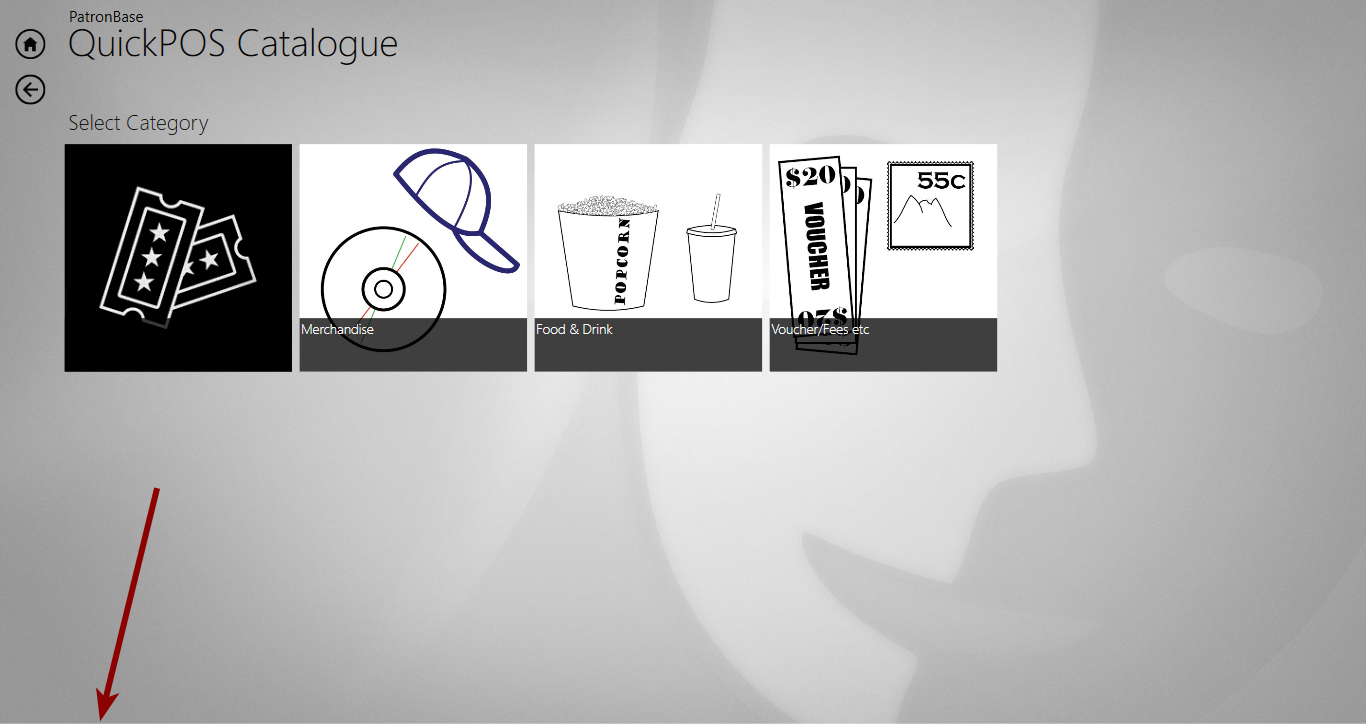
To access QuickPOS Options, swipe up from the bottom of the screen or move the mouse to the white stripe at the bottom of the screen.
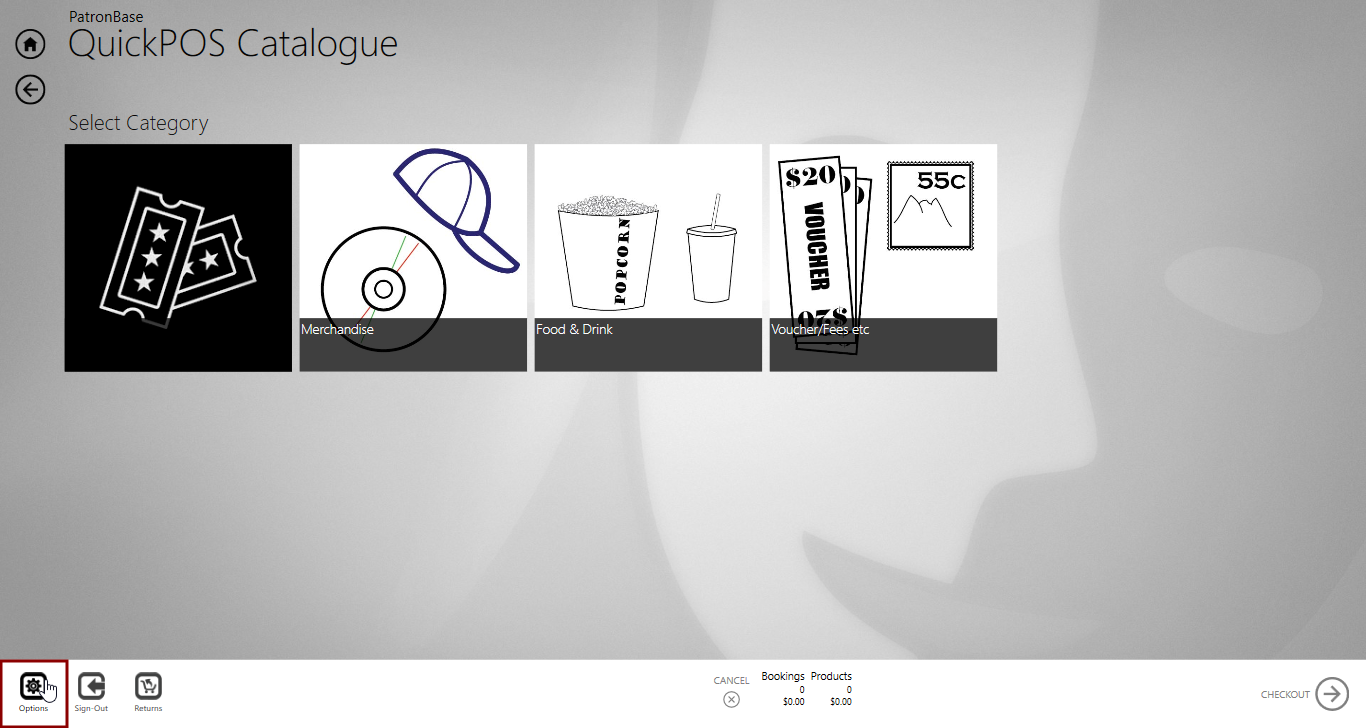
A toolbar will appear, with icon buttons. Click the Options icon.
The Options window will open.
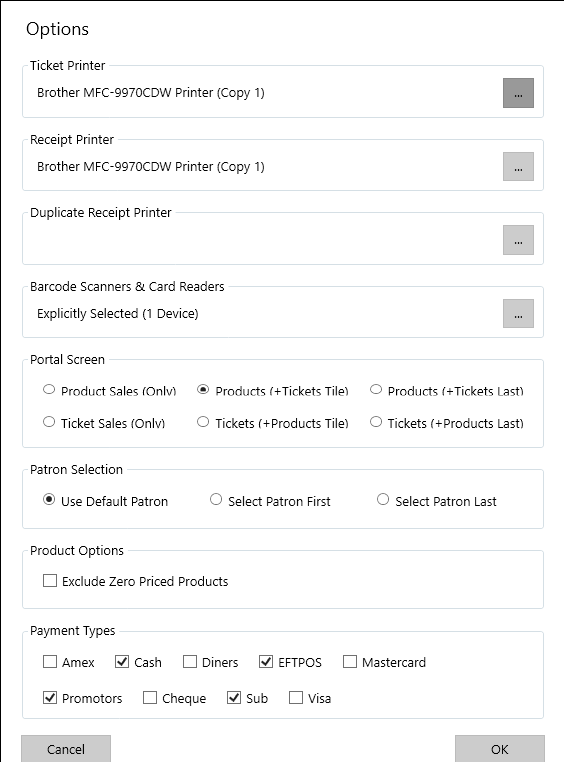
Select the Ticket Printer and Receipt Printer to use at the point-of-sale terminal. A Duplicate Receipt Printer can also be specified. As an example where a duplicate printer may be useful, it could print dockets in the kitchen so orders can be prepared.
The Portal Screen options select which items are available from the tiles on the point of sale. The options are:
- Product Sales (Only). Product sales tiles will appear on the main screen, one for each product category
- Ticket Sales (Only). A ticket tile will appear on the main screen
- Products (+ Tickets Tile). A ticket tile will appear on the main screen, followed by tiles for each product category.
- Products (+ Tickets Last). Product sales tiles will appear on the main screen, followed by a ticket tile.
- Tickets (+Products Tile). A tile to access the product catalogue appears on the main screen, followed by tiles for each production.
- Tickets (+ Products Last). Production tiles appear on the main screen, followed by a tile to access the product catalogue.
The Patron Selection options define how a purchase is associated with a patron. The options are:
- Use Default Patron. There is no step in the sales process that provides for collecting patron details.
- Select Patron First. Identification of the patron is the first step in the sales process.
- Select Patron Last. Identification of the patron is the last step in the sales process.
Product Options has the checkbox Exclude Zero Priced Products. Untick this if free products are tracked through the QuickPOS system, such as free coffees provided to members. Tick it if no zero-priced products should be seen on QuickPOS.
Tick each of the Payment Types that can be accepted at the point-of-sale terminal.
Barcode Scanners & Card Readers are automatically detected by default. If it is necessary to make custom configurations, click the ... button.

You might choose the Disabled (No Scanning) option, but more likely you will be wanting to manually select the barcode scanner and card reader. Choose Explicitly Selected and then tick the barcode scanner and card reader from the list of devices on the right.
To preserve the settings you select for all terminal users, tick the Set as the default for all logins. If the checkbox is not available, quit QuickPOS and restart it, this time by right-clicking and selecting Run as administrator.
Configure Info Buttons on Tiles
A small blue info icon will appear on tiles that have notes attached to them. This can be used to provide operators with extra information about the product for sale. One use is to record cocktail recipes as a reminder to inexperienced bartenders. To create an info icon for a product, add a Note when defining or editing the product. See Listing Products For Sale in Admin > Setup > Sales > Products.
