Setting Up Venue Manager
Creating Venue Groups
Before setting up venues, Venue Groups need to be defined. Venue Groups allow a collection of spaces to be treated together in various views and to be used for disruption factors in bookings.
In Venue Manager, select Settings > Venue > Venue Groups.
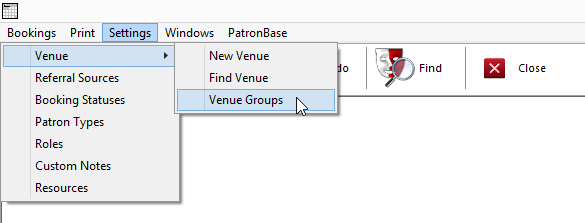
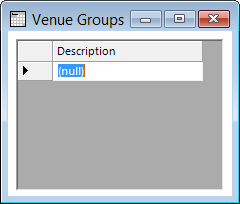
To add a new Venue Group, click in the blank last row of the table, and it will change to (null), as shown here. Next, replace (null) with your new venue group Description.
Once you have entered your new venue group Description, click the Save button in the toolbar. To close the window, click Close in the toolbar.

Creating a New Venue
Venues are of key importance in Venue Manager! A venue may be an auditorium or room, an area within your complex, or it may be some other location such as a sports field or court.
A venue may be used for productions or events that attract patrons who pay for a ticket to attend. Ticketable venues like this are first set up in Administration. See Creating a Ticketable Venue in Administration below.
Otherwise, a venue may be booked for a single fee or reserved for use without a fee being charged. Non-ticketable venues like this can be set up in Administration, but can also be set up in Venue Manager. See Creating a Non-Ticketable Venue In Venue Manager.
There are other things that are not venues that you may wish to treat like a venue. You could create a Venue Group of Vehicles and define each of your company’s vehicles as a Venue. Then staff could reserve vehicles when they require them, and vehicle availability can be seen in the Day View, Time Line, or Calendar. The more typical setup is to define non-venue bookable items as Resources and add these to Venue bookings.
Creating a Ticketable Venue in Administration
You do not have to create venues in Venue Manager. In fact, if it is possible that the venue may be used for productions that will have tickets sold, it will be necessary to create the venue in Administration. To see how to create a venue in Administration, see Defining a Venue.
Once the venue has been created in Administration, you may want to assign it to a venue group (see Creating Venue Groups above). In Venue Manager, select Settings > Venue > Find Venue and select the venue you created in Administration.
In the Venue window, select the Group the venue should belong to.
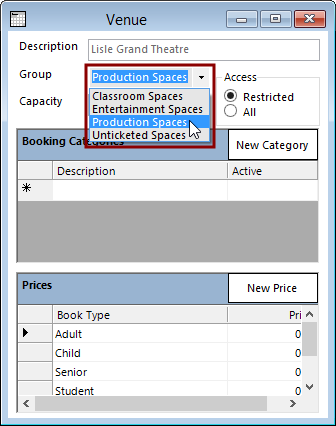
You can also select Booking Categories for the venue.
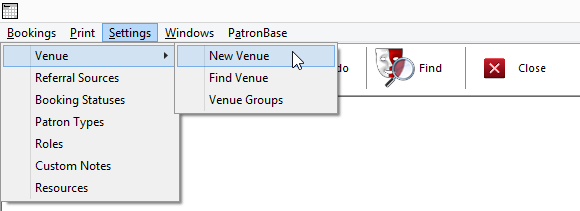
Creating a Non-Ticketable Venue In Venue Manager
 If the space is also going to be used for ticketed events, create the venue using Administration instead of Venue Manager. It will still be available for unticketed bookings from within Venue Manager.
In Venue Manager, click Settings > Venue > New Venue.
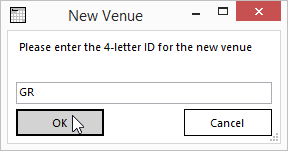
In the New Venue window, provide an ID code for the venue. It must be one to four characters long, and can contain letters and numbers. Select OK to continue.
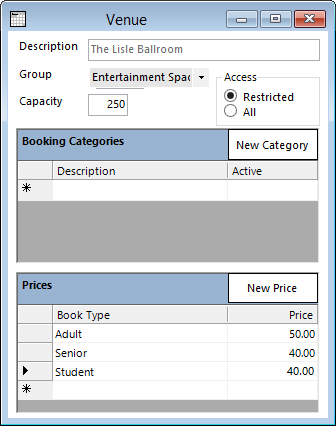
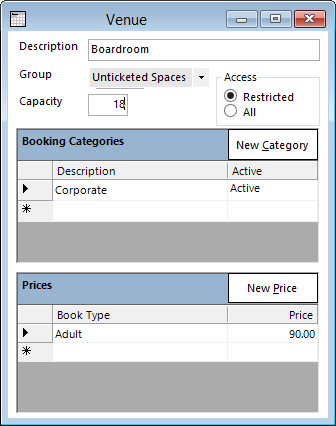
The Venue window will appear. Put an identifying name for the venue in the Description.
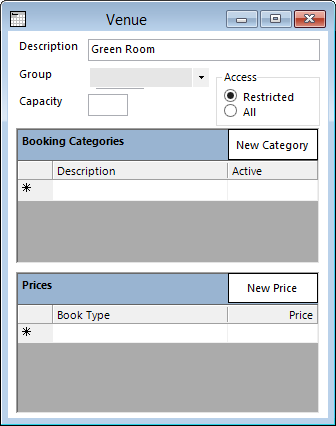
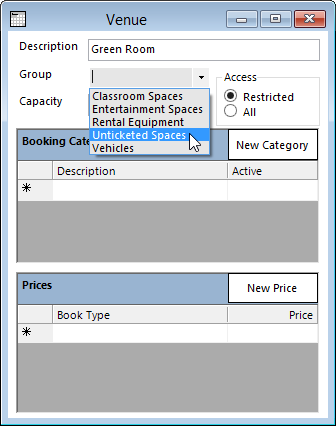
Select a Venue Group from the options available in the Group list. This is a customisable list. For more details see Creating Venue Groups above.
Set the Capacity to the number of people the room is suited for or is legally restricted to.
In the Access box, choose from the options Restricted or All.
- If you select All, then all operators will be able to view and edit bookings for this new venue.
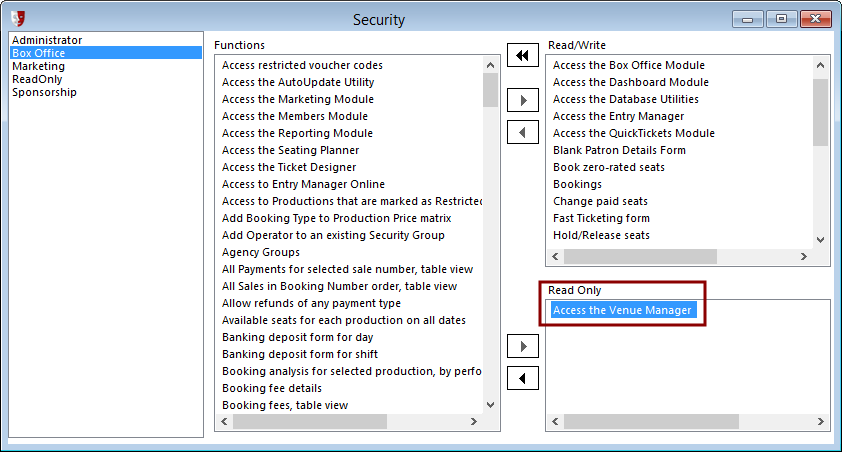
- If you select Restricted, only operators who have been granted access permission to Restricted venues will be able to manage the new venue. This is controlled from Administration > Security > Group Functions.
- Operators with the function Access the Venue Manager selected as Read Only will be able to view bookings for Restricted venues, but cannot make or edit them.
- Operators with the function Access the Venue Manager select as Read/Write will be able to view, create, and edit bookings for Restricted venues.
Next, you can set Booking Categories. A booking category will appear as a pre-defined selectable option for the Title of a new booking. Frequently used booking descriptions can be entered as a Booking Category to save time and effort. Select the New Category button.
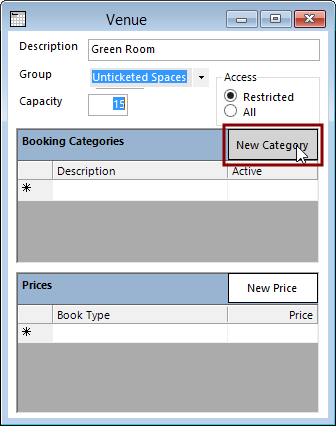
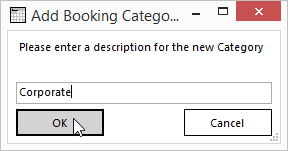
In the Add Booking Category window, provide a description for the new booking category.
If the venue is going to be hired out according to the number of attendees, set Prices for each relevant Book Type. Click New Price to add a Book Type.
If the venue is going to be hired out for a flat fee or by the hour, leave Prices blank and instead create a Product called Room Hire or similar. See Listing Products For Sale in Setting Up Sales for more information.
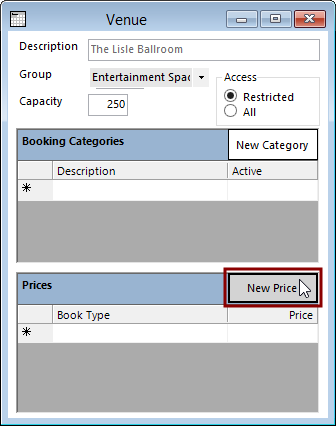
If you selected New Price, when the Add Price window appears, select the Book Type to add to the list.
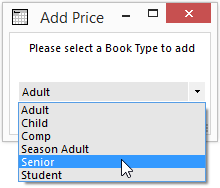
For each of the Book Types you have added to the Prices list, specify a price per head. Note that these are not necessarily ticket prices. The booking may be made on behalf of a group, but the fee charged is according to the number of guests that will be attending.
Editing a Venue’s Details
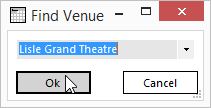
To select a venue and edit its details, select Settings > Venue > Find Venue.
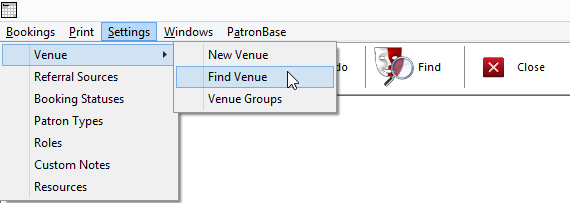
In the Find Venue window, select the venue you would like to edit.

The Venue window will appear. Here you can change the Description, Group, Capacity, Access, Booking Categories, and Prices. Some more information on these settings is available in Creating a New Venue above.
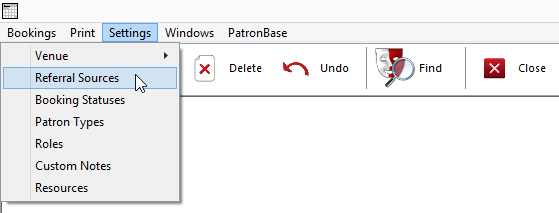
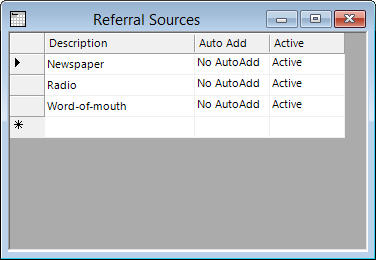
Adding Referral Sources
When booking a venue for a patron, it is a good idea to collect some information about the patron that can be used later for marketing purposes. One example provided on the booking form is the Referral Source field. Here you can identify how the patron came to learn of the venue rental options. It is a good idea to initially set up some of the likely Referral Sources that will be mentioned to save doing it later when making the bookings. Besides Word-of-Mouth, you might include various promotional mediums being used, such as Yellow Pages, Radio Advertising, etc.
Select Settings > Referral Sources.
In the Referral Sources window, click the New button in the toolbar.
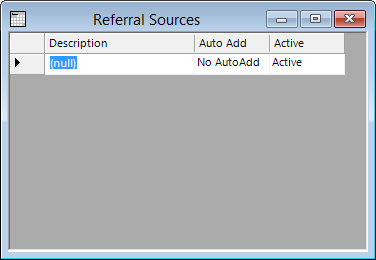
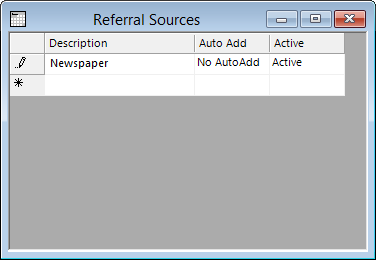
Replace the (null) that appears in the table with a Description for the new Referral Source.
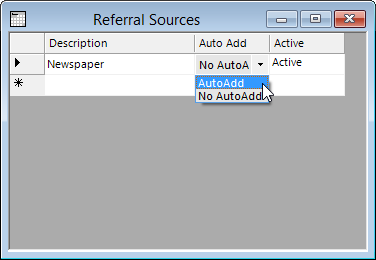
Auto Add provides the options AutoAdd and No AutoAdd. AutoAdd will set that Description as an option to a booking. No AutoAdd requires selection of the option.
Continue adding anticipated Referral Sources to the list.
Defining Booking Statuses
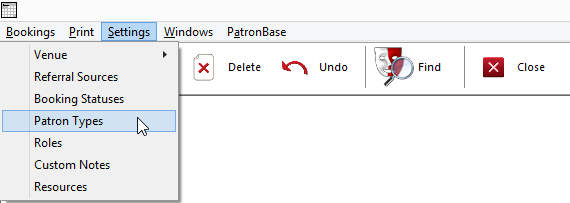
Venue bookings can be moved through various customisable statuses. You might choose to only have one status such as Booked, but usually two or more statuses will be needed, to distinguish between enquiries checking on availability, confirmed bookings, and perhaps even pre-paid bookings. To specify the Booking Statuses meaningful to your organisation, select Settings > Booking Statuses.
In the Booking Statuses window, you may have some existing statuses listed.
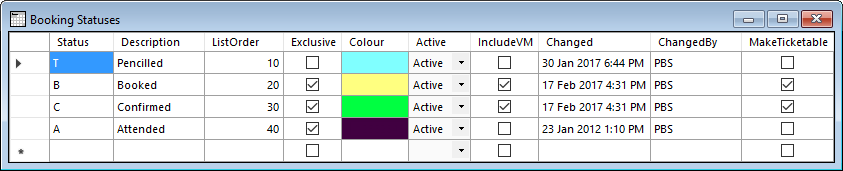
You can delete an unwanted one by selecting the row and clicking the Delete button in the toolbar. If it has already been used and cannot be deleted, set the Active field to Inactive instead.
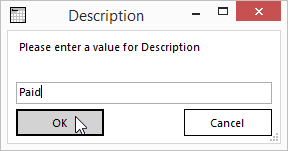
To add a new status, select the New button from the toolbar. The Status window will prompt you for a short code to use for the Status.
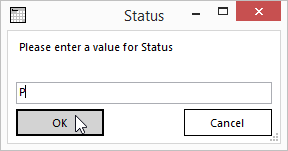
You then have the opportunity to provide a Description for the Status.
The new Status will be added to the list. Enter a number for the ListOrder that is between the ListOrder numbers of the two statuses you want the new status to appear between. Here, 35 has been entered with the intention of placing the new status between Confirmed (30) and Attended (40).
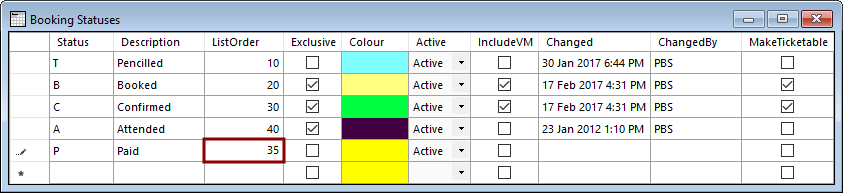
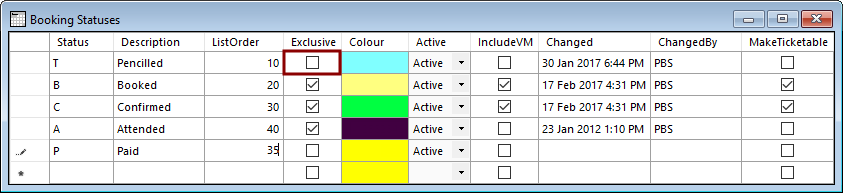
Exclusive is a checkbox that is ticked when a status is to prevent any other bookings at the same time. Note that Pencilled has the Exclusive box unticked. This is so that multiple coincident or overlapping bookings can be tentatively scheduled, perhaps to record interest from multiple patrons. However, at some point just one of the bookings can be confirmed, so the other statuses had the Exclusive box ticked. No other booking for the same time can be made for the venue when an Exclusive status has been selected. The new Paid status below will need to have the Exclusive box ticked.
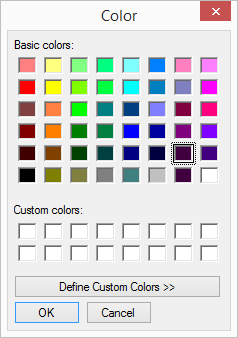
You can change the colour representing the Booking Status on the Day View, Time Line, and Calendar views. Click on the colour chip you want to change. The Color selection window appears. Select a new colour and click OK.
Venue Manager lets you specify if events with a particular status should appear in the What's On view in Box Office, including for non-ticketed events. Operators in your box office need this information at hand to answer enquiries from attendees of unticketed events who want to know where to find their hired room.
When editing Booking Statuses, tick the IncludeVM box next to any status you want to appear in the What's On view in Box Office.
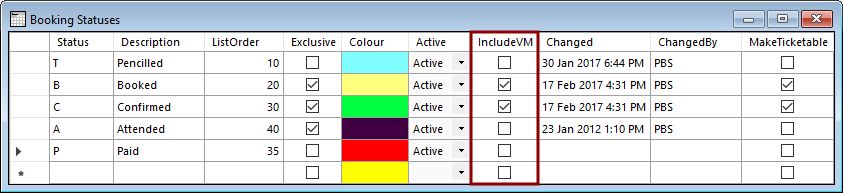
An event with any status that has IncludeVM ticked will appear in Box Office:

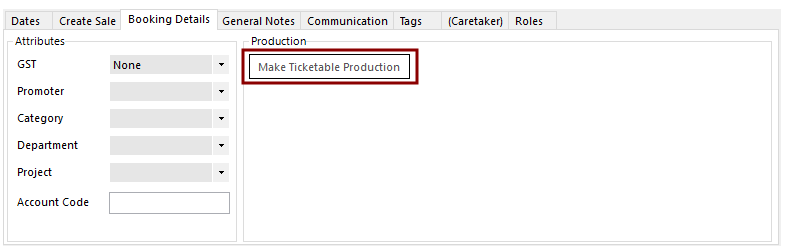
Each status can also have the MakeTicketable field ticked.
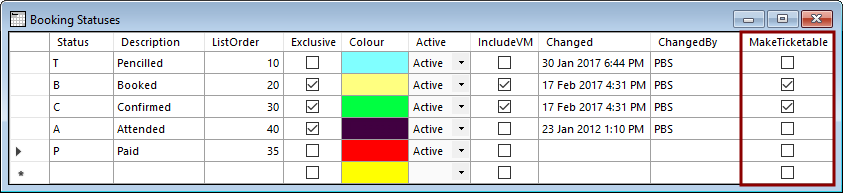
While a booking is in a status where MakeTicketable is unticked, the Make Ticketable Production button on the Booking Details form will be unavailable. Only when the booking is changed to a status with MakeTicketable ticked will the button be accessible.
Defining Patron Types
Patron Types are usually set up in Administration. It may be necessary to add some Patron Types for use specifically in managing venues, so for convenience, the Patron Types window is also accessible in Venue Manager.
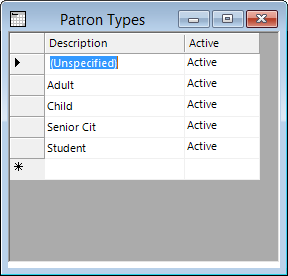
Select Settings > Patron Types.
The Patron Types window will appear. To add a new patron type, click the New button in the toolbar.
For more detail, see Patron Types in Setting Up Patrons.
Defining Roles
Some organisations require that venue support roles are staffed by venue personnel. Such roles might include ushers, fire safety wardens, cleaners, lighting and sound engineers, and so on. Other organisations will allow venue hirers to provide their own people to fulfil these roles. To document specific people who have been assigned these responsibilities, bookings can list people and their assigned roles. For more information, see Specifying Role Assignments.
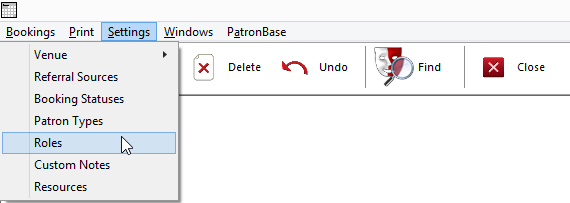
Identify the roles that need to be fulfilled in Settings > Roles.
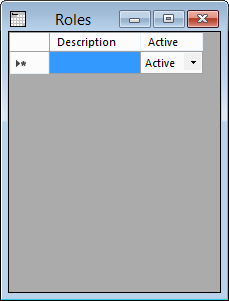
When the Roles window appears, click the New button in the toolbar to add a new role.
You will be prompted for a Description for the role.
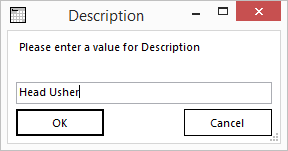
When you click OK, the role will be added to the list in the Roles window.
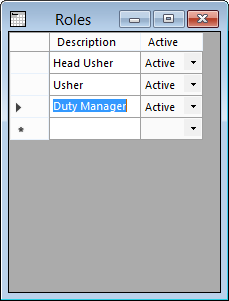
You can delete a role that has not been used in the system by selecting it and clicking Delete in the toolbar. If the role has been used previously, change the Active state to Inactive instead.
Creating Custom Notes
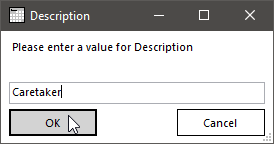
Custom Notes are in addition to the Public Notes and Internal Notes found in the General Notes tab of a booking. Creating a Custom Note will add a new tab that has the Description you provide. For example, one PatronBase organisation has created a Caretaker custom note tab, and instructions for the caretaker to prepare the venue for the booking are detailed in this tab.
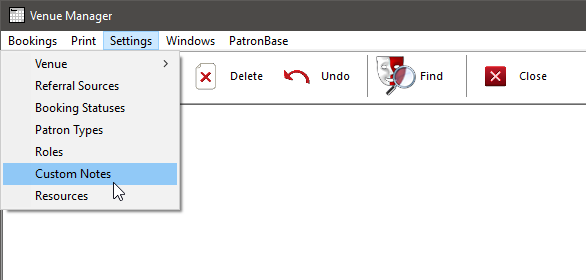
Select Settings > Custom Notes.
If a booking already has an entry in a custom note tab, you will not be able to delete it by selecting the custom note and clicking Delete in the toolbar. Instead, from the Active field options, choose Inactive.
To add a new Custom Note tab to the booking window, click the New button in the toolbar.
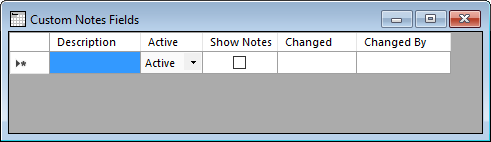
You will be prompted for a Description, which will be the title of the new Custom Notes tab.
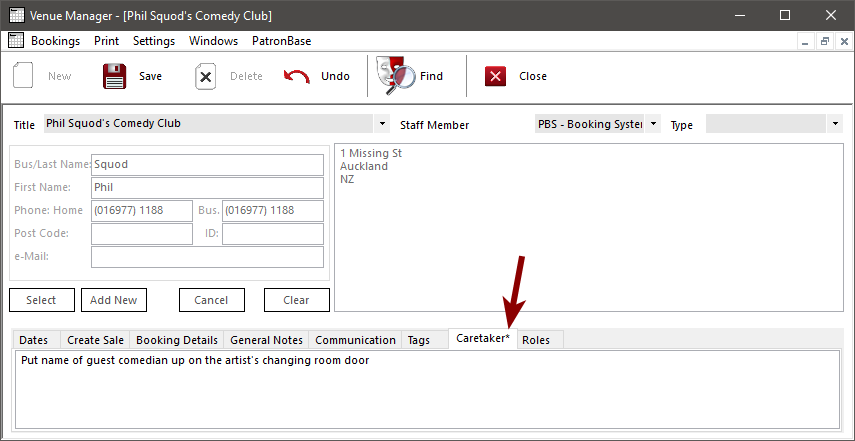
When you open up a booking window, a new tab will have been added labelled with the Description you provided.
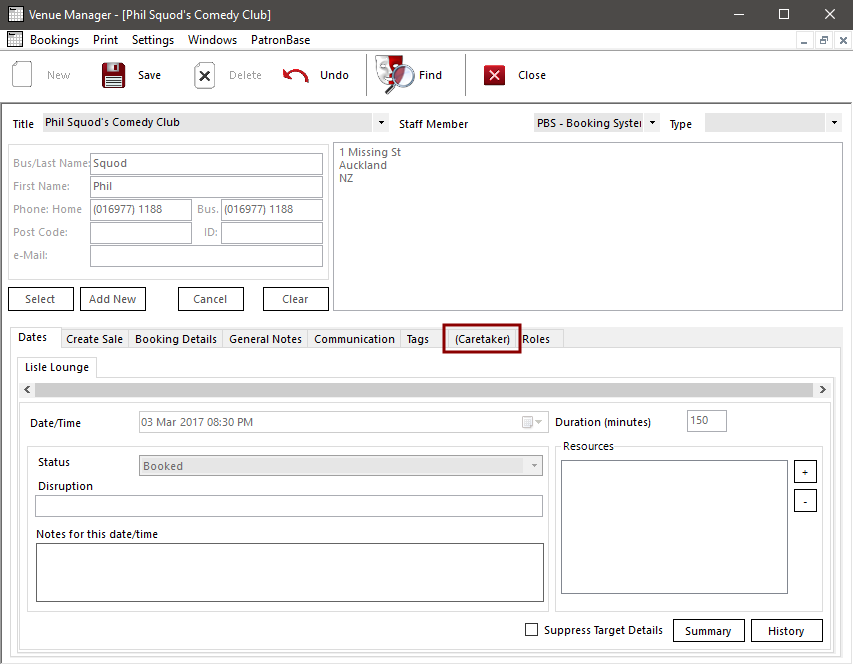
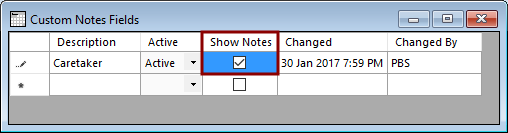
If custom notes have been entered into the tab, no brackets will appear around the tab label. However, you can draw more attention to notes entered into a custom tab, by having an asterisk appear next to the tab label and also next to the event Title in the Calendar View, whenever a custom note is entered into the tab. To do this, select Settings > Custom Notes and make sure the Show Notes box is ticked next to the relevant note.
When a comment is entered into the custom note field, the tab will be flagged with an asterisk.
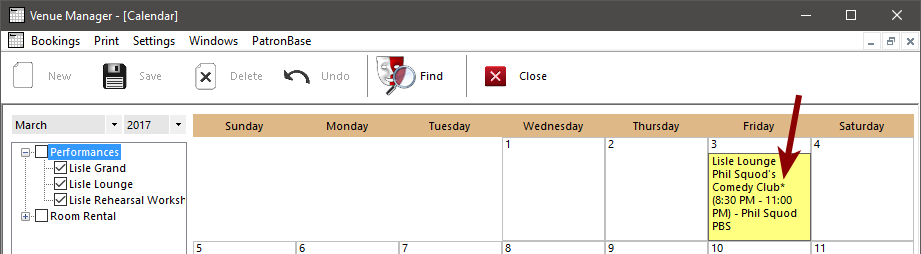
The asterisk also appears next to the event Title in the Calendar View.
Creating Resources
Resources may be equipment, vehicles, or other non-venue items that can be associated with a venue booking. Resources can also be defined in Administration. This functionality is duplicated in Venue Manager for the convenience of someone using Venue Manager, so that the Resources can be readily updated without switching tools.
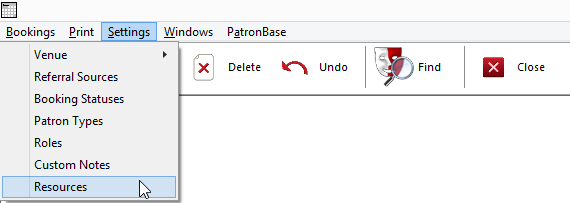
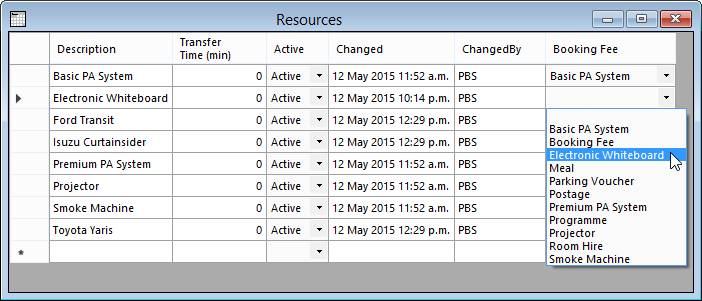
Select Settings > Resources from the menu.
The existing list of Resources will be shown in the Resources window.
If a resource has already been used in a booking, you will not be able to delete it by selecting the resource and clicking the Delete button in the toolbar. Instead, from the Active field options, choose Inactive.
To add a new resource, click the New button in the toolbar.
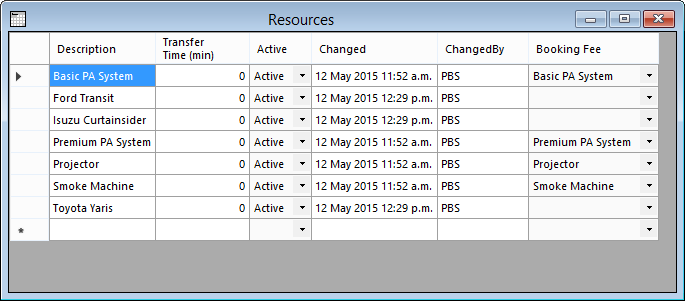
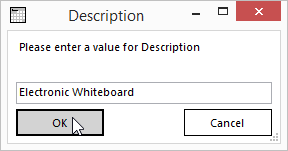
You will be prompted for a Description of the new resource.
Now you will be able to add the item to a venue booking by clicking the + button in the Resources box. See Adding Resources.
If you would also like to charge a fee for the use of the resource, you also need to define a Product for sale in the booking. For more detail, see Listing Products For Sale in Setting Up Sales.
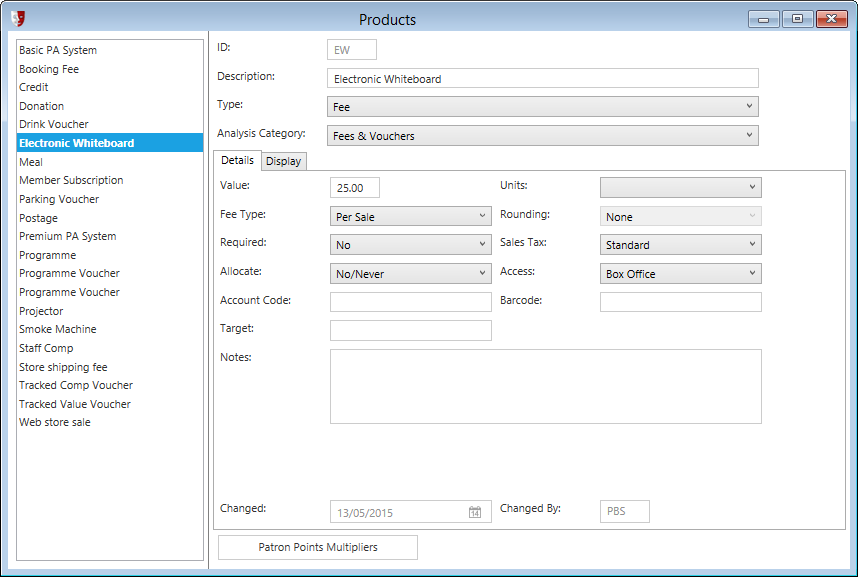
Then, in the Resources window, associate the new resource with the Product defined in Administration by selecting the Product from the list of options in the Booking Fee field.
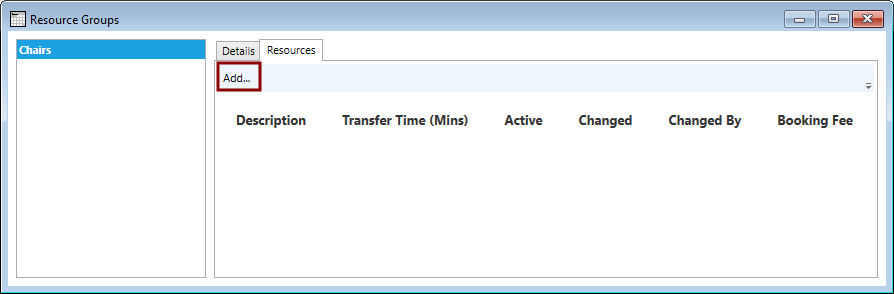
Creating Resource Groups
Resource Groups make it easy to manage a group of interchangable resources, such as chairs, as both a single resource and as something divisible into its components. This way, it is not necessary to create a Resource of "10 chairs" and "20 chairs" and so on for each possible numeric combination of chairs that may be required. Instead, a pool of the total number of chairs is managed and allocated to bookings as required.
To create a Resource Group, select Settings > Resource Groups.
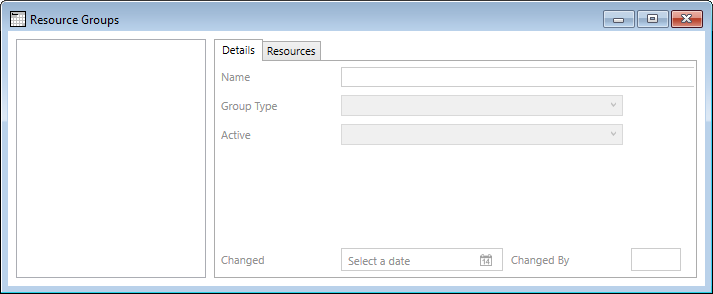
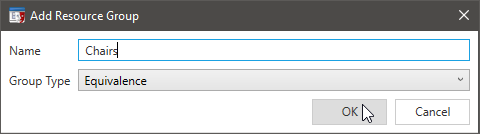
In the Resource Groups window, select the New button from the toolbar to create a new Resource Group. the Add Resource Group window will appear. Provide the name of the Resource Group. It may be appropriate to use a plural term for this Name.
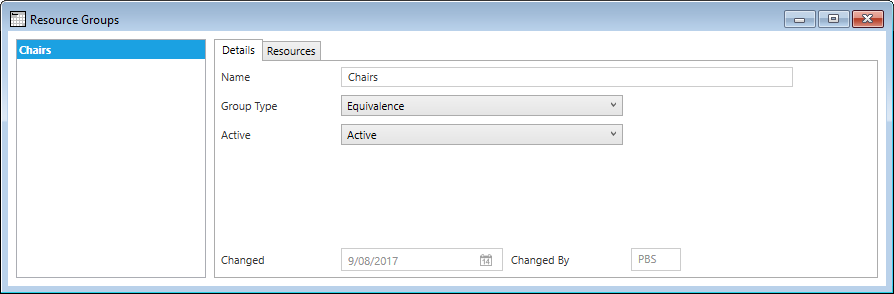
Once added, selecting a Resource Group from the list will show the Details in the adjacent frame. Here a Resource Group can be made Inactive when no longer being used.
To add individual resources to the Resource Group, select the Resources tab and click the Add button.
Provide a Description as a name for the individual items in the group. Note that it will probably make sense for this to be a singular term.
Specify a Transfer Time in minutes representing the maximum amount of time it would take to transfer all the items in the group from one venue (or storage) to another. This is not the time it would take to transfer a single item; it will be used to determine if there is enough time between bookings to move all the required items from one venue to another.
Specify the Quantity of the available items in the Resource Group.
If there is a cost for the rental of the Resource Group items, make sure a Product has been created for the rental fee, and select that product from the Booking Fee list.
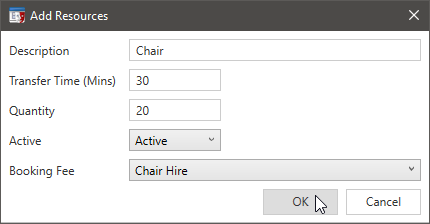
After selecting OK, each item defined will be added to the Resource Group. They are also added to the Resource list.
