Entry Manager on Android
Installation
Currently, Entry Manager is not available on the Google Play Store. Customers wanting to use Entry Manager will be provided with an .apk file as a link or by email.
- On your Android device, find Settings > Security > Unknown Sources and change the setting to allow installation of non-official apps. This is necessary as the app is being distributed outside the Google Play Store. The PatronBase apps are completely safe.
- Find where you have saved the .apk file on your Android device, and select it. You will be shown a list of phone functions the app requires access to. Select Install from the Cancel and Install options.
- Open the app when it has installed. The first time it starts, you will be presented with the Settings window. See Settings below for information on providing the appropriate OrgID to connect to your PatronBase database.
- Return to your Android device’s Settings > Security > Unknown Sources setting, and turn the setting off. Now the app has been installed, it does not need to be left on, and leaving it on is a security risk.
Login
When you start Entry Manager, you will be prompted to enter your login credentials.
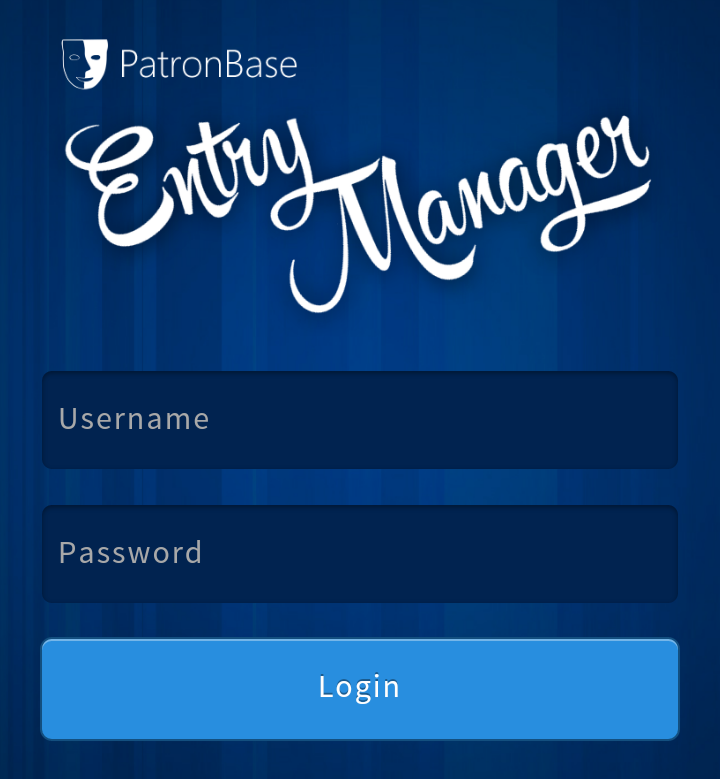
Enter your Username and Password and select Login.
An alternative method of logging in to the system is by scanning a barcode. Touch Username to make sure it is selected and use a barcode scanner attached to the Android device to scan your personal barcode. This alternate method of logging in is convenient when plugging a barcode scanner into the device disables the keyboard.
To create a personal barcode for each operator, see Entry Manager in Web Control Panel.
Settings
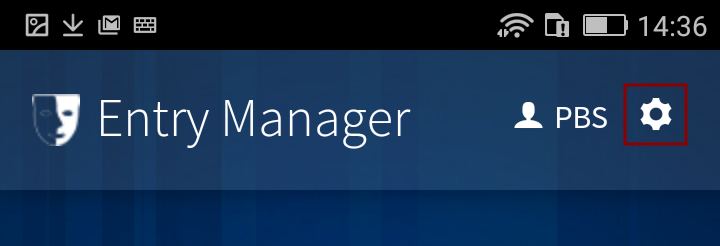
To configure or change the settings for Entry Manager, select the cog icon at the top right corner of the app.
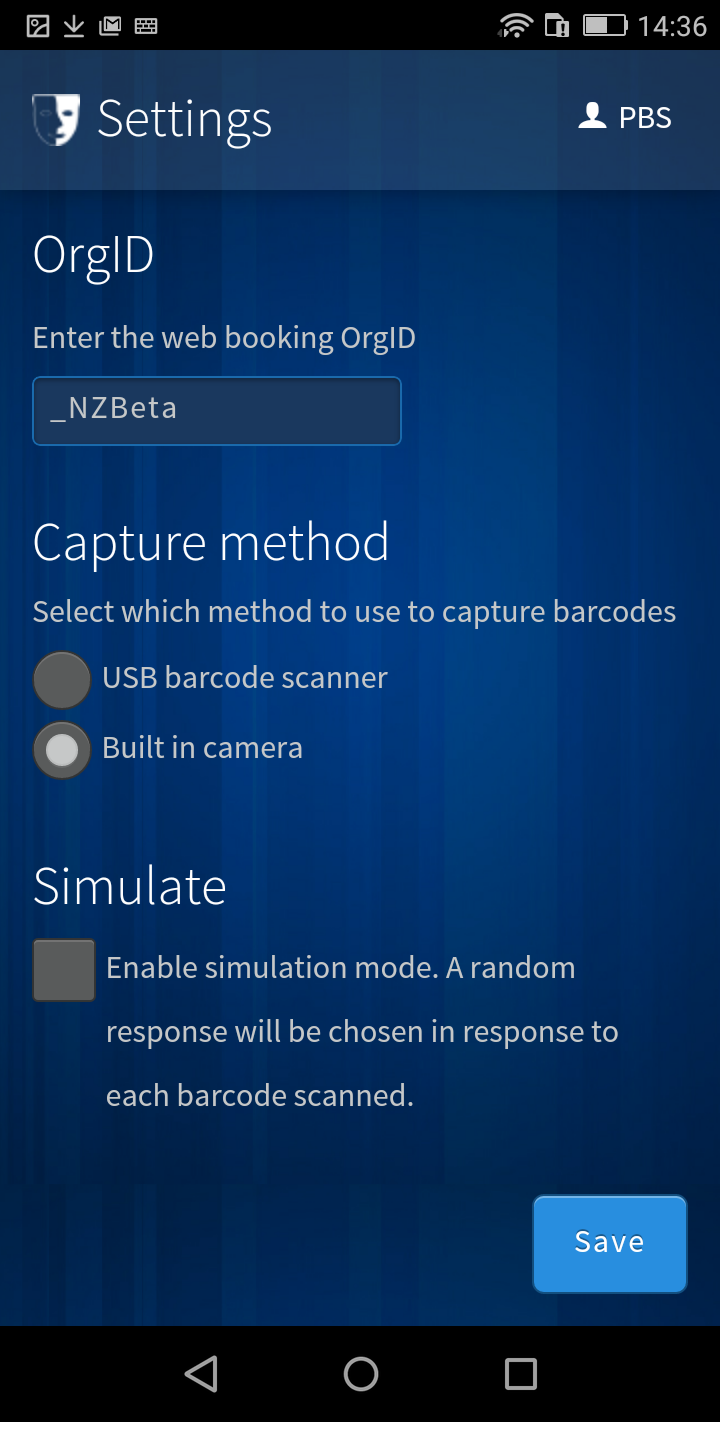
The Settings screen offers the following options:
- OrgID. Provide your organisation ID. This is a code that identifies your organisation in the PatronBase web booking system.
- Capture method. Select USB barcode scanner or Built in camera according to the method this device will use to scan bar codes.
- Simulate. Tick this box to demonstrate the tool, to experiment, or for training without using actual tickets. Make sure you untick this box before attempting to use the device to scan the tickets being presented by actual patrons!
Save will preserve the changes you have made, and dismiss the Settings screen.
Using Entry Manager
The main screen on Entry Manager features three main buttons: Query, Entry, and Exit. If the built-in camera is being used to scan barcodes, there will also be a Capture button.
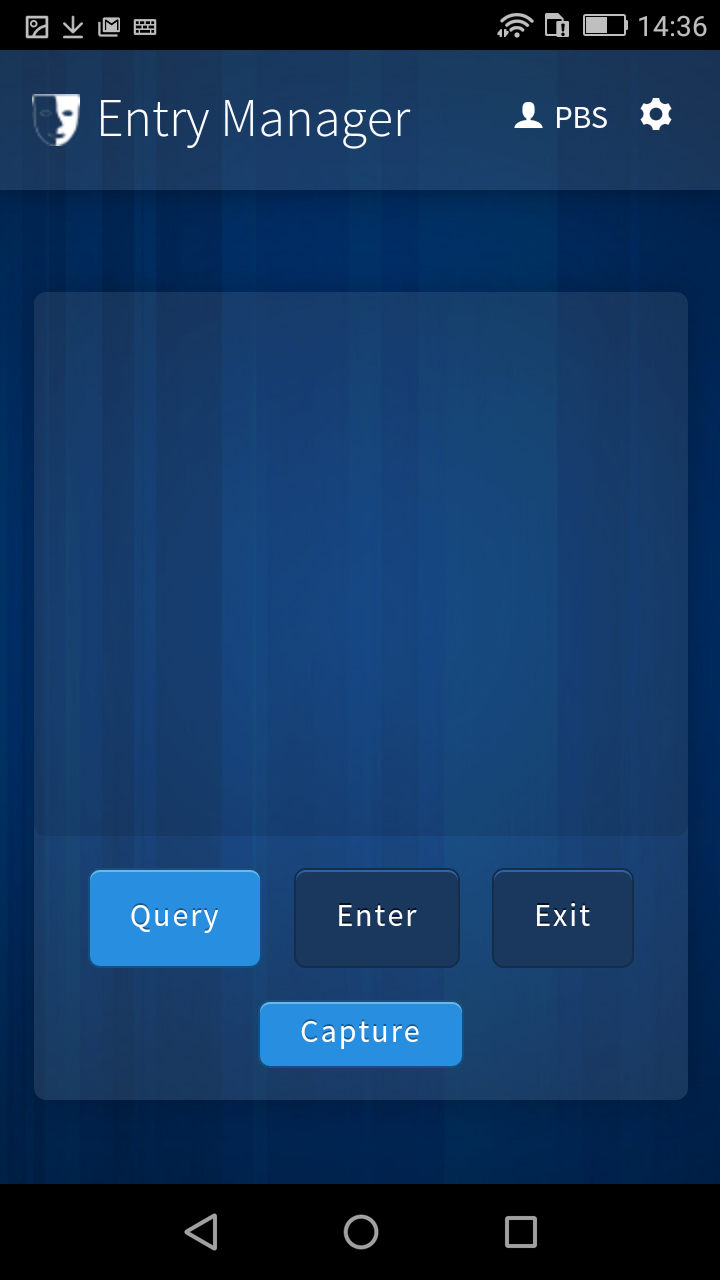
Select one of the buttons labelled Query, Enter or Exit and either scan a bar code with a barcode scanner or select the Capture button to scan the bar code with the built-in camera.
Select the Query button to view information about the ticket. This will not record the patron as having entered or left the venue. This is useful when helping a patron with a query regarding their ticket or otherwise providing assistance to a patron.
Select the Entry button when scanning tickets at an entrance as patrons enter. This will record the patron as having entered the venue.
Select the Exit button when scanning the ticket of a patron leaving the venue. This will record that the patron has left the venue. They will be able to re-enter by having their ticket re-scanned on their return. If the patron’s ticket is not scanned when they exit the venue, when they return, the entry scanner will show that the ticket has already been used to enter the venue, and the patron may be refused entry.
Scanning With a Barcode Scanner
- Point the barcode scanner at the barcode, or place the barcode over the scanner window.
- If the barcode scanner has a trigger, pull the trigger.
- Entry Manager will indicate if the scan has been successful. If you are having problems reading ticket bar codes, make sure the scanner is reading the whole code and not just part of it. Try reorienting the bar code into a different position.
Scanning With the Built In Camera
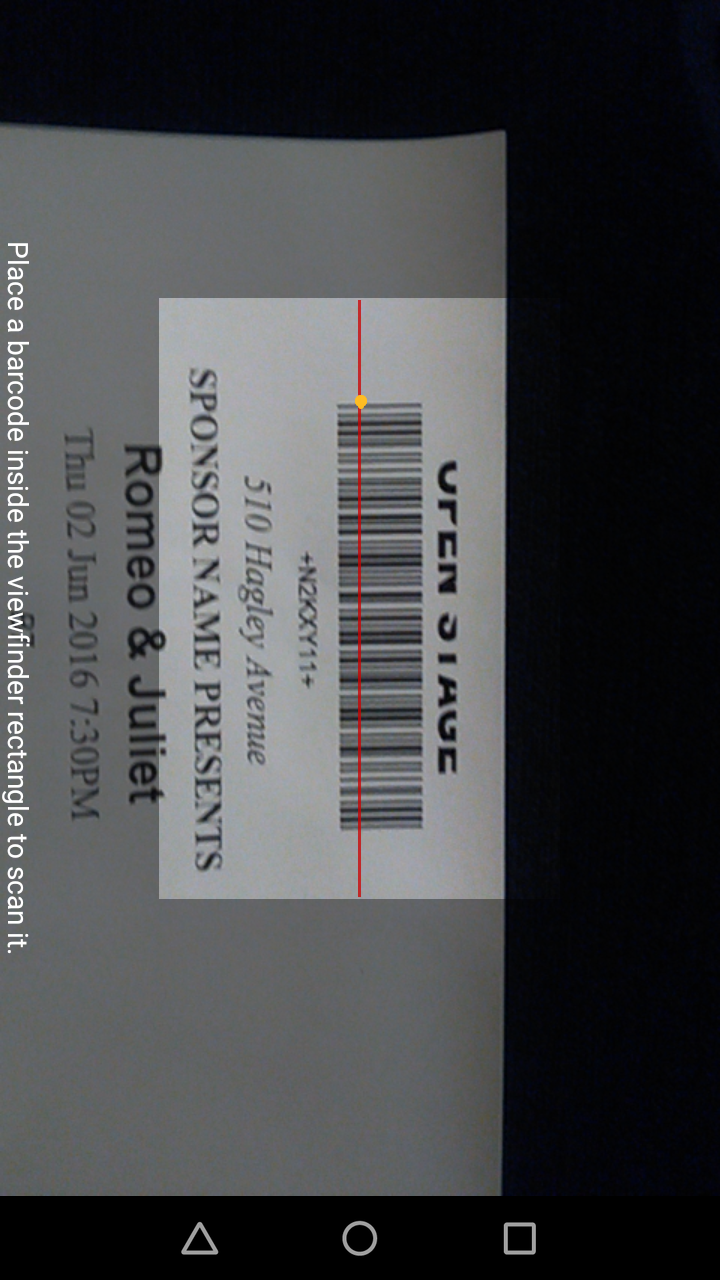
- Select the Capture button.
- Point the device’s camera at the ticket. Place the barcode within the bright central part shown on the screen’s preview. A red line shows where the camera is scanning for the bar code. Turn the bar code so it lies along the red line. Yellow dots will appear as the camera scans the bar code.
- When the bar code is located and scanned, the line will turn from red to green. If you are having problems reading ticket bar codes, check the bar code is along the scanning line, not across it. Change how closely the ticket is being held in front of the camera. Ensure the ticket is held still in front of the camera - it only takes a moment once the ticket stops moving.
Entry Manager Messages
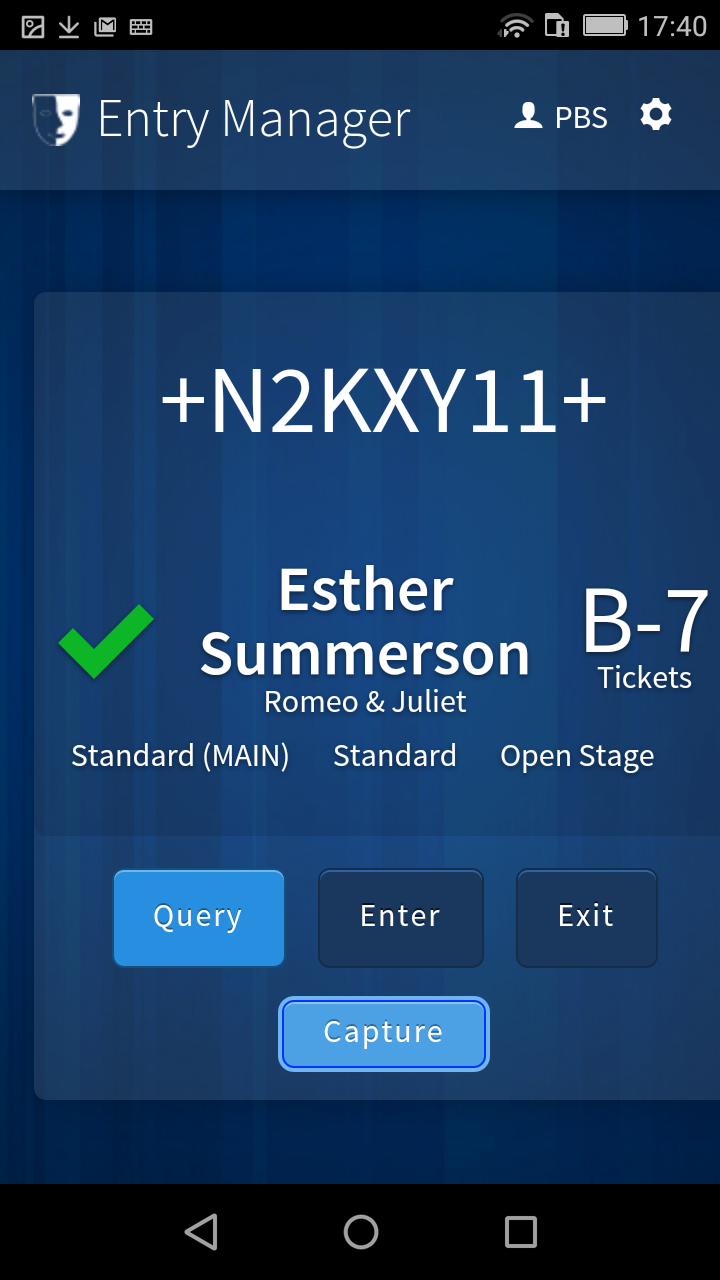
If the ticket bar code is scanned and read correctly, the screen will display information about the ticket.
If there is no problem, a green tick will be displayed along with information about the ticket purchaser, the seat number, and the production name. A distinctive tone will audibly confirm success. If the Query button was selected, no action is taken by the system. If the Entry button was selected, the ticket is flagged as having entered the venue, and the patron should be admitted. If the Exit button was selected, the ticket is flagged as having left the venue, and the patron should be on their way out.
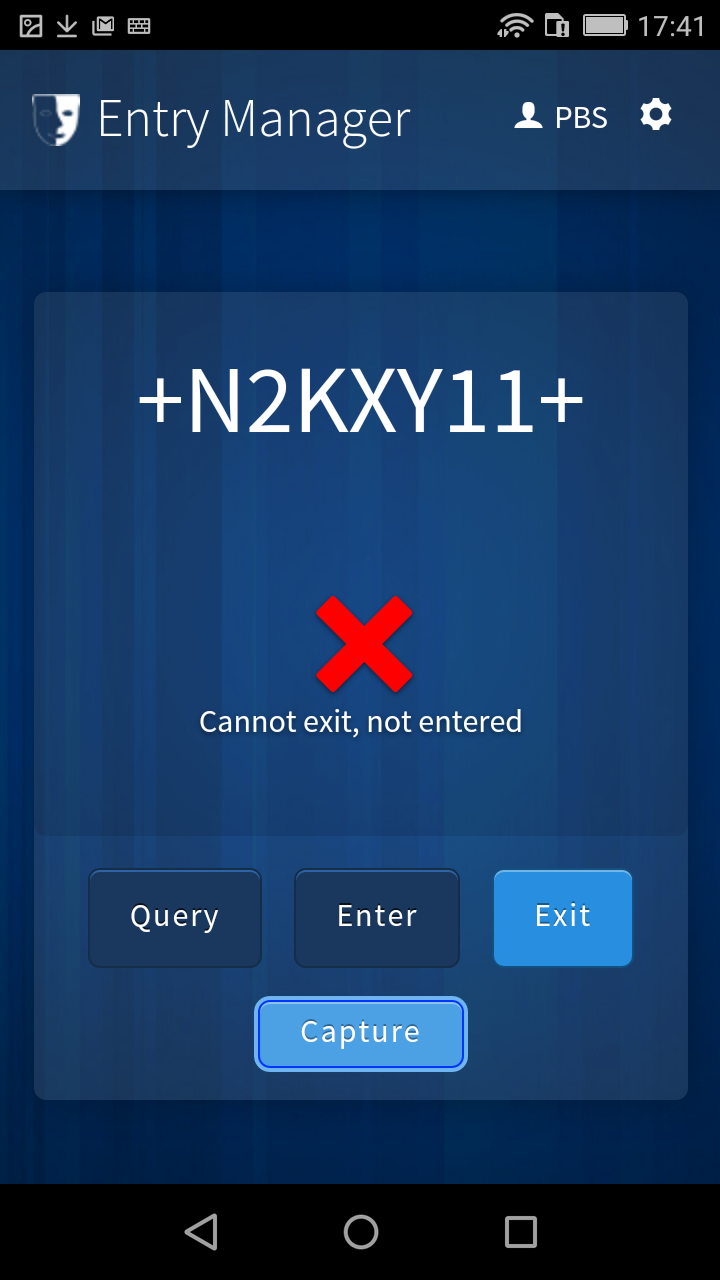
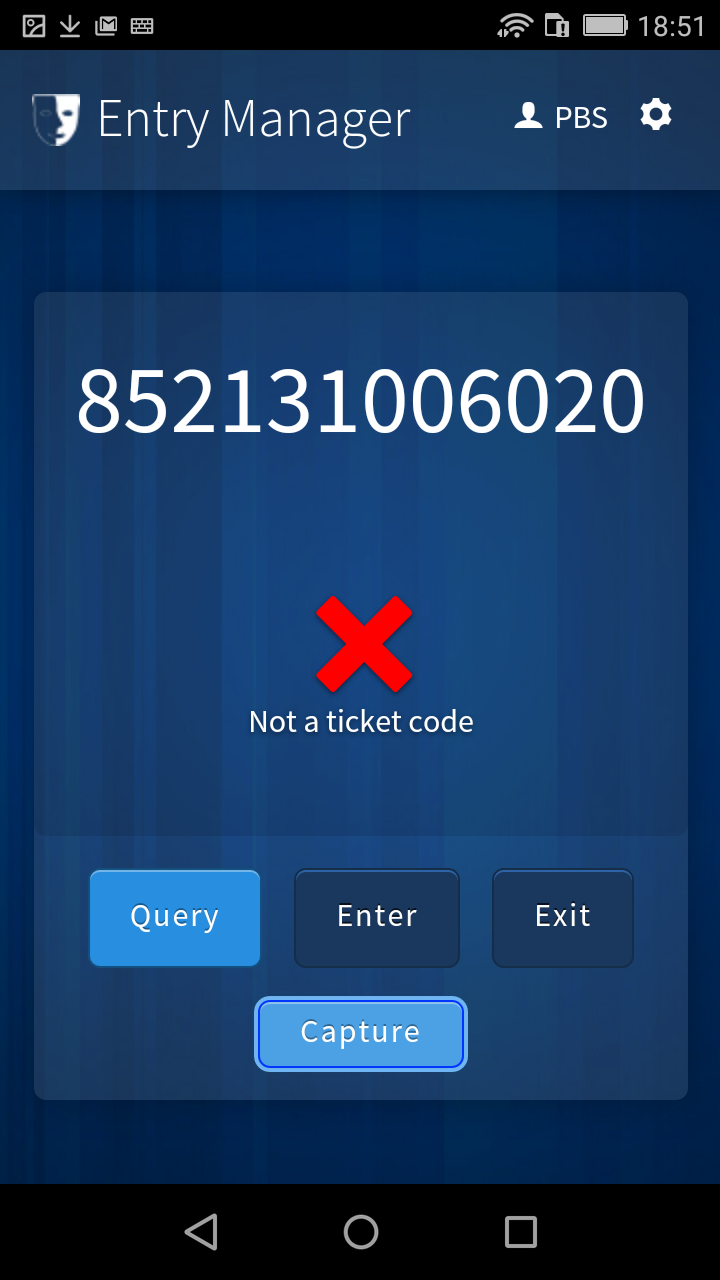
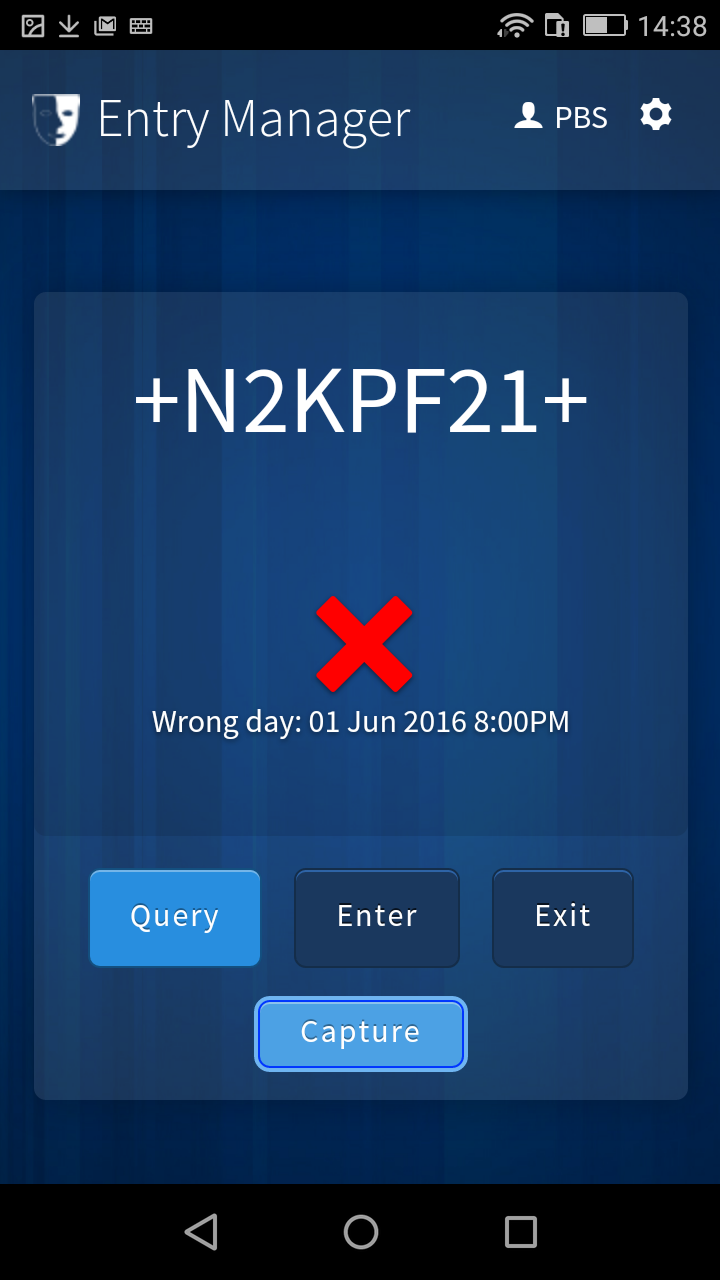
If there is a problem, a red cross will be displayed, along with information about the problem. A distinctive tone will help to draw attention to the problem.
If the bar code scanned does not belong to a ticket, Not a ticket code will be displayed. The ticket may be counterfeit.
If the bar code belongs to a ticket for a performance on a different day, Wrong day will be displayed, along with the day and time of the performance the ticket is for.
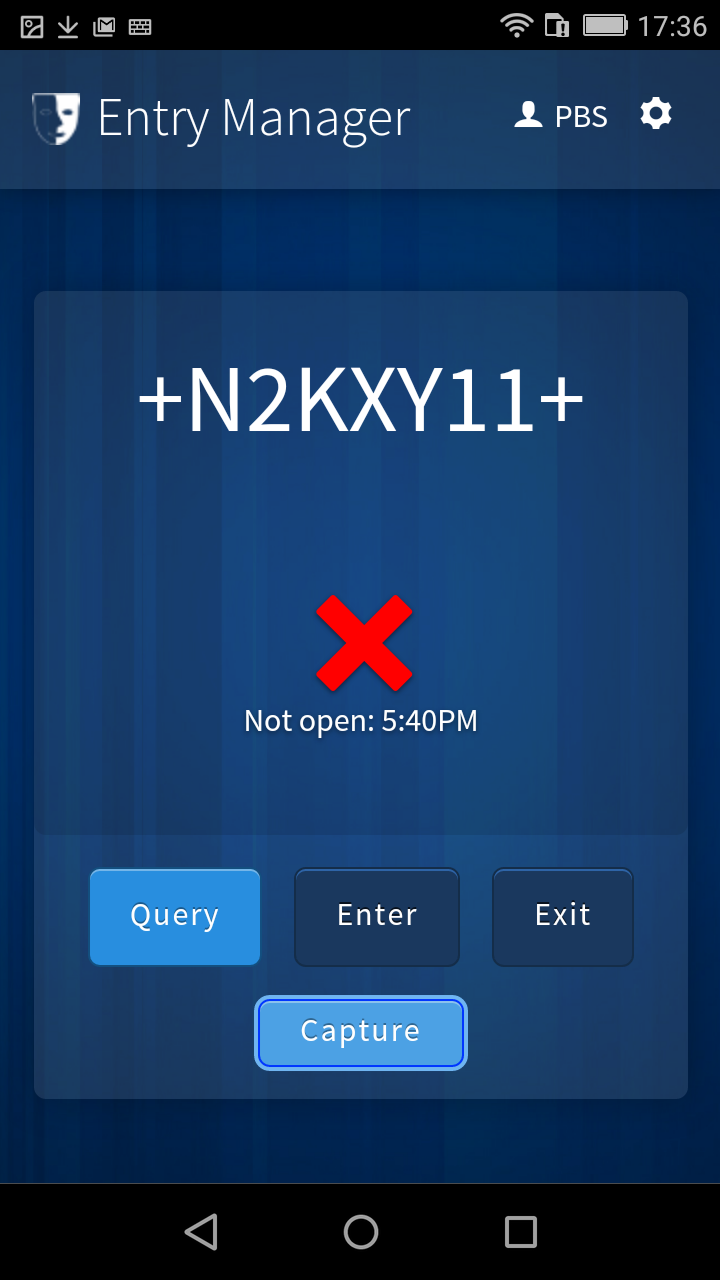
If the bar code belongs to a ticket for a performance where the doors are not yet open, the message Not open will be displayed, along with the time doors open for the performance. The time that doors open can be customised for a production, using Administration > Edit Production > Timing. If the doors have already closed to reduce disturbances and entry is no longer permitted, the message will be Closed along with the time the doors closed.
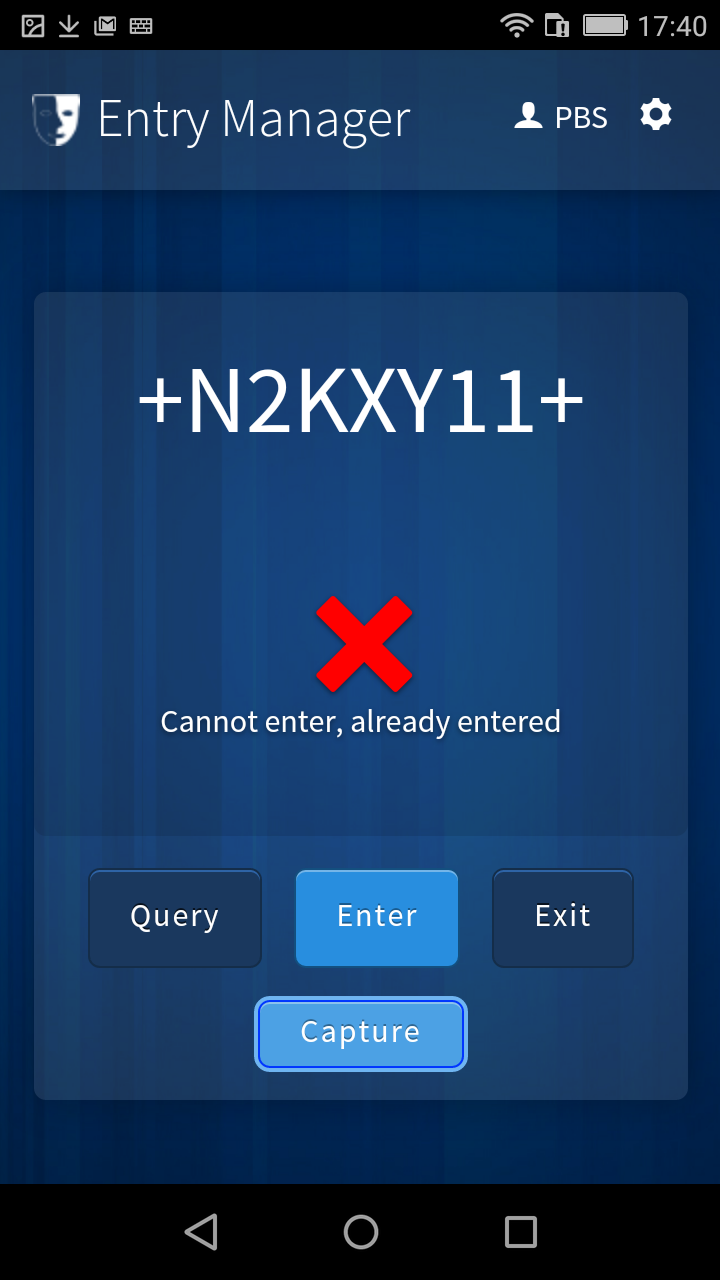
When scanning tickets with the Entry button selected, if the ticket has already been scanned as the patron entered the venue, the message displayed will be Cannot enter, already entered. The ticket being presented (or the one already scanned into the venue) may be a duplicate or counterfeit copy.
When scanning tickets with the Exit button selected, if the ticket has not been scanned as the patron entered the venue, the message displayed will be Cannot exit, not entered. Check how the patron was able to enter the venue without presenting the ticket to be scanned on entry. You are most likely to get this message when you have accidentally left the Exit button selected, when you are trying to scan patrons into the venue.