Venue Designer
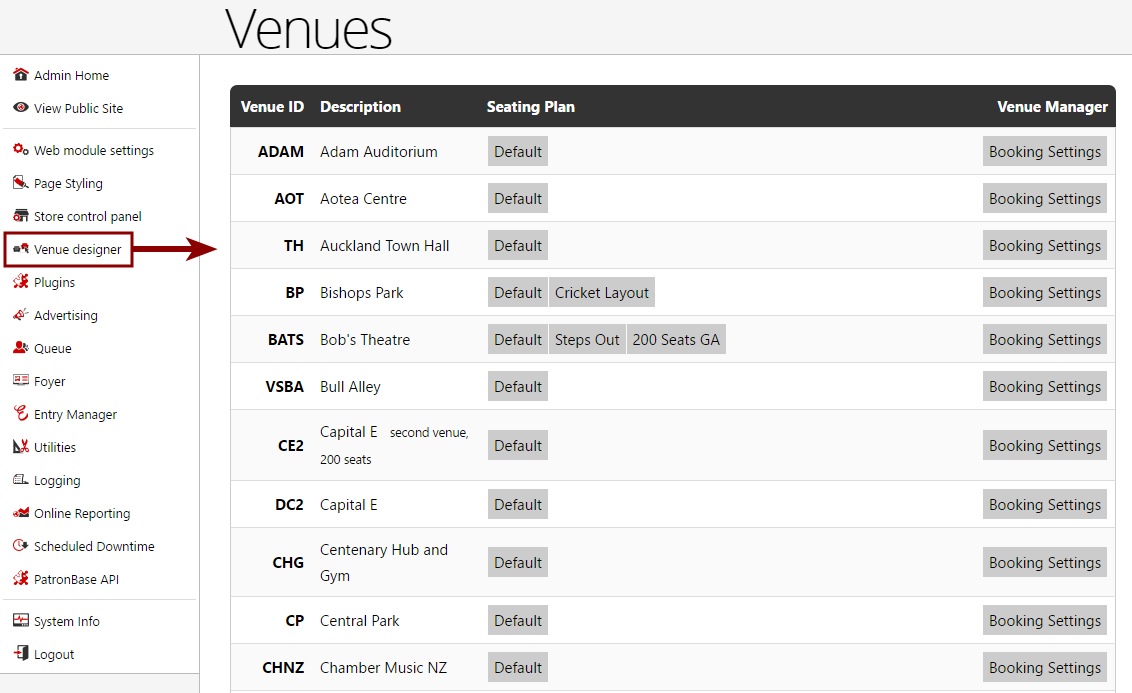
Select Venue Designer from the Web Control Panel menu, and you will see a list of venues. Each venue may have multiple Seating Plans, which appear as buttons next to the Description for each venue. Click a Seating Plan button to open the Venue Designer for that seating plan.
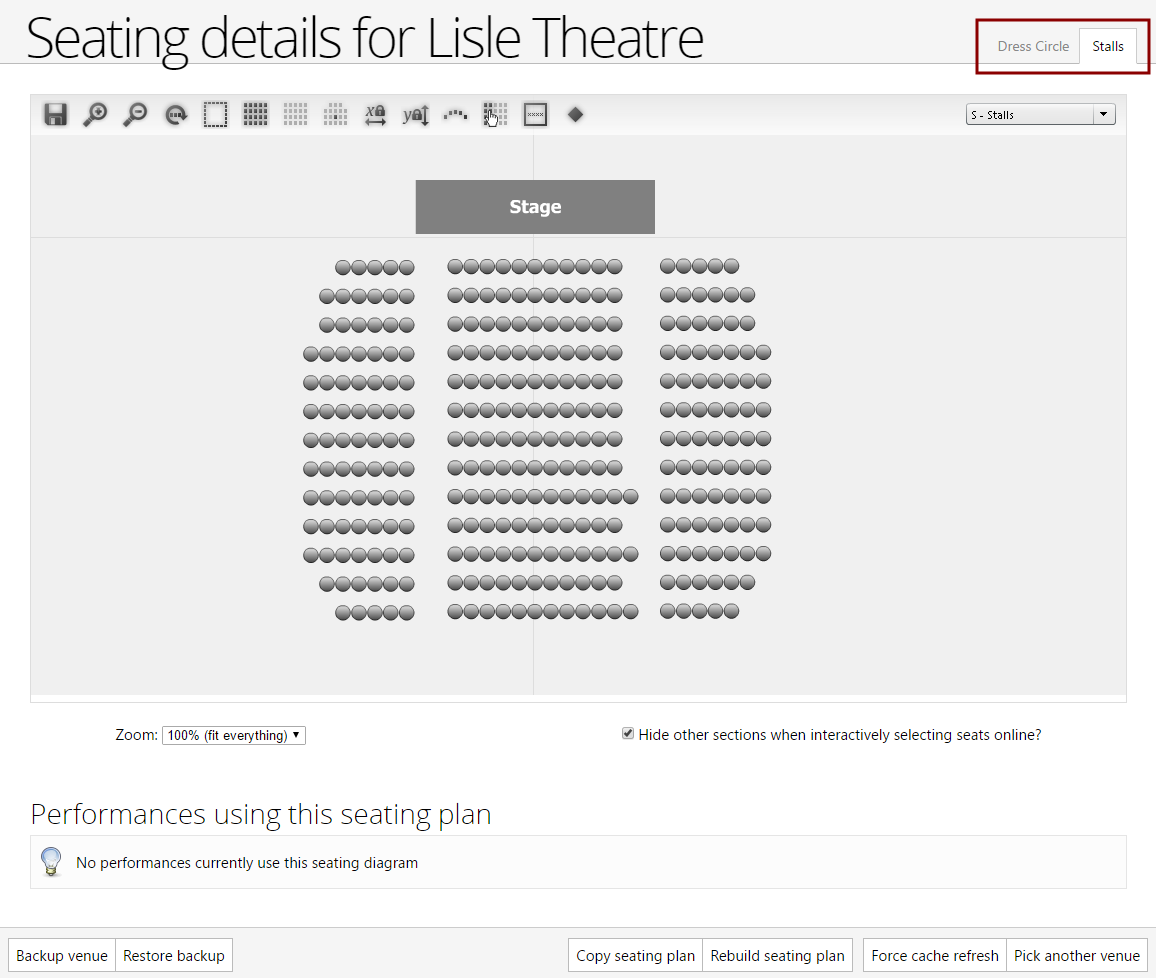
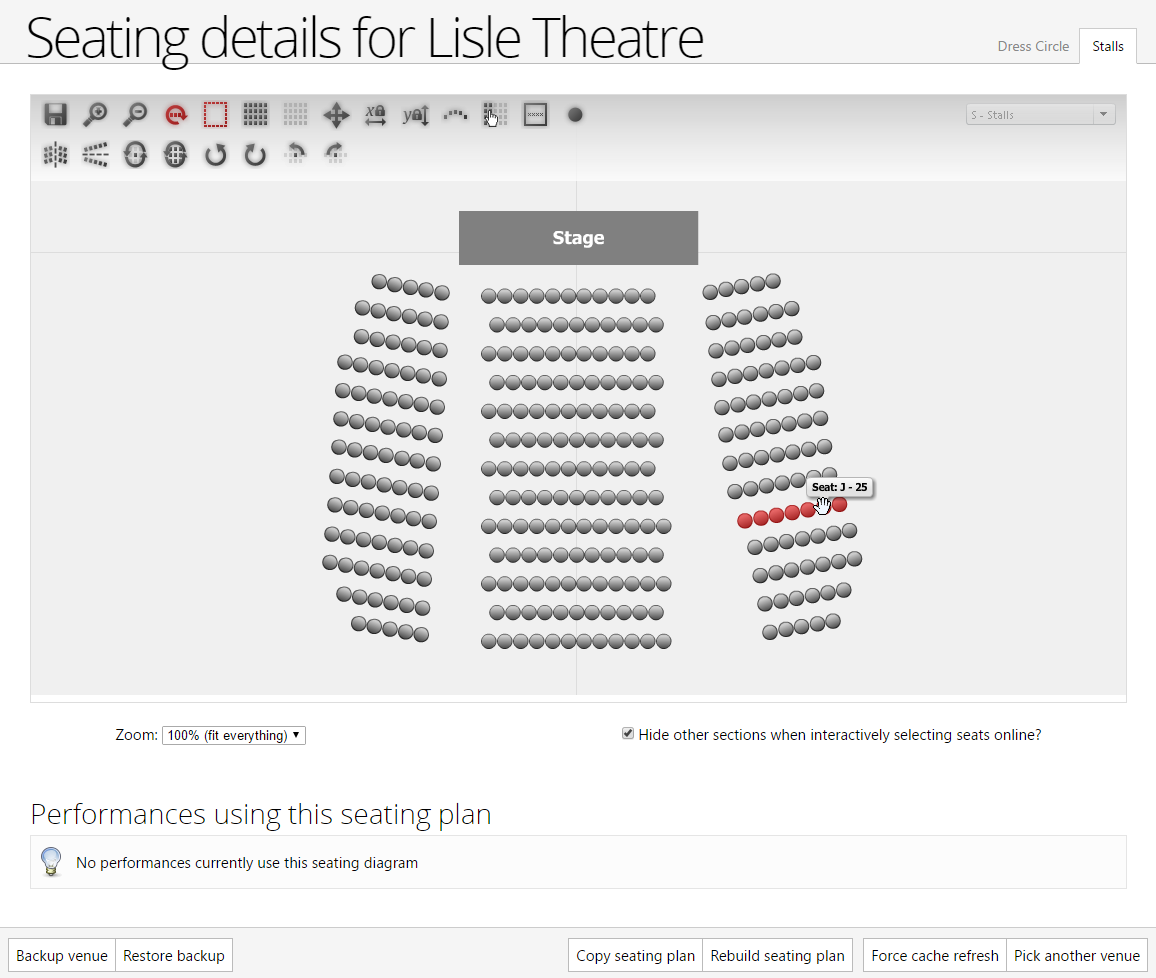
If the venue has multiple sections, these sections will appear as tabs in the top right of the window. Select a tab to change the editor to the desired section.
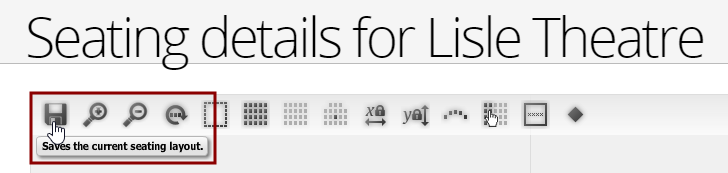
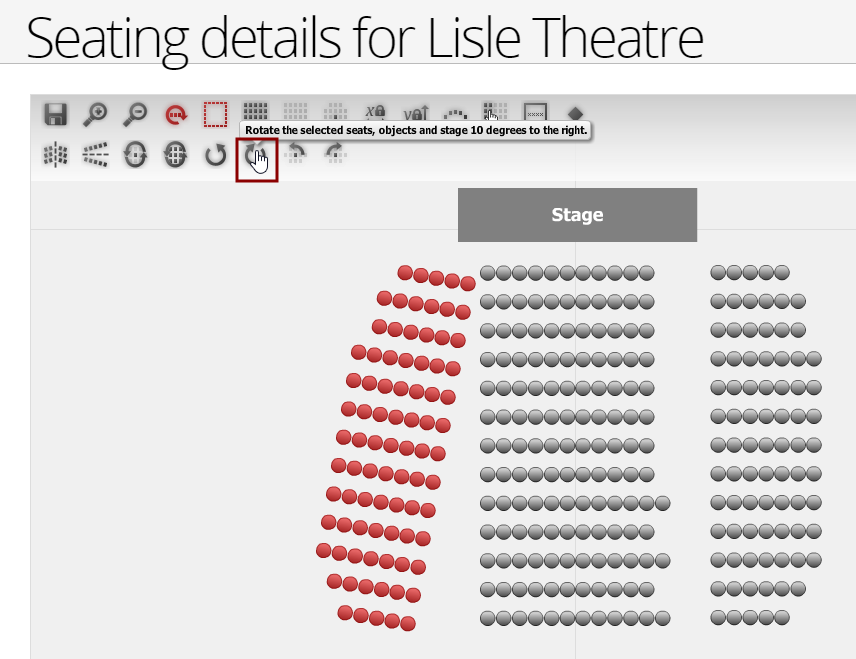
Hover a mouse over the toolbar buttons to see tooltips explaining what each button is for. Here, the tooltip for the Save icon is displayed. Use this to save changes, including before switching sections. Next to the Save icon are Zoom In and Zoom Out buttons, which change the scale of the designer canvas. A dropdown list below the designer canvas lets you select a specific zoom scale.
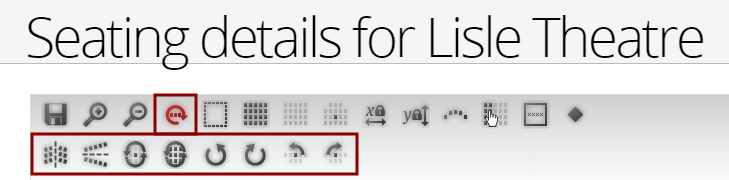
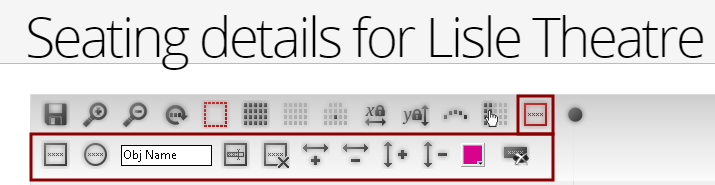
Some buttons will open a new toolbar below the main toolbar. Here, the Rotate toolbar has been revealed.
When none of the tools are selected, the cursor will appear as a hand in the editing area, and you can click and drag to move the designer canvas.
You can change the behaviour of the cursor by selecting a tool.
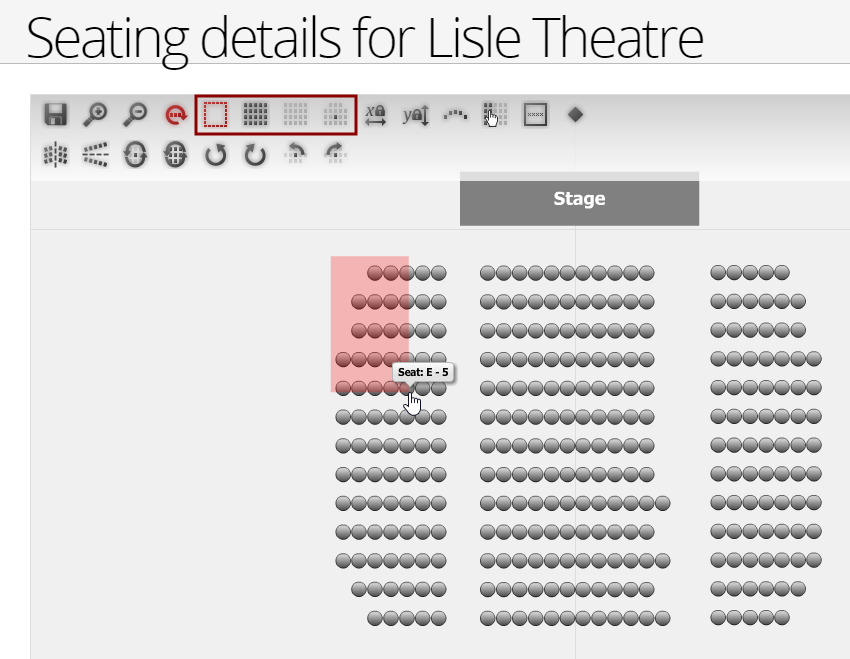
Select the Selection Marquee tool, and you can click and drag to define a box that will select all the objects that fall inside the box. A red rectangle shows the area you are drawing with the cursor.
Instead of selecting the icon in the toolbar, you can hold down the S key, then click and drag to select.
You will also find toolbar buttons to Select All and Deselect All objects. Next to them is the Selection Type/Move icon. Each time you select it, the behaviour changes, rotating between selecting a single object, selecting a row of seats, selecting an area of seats, or moving the selection. If you do not want to keep moving the cursor back up to the toolbar to change the selection mode, you can use the keyboard instead. With no keys held down, the behaviour will reflect the current mode of the Selection Type/Move icon. Hold down CTRL and you will select an entire row when you click a seat. Hold down SHIFT and you will select an entire area when you click a seat. Hold the spacebar down, and you will be able to move the current selection by clicking and dragging.
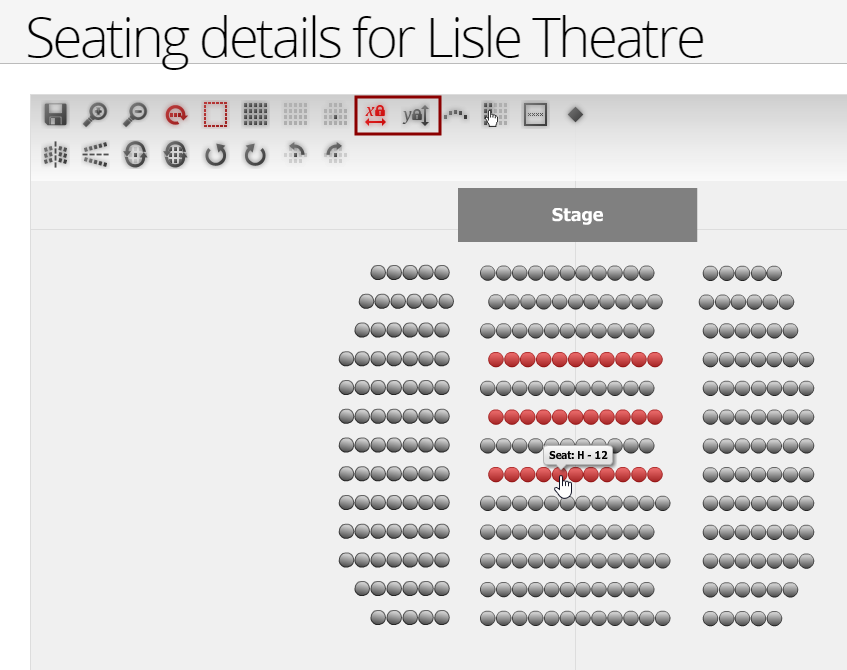
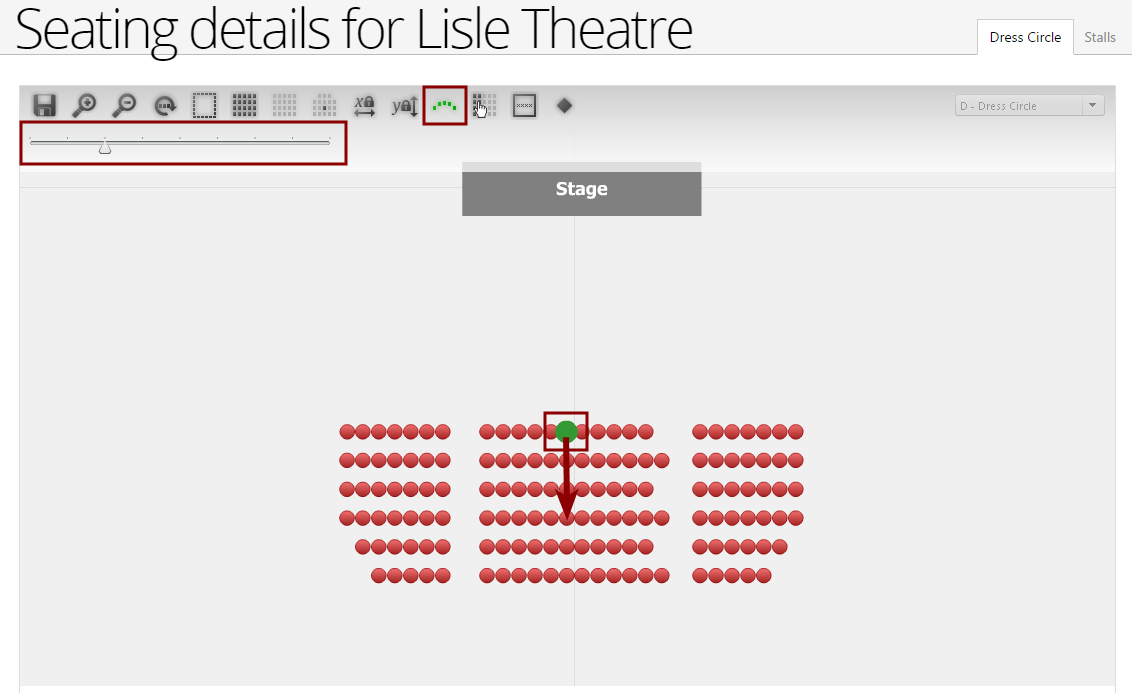
You can make multiple selections before starting to move seats and objects. There are also two useful icons that constrain the movement to only permit horizontal movement or to only permit vertical movement. This can be very useful for making subtle alignment changes in one direction while being confident you aren't accidentally misaligning seats in the other direction. In this example below, several rows have been selected, and the icon that permits only horizontal movement has been selected. Now the seats can be moved across slightly to match the staggered seating of the venue without accidentally making it seem like some rows are closer together than others, because you cannot accidentally move the rows up and down in this mode.
The icon at the far right of the toolbar changes the seat appearance. It will change between a circle, a square, a diamond, and a graphic depicting a comfortable seat.
The Rotate toolbar provides options for rotating the selected seats. Here, an area of seats has been rotated by 10 degrees clockwise. You can also rotate the selected block in increments of 10 degrees to the left, or completely turn the block around 180 degrees. You can also rotate all the seats in place within a block 180 degrees, so they face the other direction, but without changing the seating area orientation. This is easier to see if you select the chair graphic symbol for the seats instead of the circle, square, or diamond. Two more icons will rotate the selected seats in place by 90 degrees either clockwise or anti-clockwise.
Having rotated seats, you can still select seats as rows and areas and continue to move the selections around.
The Curve tool can be used to change the angle and position of seats in one action, to match the curvature of the seating in the venue.
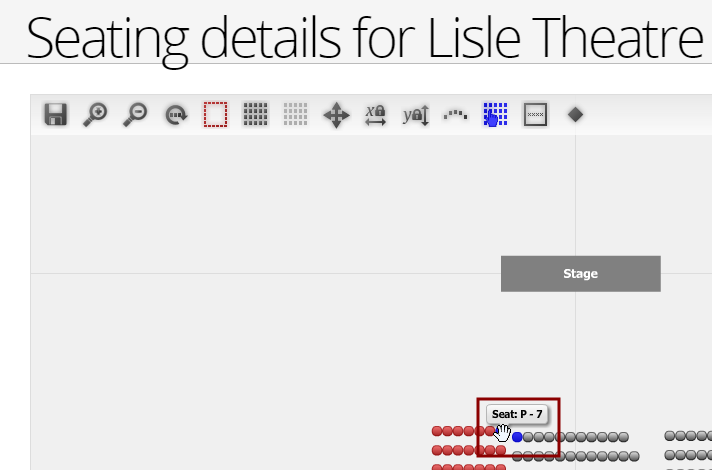
The Snap tool helps align seats exactly. Make a selection of seats, then click a seat and drag it. You will notice that the seat you clicked has turned blue. When you bring that seat near to another seat on the graphic, that seat will turn blue also. Move the selected seats until the seat you want to align with turns blue. You do not need to be precise in your positioning, because when you release the mouse button, the selected seats will snap into position, with the two blue seats being precisely aligned.
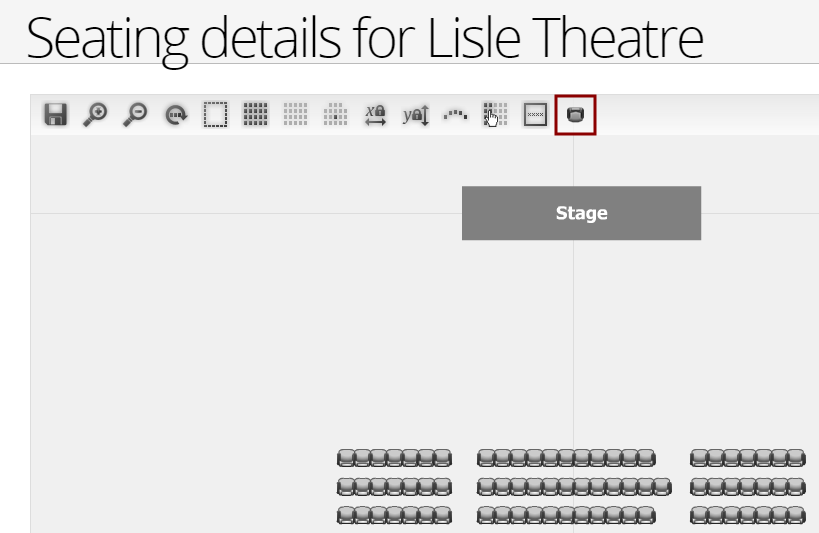
The Object and Stage toolbar can be revealed and allows the customisation of the stage block and the creation and placement of other features.
You can create and delete objects, which can either be rectangular or elliptical. Objects can be given names and they can be renamed. The objects can be resized in height and width, and assigned a colour. By default, there is a rectangular stage object, and this can be hidden or revealed.
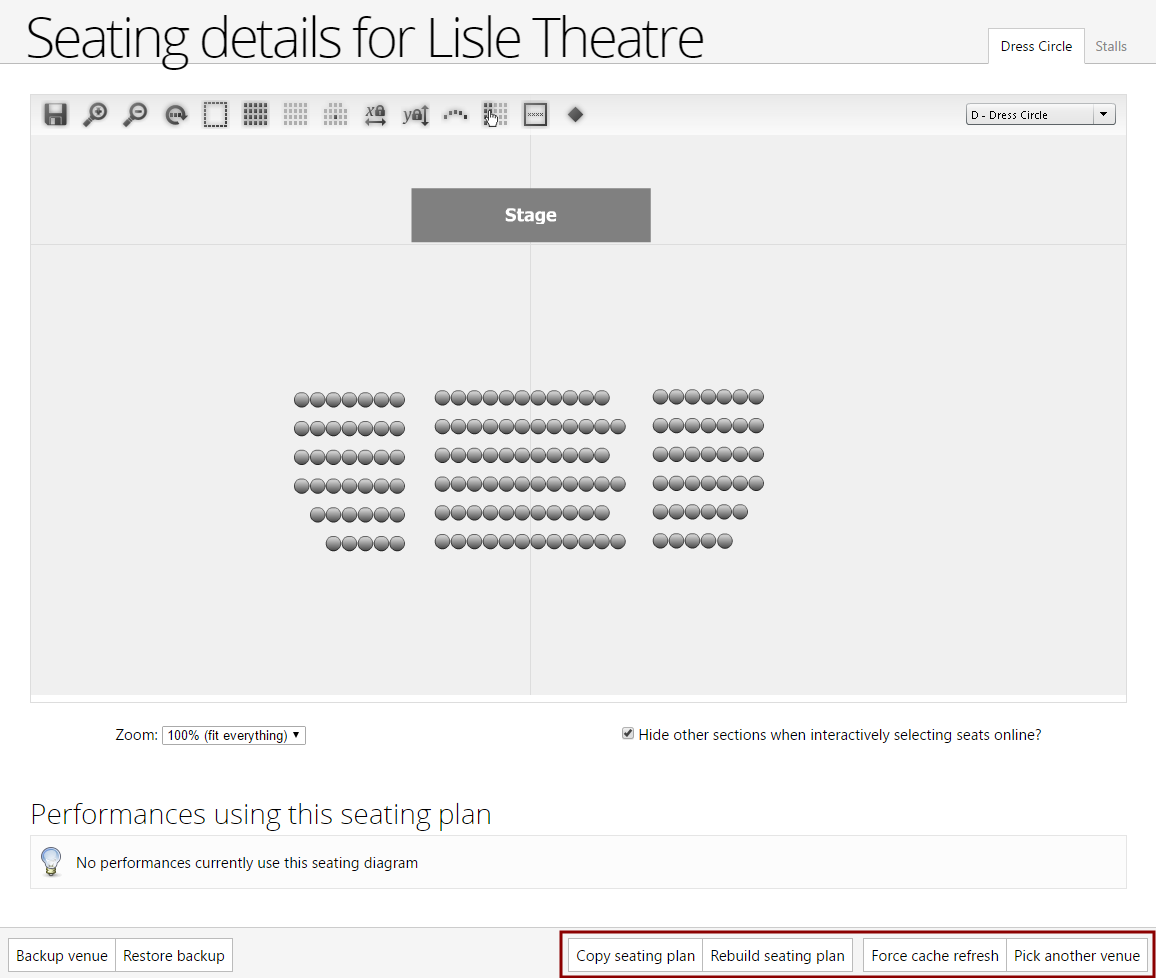
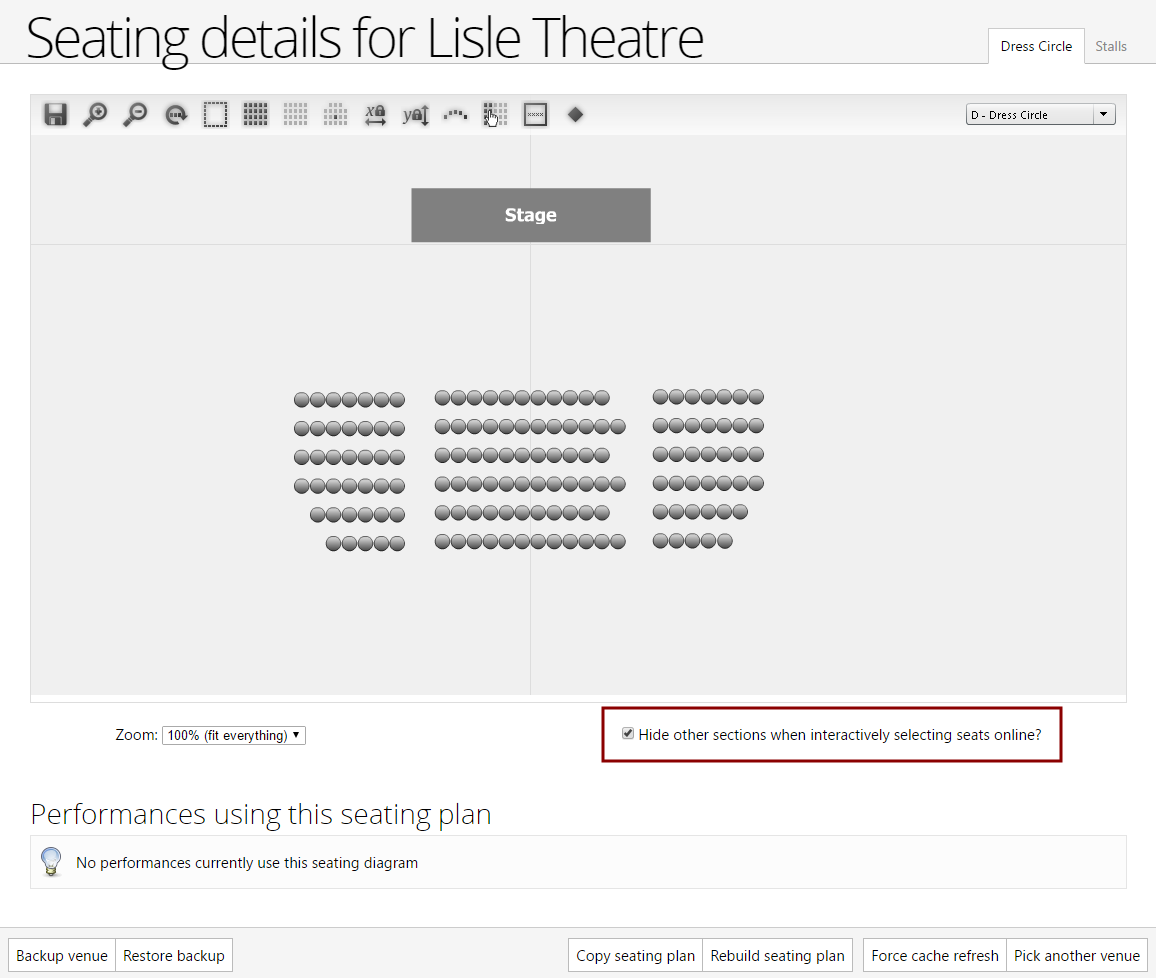
Tick Hide other sections when interactively selecting seats online to hide other seating sections once the patron starts using Pick Your Own Seat and clicks on the first seat.
To save the redesigned layout to the server, click the Save icon in the toolbar. You can also save a copy of the layout to your own computer by clicking the Backup venue button. This creates a file you can keep safe on your computer, letting you experiment with other layouts, while still being able to return to the saved version by clicking the Restore backup button.
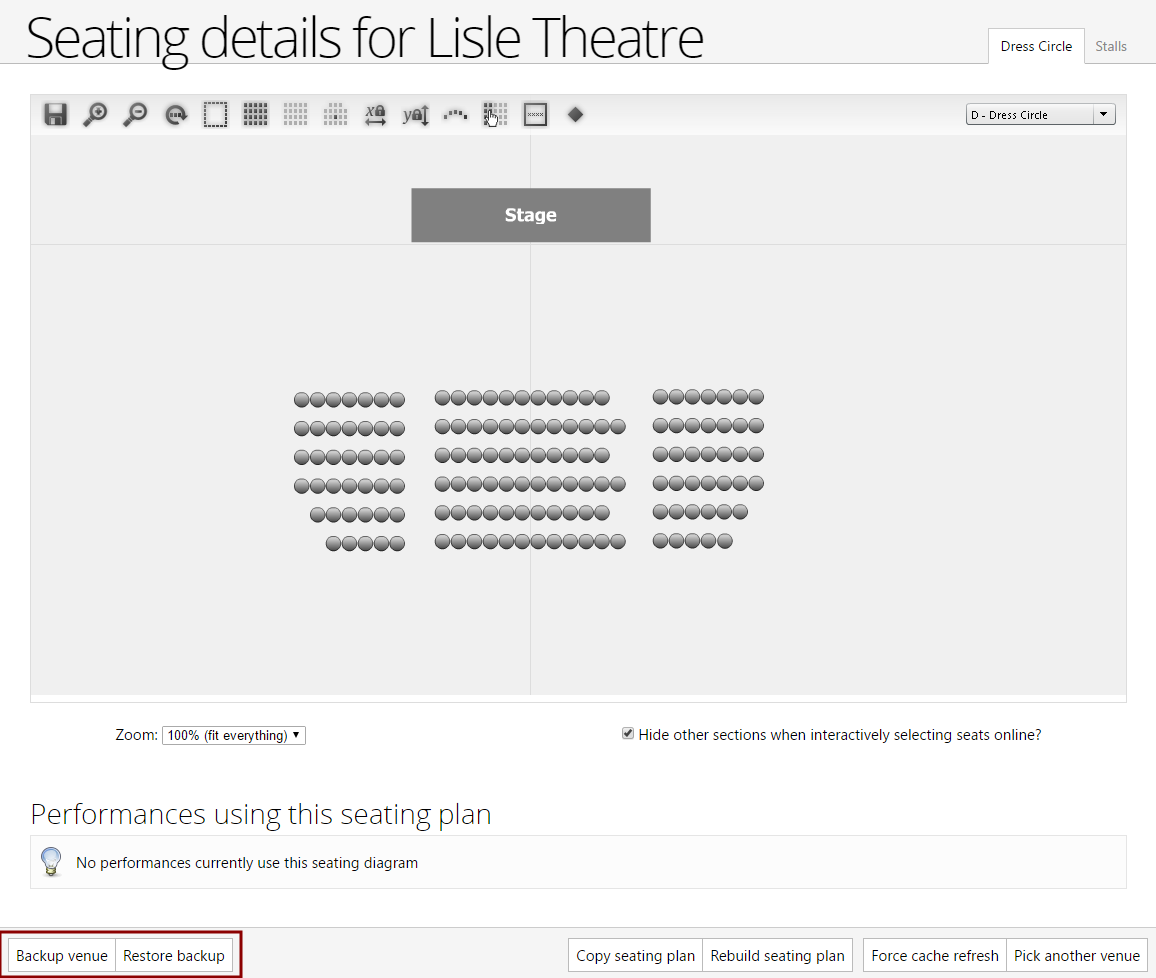
The bottom right of the screen has a series of buttons.
Copy seating plan copies the current section design and lets you specify another layout you would like to have a copy of the design.
Rebuild seating plan resets the layout to the original structure, and this affects all the performances using the seating plan. Only use this option if you intend to start completely from scratch.
Force cache reset forces a cache reset.
Pick another venue exits the Venue Designer and returns you to the list of venues to select.