Targeting Communications With the Online Marketing Module
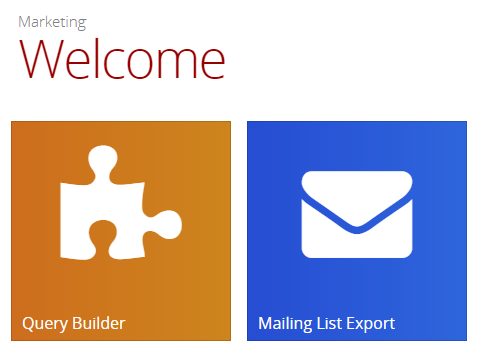
Click the Marketing tile on WebHub to query the PatronBase system and send targeted email marketing campaigns.

The Marketing Welcome window provides two tools, Query Builder and Mailing List Export.
Query Builder
Create custom queries based upon patron groups. Patron groups are added to or removed from the Custom Groups list using the PatronBase desktop Marketing tool. For more information, see Marketing.
Creating a Simple Query
To create a simple query, first select a group from the Custom Group list.
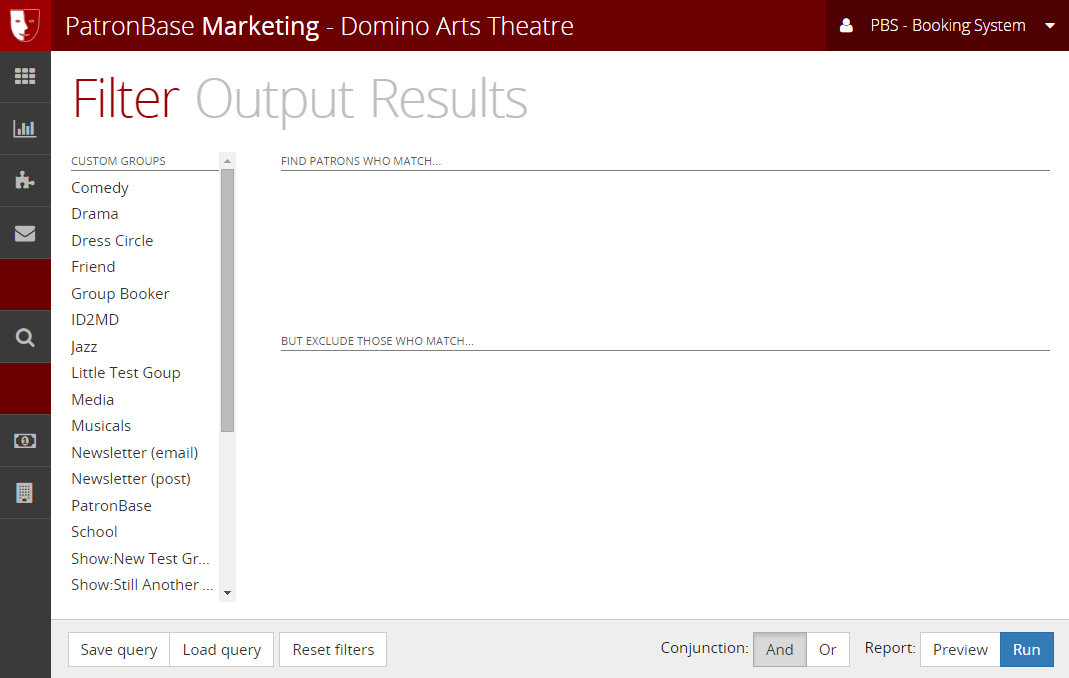
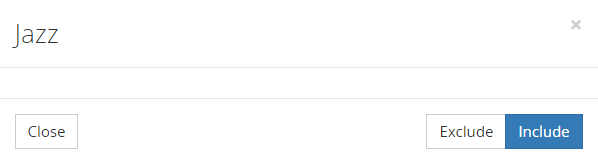
A window will appear that gives you the option to add the group you selected to the filter. Click the Include button to add the group to the Find patrons who match... part of the filter. Click the Exclude button to add the group to the But exclude those who match... part of the filter. You need to add at least one group to the Find patrons who match... list.
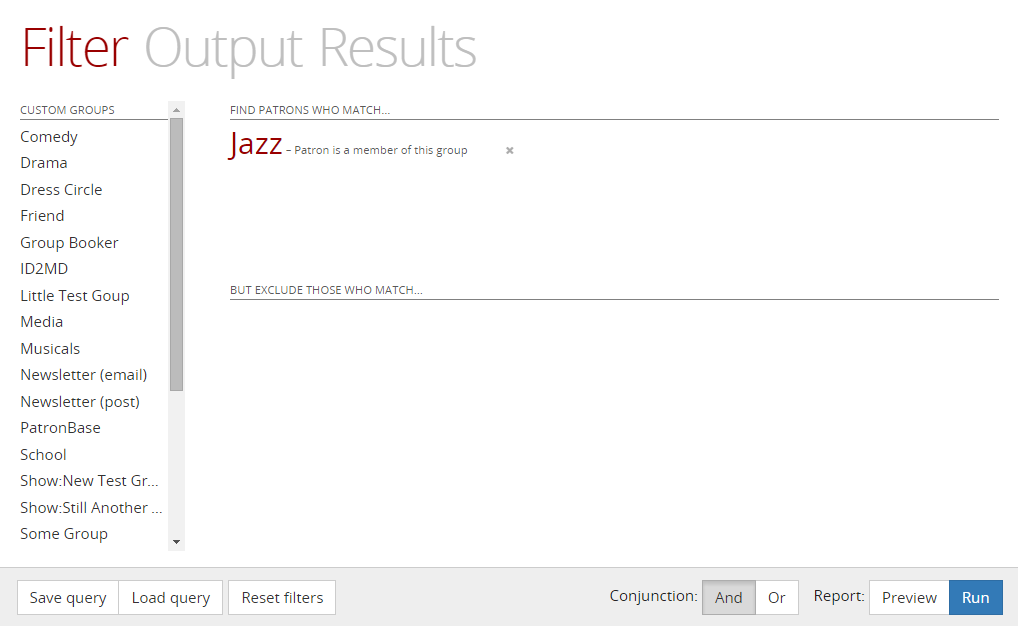
The selected group will be added to the Filter. Click Run, and the group members will be listed in Results.
Note that when you click Run the screen automatically switches to the Results view.
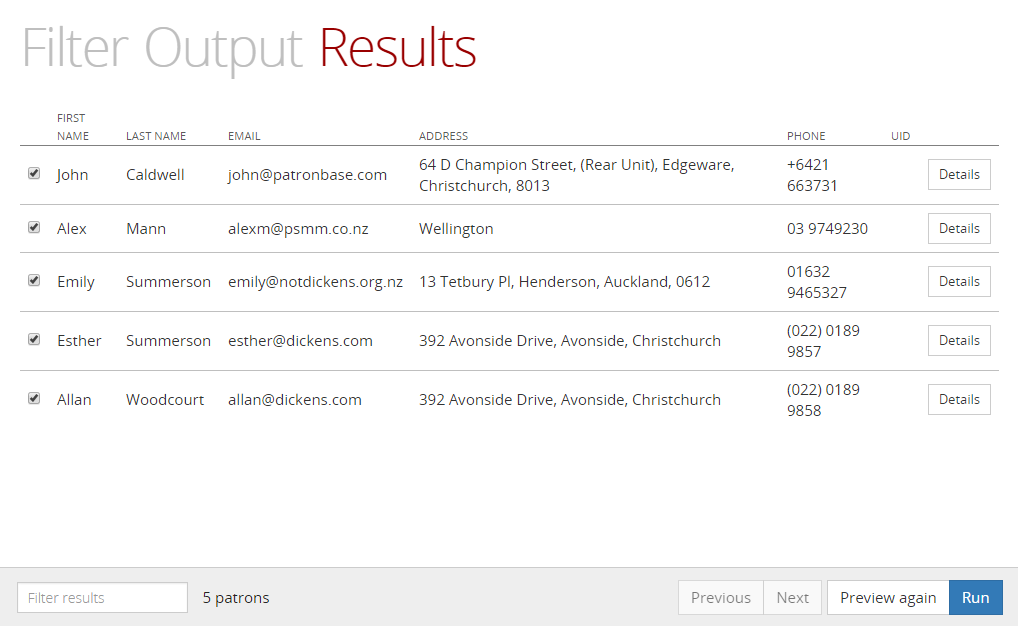
A special feature of WebHub Marketing is the Details button at the end of each row in the Results table. Click this to be taken to a new browser window where the patron’s record is shown. This enables you to go directly to any of the patrons records found by your query, where you can view or edit their details.
Building a Complex Query
You can build more complex queries by adding multiple groups into the filter, combining them with And or Or conjunctions. In the following example, we will build a query that will list all the people who are either in the Jazz or the Musicals groups, unless they are in the Media group. In this way we can target a communication to people who enjoy musical entertainment, but we are not going to include patrons involved with media, which might include reviewers.
First, add the Jazz group, as described inCreating a Simple Query above.
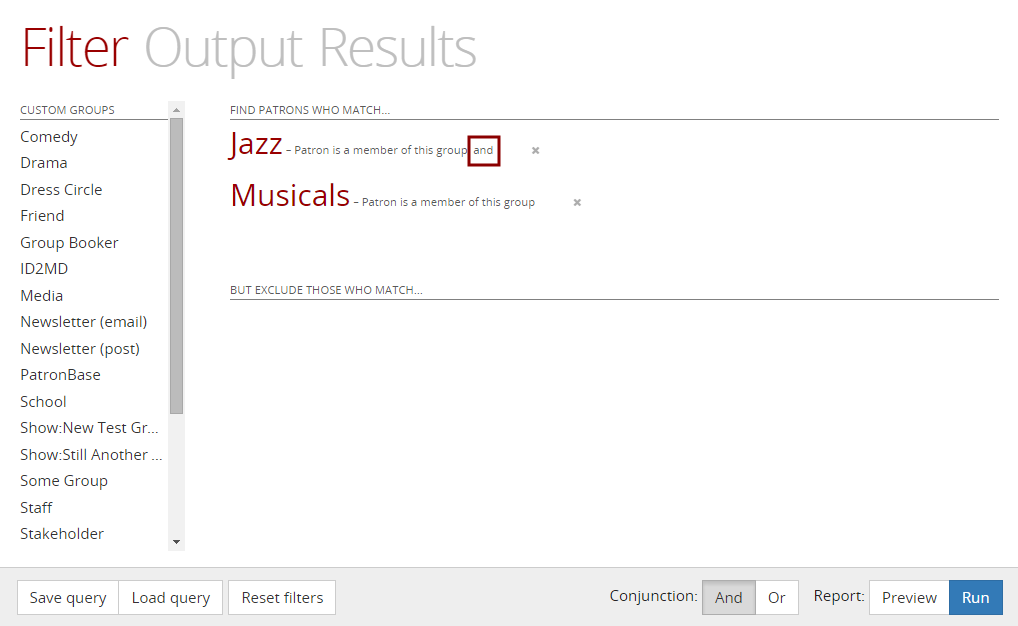
Next, add the Musicals group by clicking the Include button.

Note that the two selected groups are joined with an and. This will list only those patrons who are in both the Jazz and Musicals groups.
Because we want to list the patrons who are in either one or the other group, we need to click the Conjunction button labelled Or.

Next, we can add the Media group to the excluded groups list.

The resulting filter will look like this:
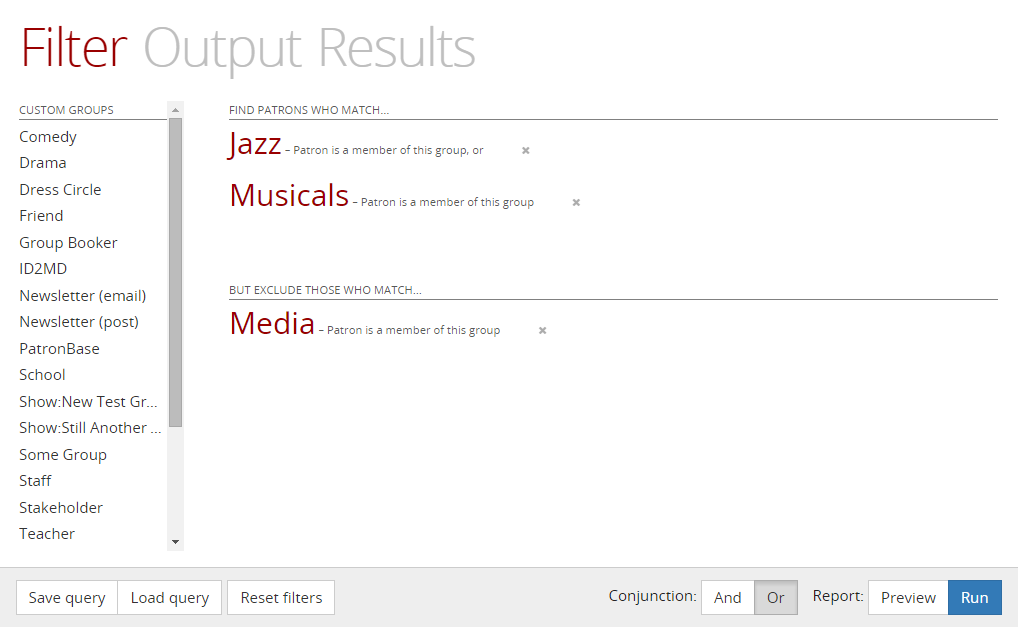
Click Run to execute the complex query.
Controlling the Output of Queries
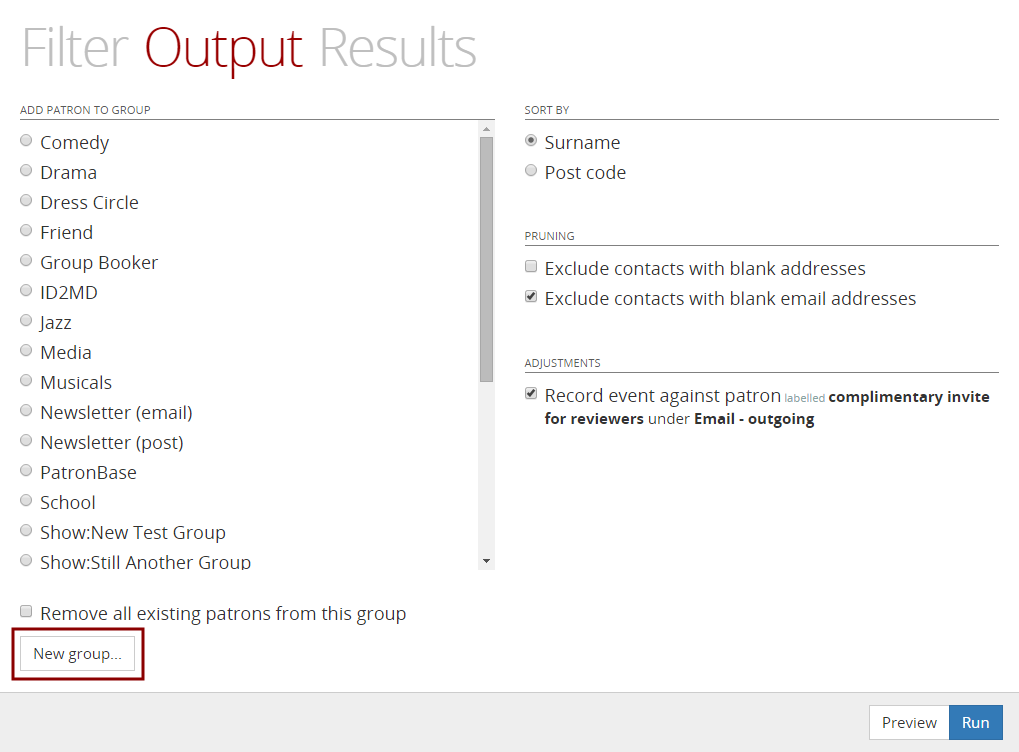
The Output view allows for control of the query’s output.
Once you have defined your Filter but before you hit Run, open Output and select your preferences for the query output.
The Sort by setting lets you control the sort order of the results. The options are to sort by Surname, or by Post code.
The Pruning settings let you choose to exclude or include certain records. If you are planning a physical mailout campaign, you can only send the promotional material to patrons who have provided their addresses, so you would want to tick Exclude contacts with blank addresses. If you are planning an email campaign, perhaps using MailChimp, you need email addresses for patrons, so you would want to tick Exclude contacts with blank email addresses.
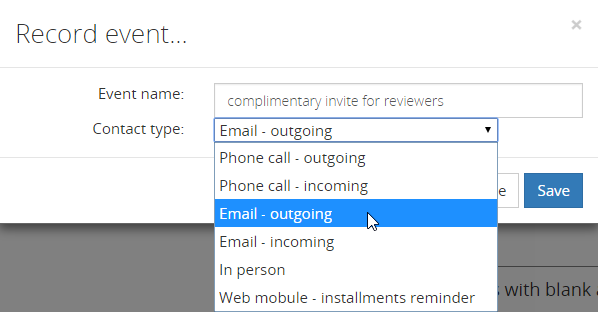
Under Adjustments, Record event against patron makes an entry in the communication record for each patron. When ticked, a Record Event... window will prompt you for an Event name and Contact type for the communication log.
Once you have selected your preferred output options, click the Run button to view the results of your query.
Creating and Modifying Groups Using Query Results
You can create a new group or add patrons to an existing group using the results of your custom query.
In the Output view, click the New group... button to specify that patrons identified by your query should be added to a new group.
A Create new group... window lets you specify the name of the new group and choose between a Normal group and a Self-opt group. The difference is that a Self-opt group will also appear on the website as an option for patrons to select when modifying their personal records.

Click Add group then Run the query to add the results of the query to the new group.
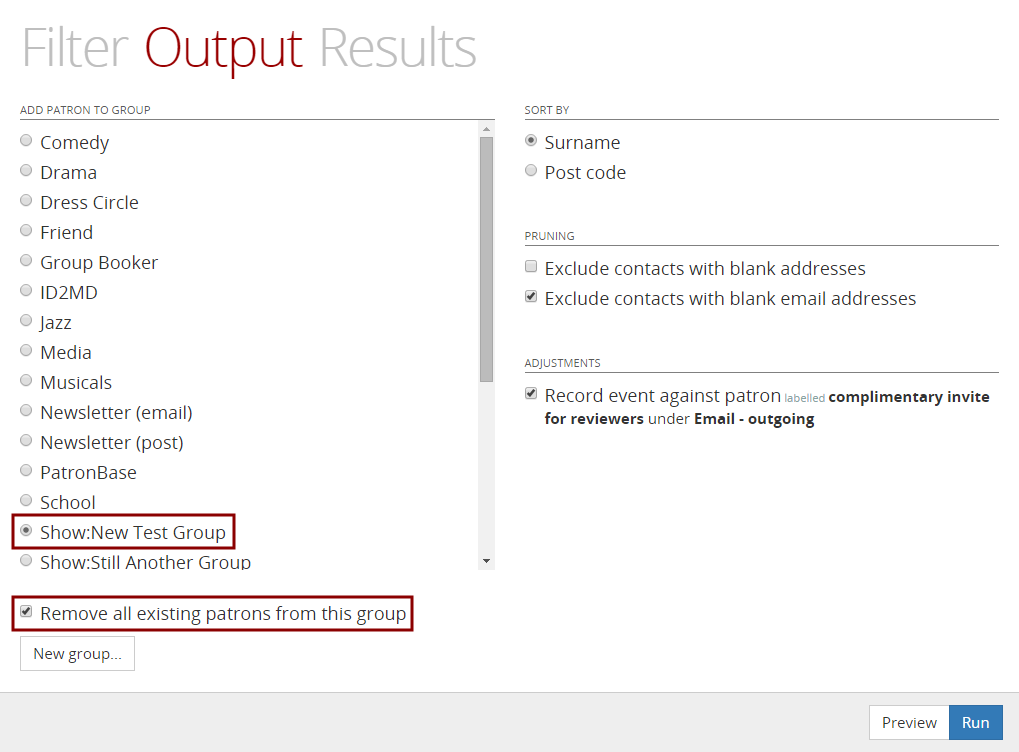
Alternatively, you can modify an existing group. Select the group from the list of groups under Add patron to group. You also have a choice: you can simply add patrons found using your query to the selected group, or you can choose to only have the patrons found using your query in the selected group. When you tick the checkbox Remove all existing patrons from this group any patrons who are currently identified as being in that group will be removed from the group, and only the patrons identified by your new query will be group members.
Saving and Loading Queries
You may wish to keep a particularly useful query so it is available the next time you need it. Once you have crafted your query, click the Save query button. This will save a *.json file to your computer.
If you already have queries saved for recall, click the Load query button and navigate to the folder with the saved queries. Select the *.json file for the query you want, and click Open.
Please note that saving and loading queries will not work on Apple iOS devices, as iOS does not provide a file system for storing files.

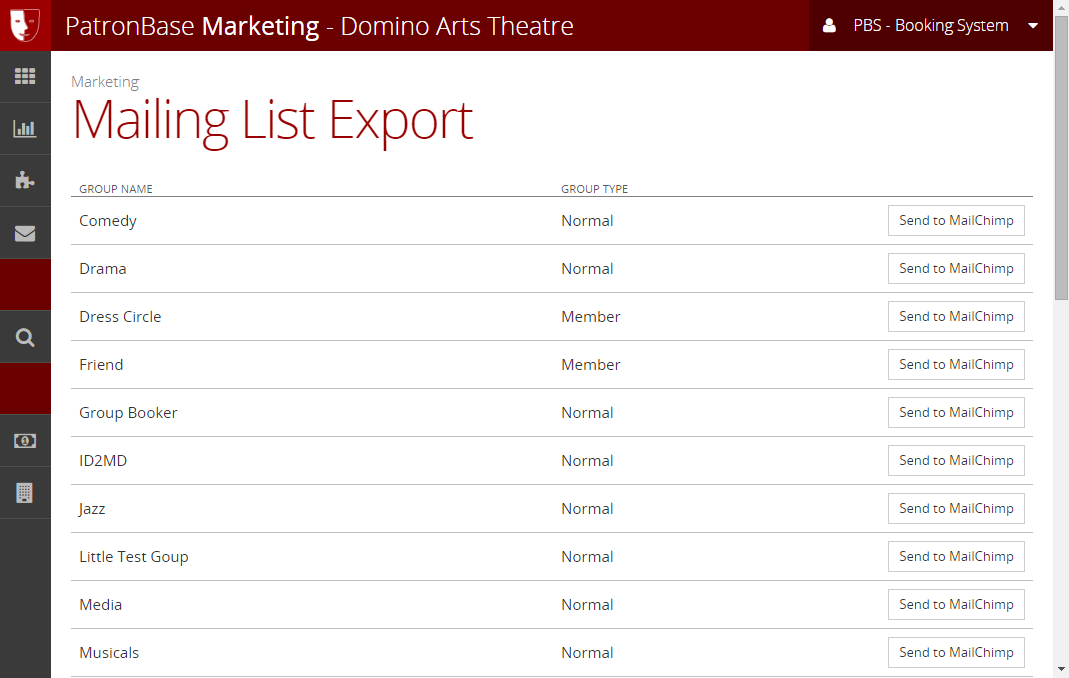
Mailing List Export
The Mailing List Export tool lists all the patron groups that have been defined. To send a marketing campaign email to a group, find the group in the list and click its Send to MailChimp button.
You will see a Sending to MailChimp... window with a progress bar.
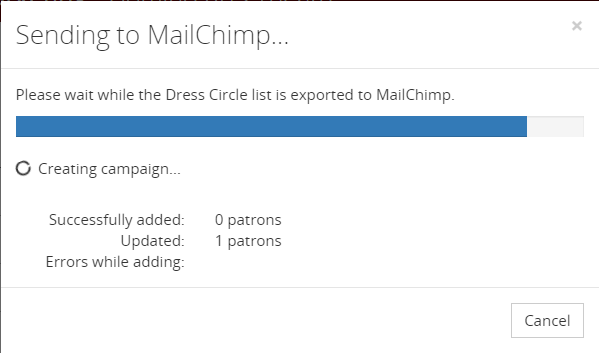
Once completed, the Sending to MailChimp window changes to offer the options Close or Continue editing in MailChimp.
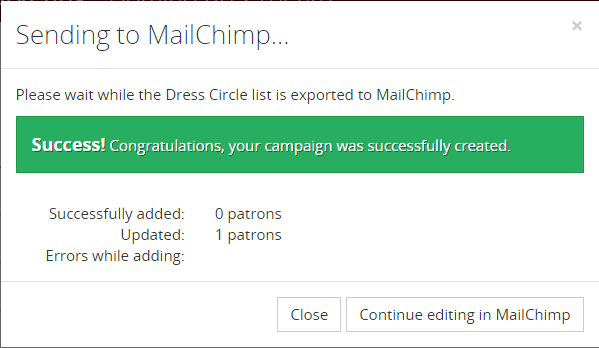
Close will dismiss the window, while the Continue editing in MailChimp window will open a new browser window at the MailChimp login screen. If you are already logged in on the MailChimp system, this window will be skipped.
Continue with MailChimp to construct your mailout campaign information and to send the emails to patrons in the selected group.