Making a Sale with QuickPOS
If you have not already, login to the terminal, as described in Login to POS Terminal.
Your home screen will differ depending on the options set for your terminal. See Configure QuickPOS.
If the terminal is set for Product Sales (Only) you will see only tiles for products.
If it is set for Tickets Sales (Only), you will only see tiles for productions.
If set for Products (+ Tickets Tile) , you will see product tiles, and a ticket tile either as the first or last tile.
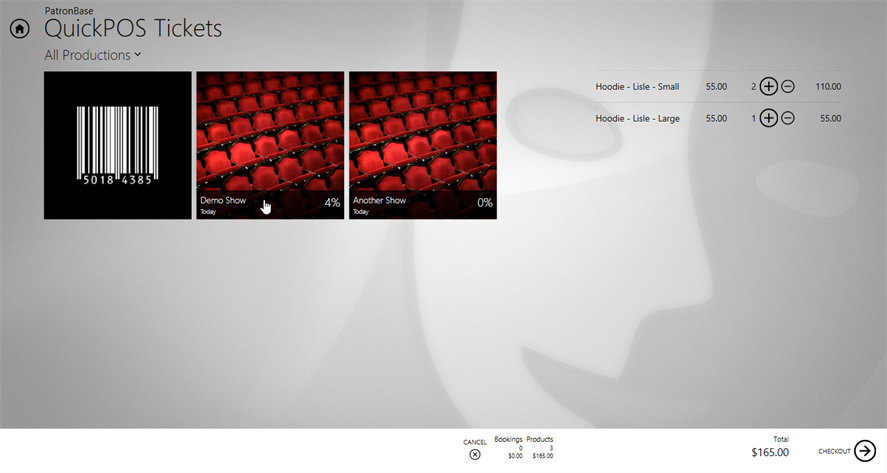
If set for Tickets (+ Products Tile), you will see tiles for each production, plus a tile to access the products catalogue.
From the home screen, you will want to do one of the following:
- Make a simple sale of a single item, either a product or tickets to a production
- Make a multiple-item sale of products, perhaps including tickets also
- Make a multiple-item sale of tickets, perhaps including products also
Make a Simple Product Sale
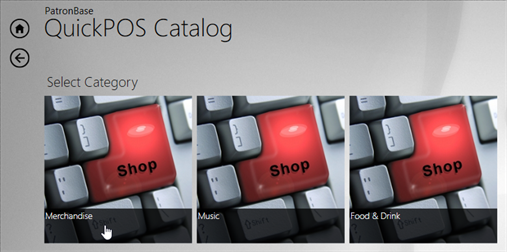
Find the product tile on the screen. Products may be organised into categories, requiring selection of a category tile first.

You may need to scroll the screen to see more tiles.
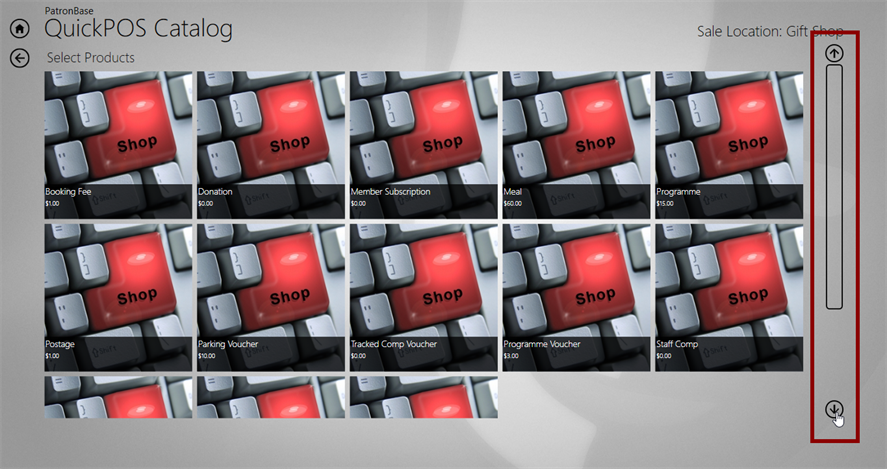
Select the tile for the product.
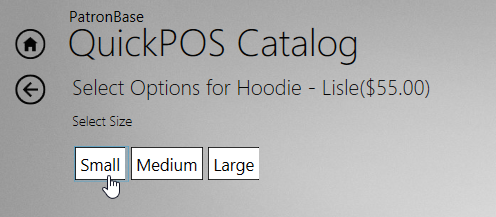
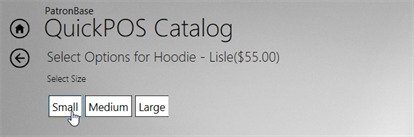
If there are variations to choose from, select the variant the customer is purchasing.
You will see a shopping cart list on the right, with further product tiles available for selection on the left. You can change the quantities of the selected item in the cart. Using Administration, operator groups can also be assigned permission to edit the unit price of items in the cart. This is useful when the operator needs to have the discretion to discount an item at the till. Use the Edit Price of booked tickets function when assigning group functions.
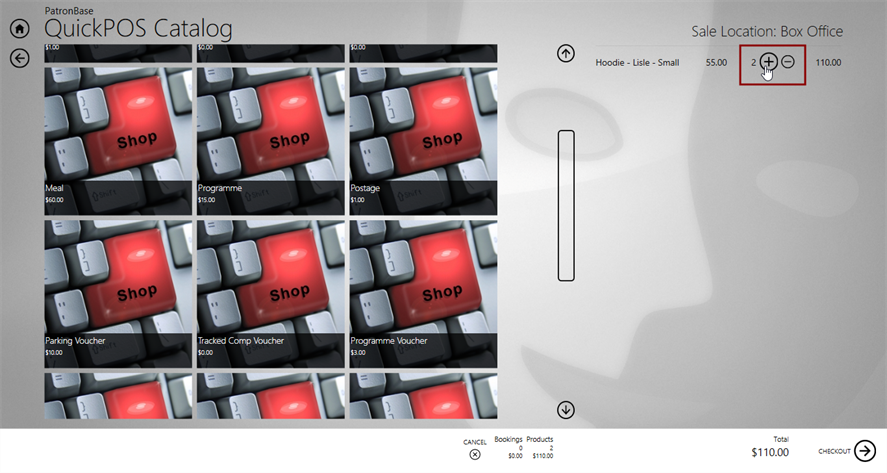
Finally, select the Checkout button at the bottom right of the screen.
The next steps are described in Checkout and Finalising Purchase.
Make a Simple Ticket Sale
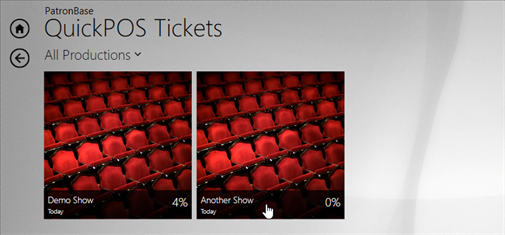
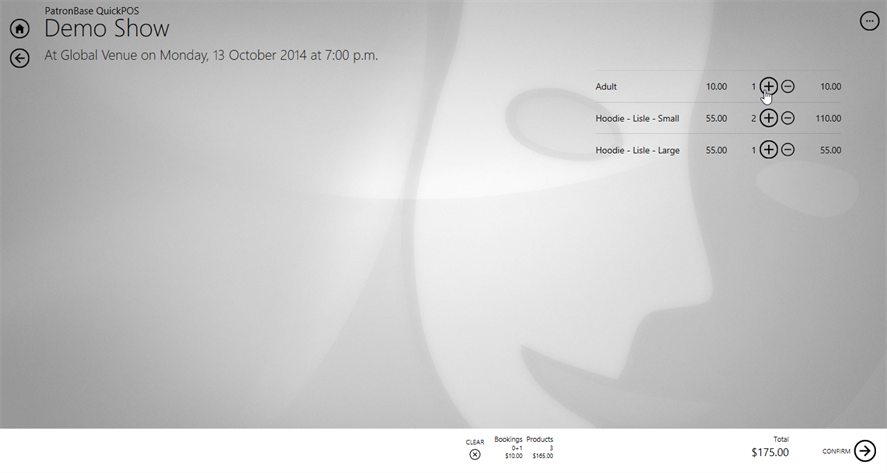
Select the production from the tiles on the desktop.
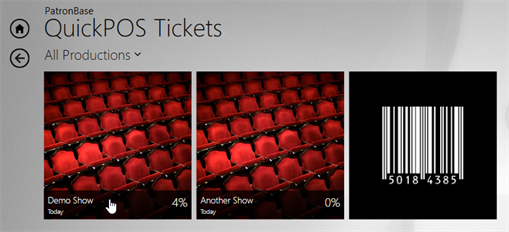
If there are a lot of production tiles, you may find it helpful to use the production filter, just above the tiles. Select the filter type and set your filter constraints.

Change the quantity of tickets to the number requested by the patron.

Select Confirm once the quantity of tickets is correct.

You are returned to the home screen, where further tickets or products can be selected. Select Checkout to continue.

The next steps are described in Checkout and Finalising Purchase.
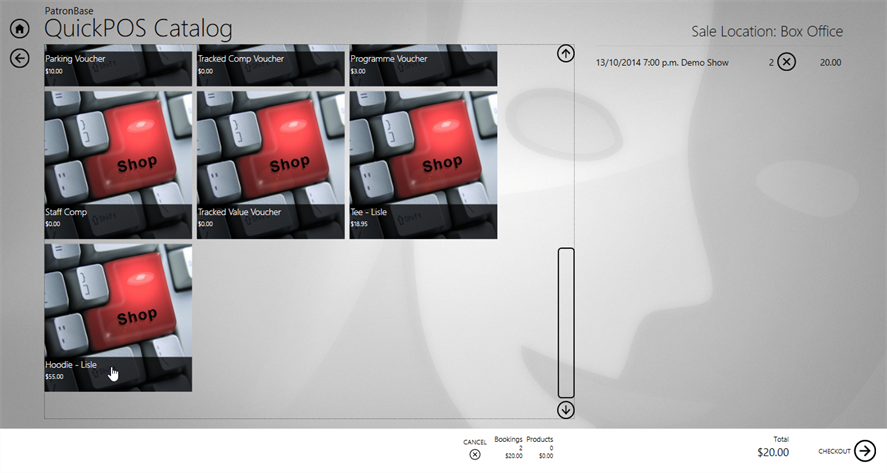
Make a Multiple-Item Sale, Products First
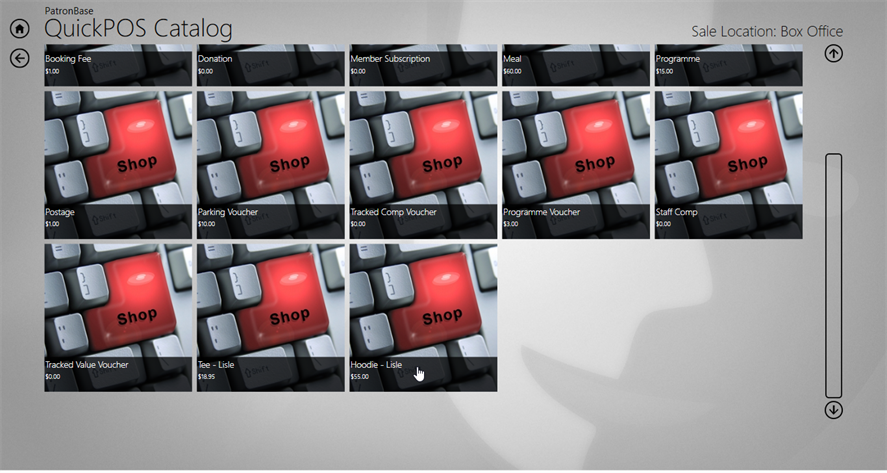
Find the product tile for the first product to be rung up. Products may be organised into categories, requiring selection of a category tile first.

You may need to scroll the screen to see more tiles.

Select the tile for the first product to ring up.

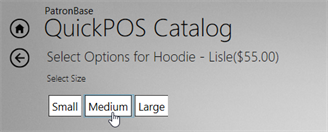
If there are variations to choose from, select the variant the customer is purchasing.
When the shopping cart list appears, adjust the quantity of the product, if necessary.
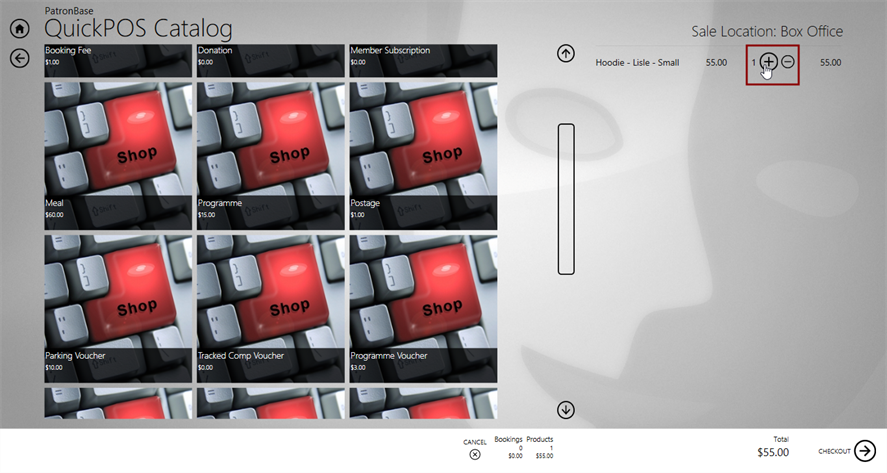
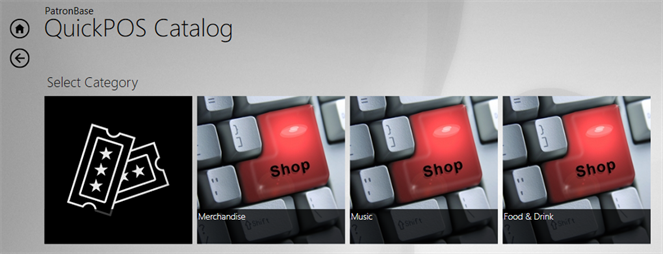
You can add other products from the current product category by selecting from the tiles on the left. To add products from another product category, or to add tickets to the cart, click the home button in the top left corner.
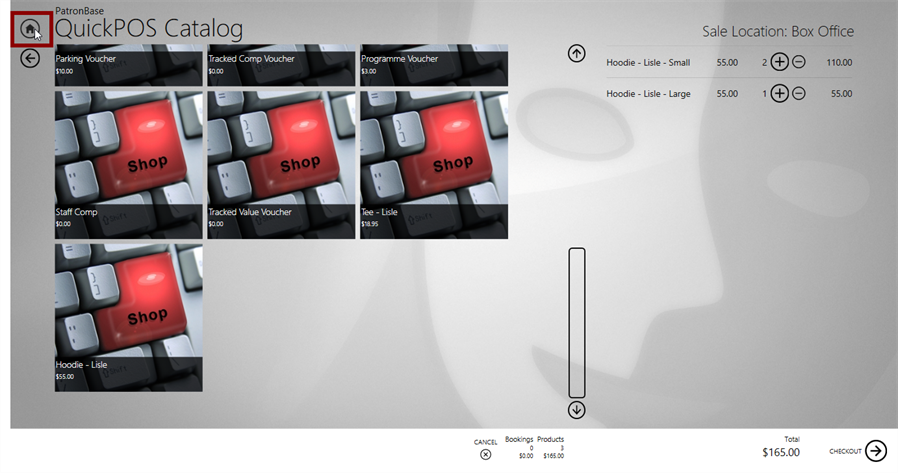
Select the category for the next item. Here, the patron has asked for tickets to a performance.

Select the specific performance.
Change the quantity of tickets as requested by the patron.
If there are no further items to be added, select Confirm.

If there are no further purchases to add, click Checkout.

The next steps are described in Checkout and Finalising Purchase.
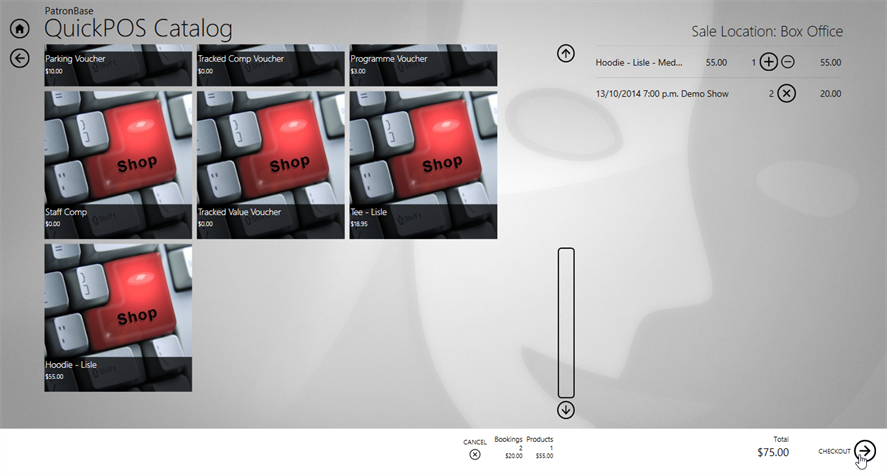
Make a Multiple-Item Sale, Tickets First
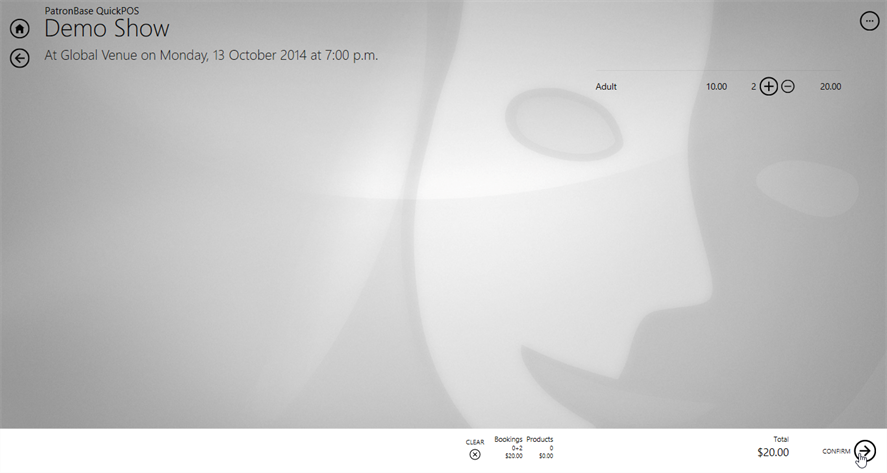
Select the production from the tiles on the desktop. If there are a lot of production tiles, you may find it helpful to use the production filter, just above the tiles. Select the filter type and set your filter constraints.

Change the quantity of tickets to that requested by the patron.

Select Confirm.
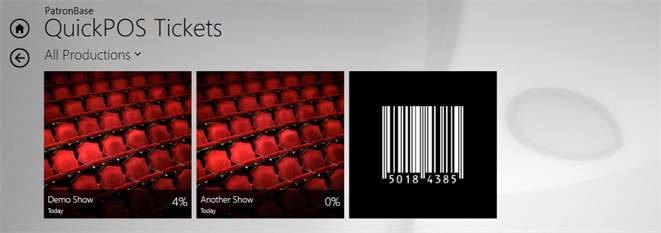
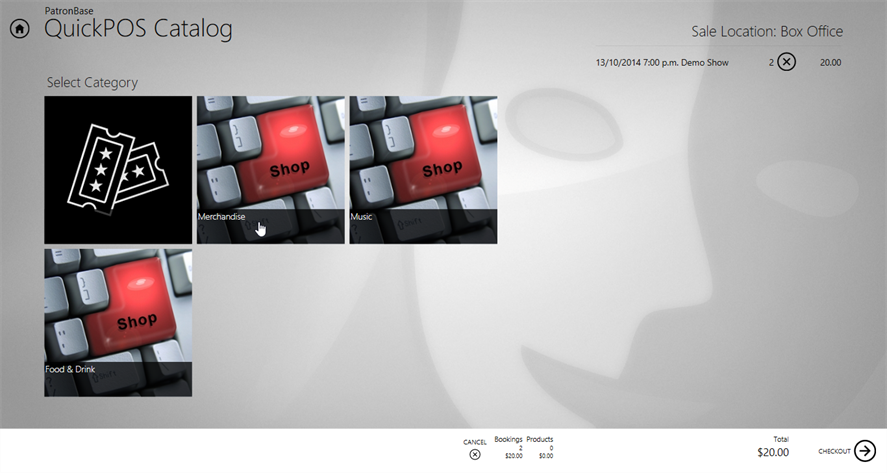
Now you can select further performances to add to the shopping cart list, or you can add products. The image below shows the selection of the product tile.

Select from the available product categories.
Find the product tile, scrolling down if necessary, and select it.
If there are variations to choose from, select the variant the customer is purchasing.
Add any further products from this category, or if finished, select Checkout.
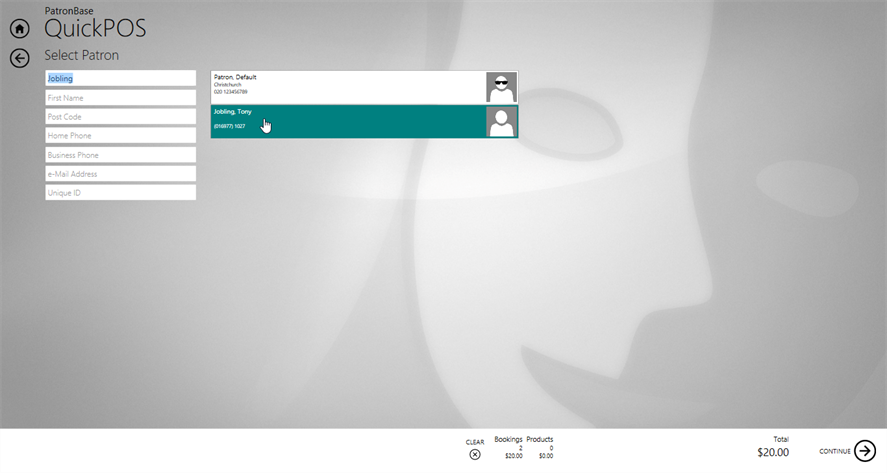
Checkout and Finalising Purchase
You have selected your products and/or tickets, specified the correct quantities, and selected Checkout.
Depending on your terminal’s settings, you may be asked to identify the patron at this point. Their membership card can be scanned, or you can enter in some details such as their last name or phone number. The system will search for patrons matching these partial details and will present a list of matches under the default patron.
You can select the default patron instead of identifying the patron making the sale.
Select Continue once you have selected the patron from the list.
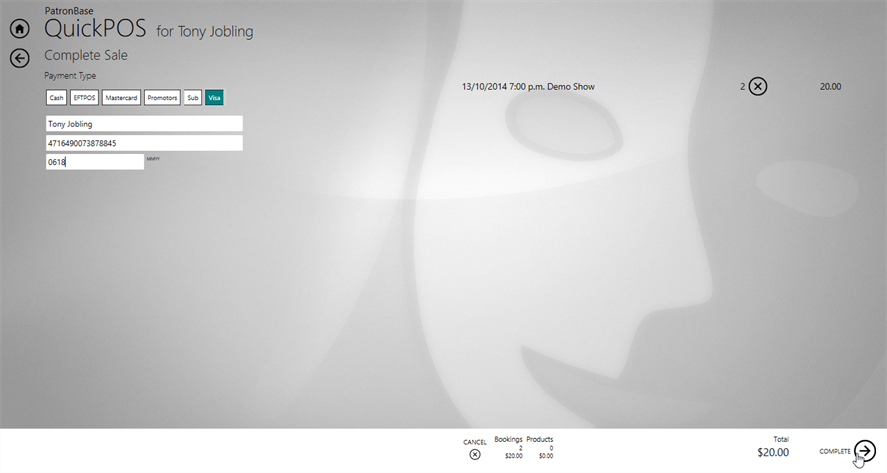
Select the payment type offered by the patron. Complete the details as required for the selected payment type.
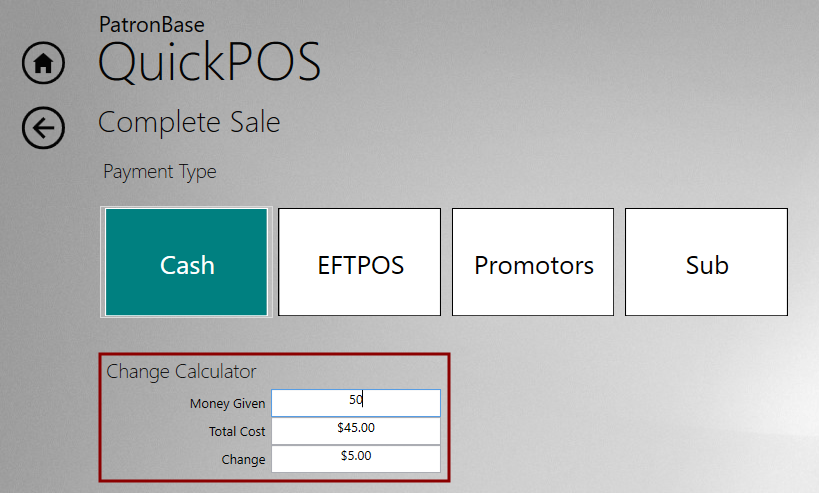
If Cash is selected as the Payment Type, a Change Calculator is displayed to assist operators provide the correct change. The Total Cost is pre-populated. Enter the amount tendered by the patron in the Money Given field, and the Change will be automatically calculated.
When you have completed the details required for the payment type, select Complete. A screen confirming the details of the sale will display. Click Continue to return to the home screen.