Making a Booking
Making a Booking For a One-Off Event
Within the Day View, select the day for the booking using the calendar date picker at the top left. Tick the desired Venue for the booking.
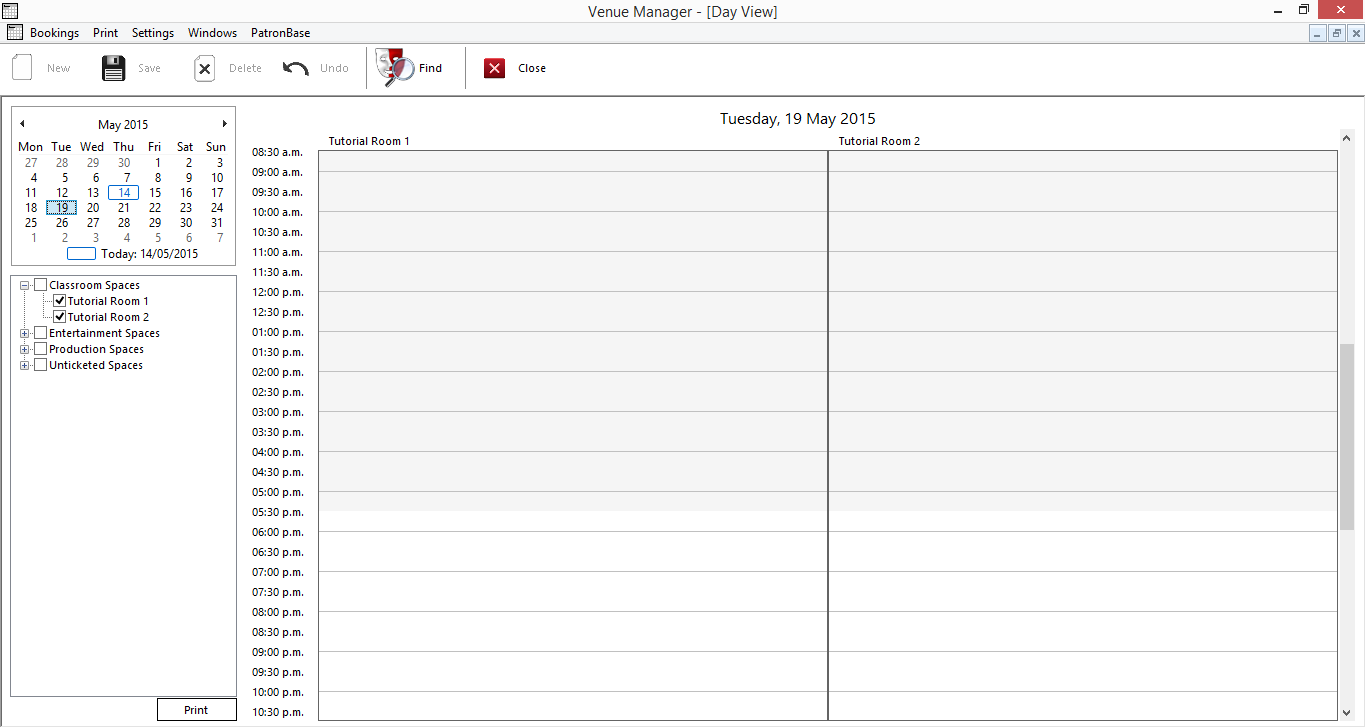
Check the availability of the venue at the patron’s preferred time, and if there are existing Exclusive bookings, help them find an alternative time or venue.
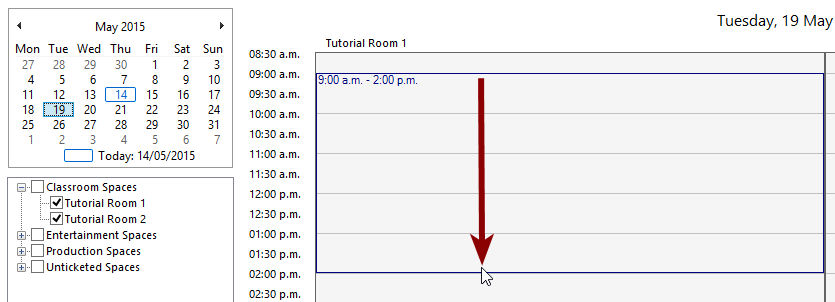
Having identified a timeslot the patron wants, drag across the timeslot for the venue. With the mouse cursor at the start time, left-click-and-drag the mouse to the finish time, then release the mouse button.
A new booking form will appear. Specify a Title for the booking that describes the booking. You can type in a new description or you can select from the Booking Categories that are listed in the dropdown list options for the Title.
Search for a patron by entering details into any of the patron details fields. Select the patron from the list on the right, then click Select. If the patron does not yet exist in the system, you can Add New instead.
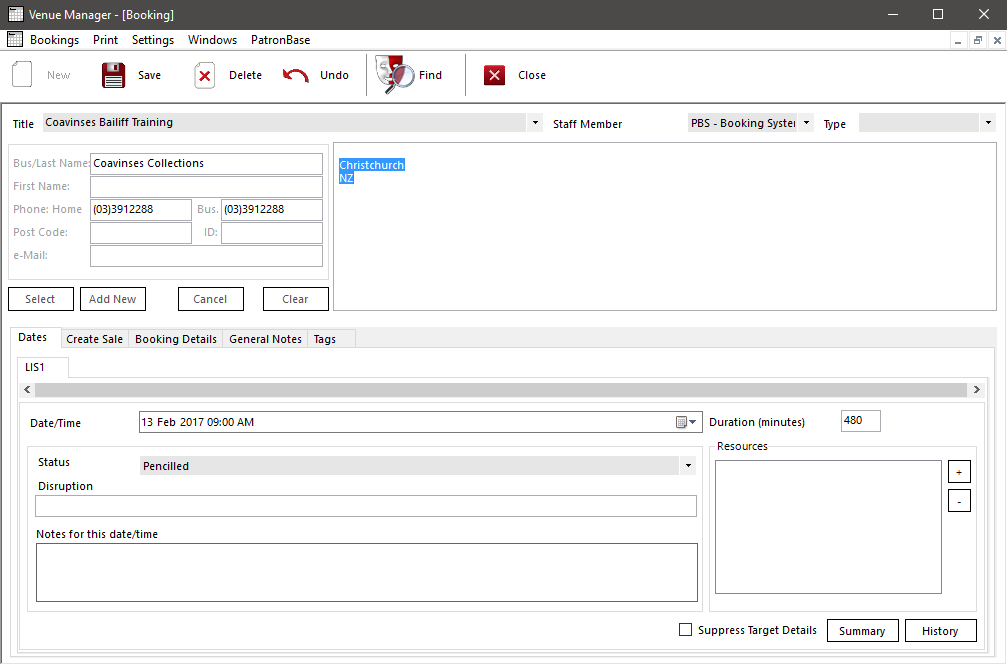
Select the Save button in the toolbar to preserve the booking before proceeding further. Note that additional tabs will appear, including a Communications tab, Roles tab and any Custom Notes tabs.
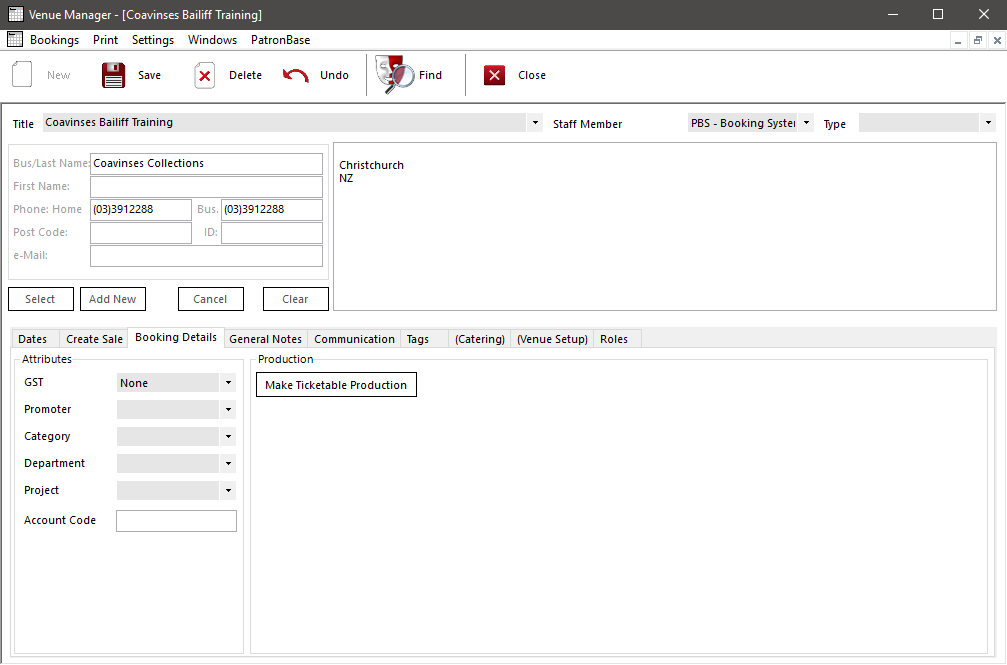
Select the Booking Details tab. Here you can enter details for the following Attributes:
GST specifies the sales tax rate that will be used on sales of tickets for this production. Note that the GST term is a customisable setting, so your system may have VAT or another term here. See Sales Tax (VAT/GST/IVA) Rates.
Promoter offers a list of customisable options. To define the promoter list, see Promoters.
Category offers a list of customisable options. To define the production categories, see Production Categories in Adding Production Types, Categories, Projects and Departments.
Department offers a list of customisable options. To define the department list, see Departments in Adding Production Types, Categories, Projects and Departments.
Project offers a list of customisable options. To define the project list, see Projects in Adding Production Types, Categories, Projects and Departments.
Account Code is the place to enter the relevant GL code used by your accounting system.
Multiple-Venue Bookings
It is also possible to book multiple rooms or venues in a single booking.
Set up a booking for the first room, as described above.
Click Save to preserve this booking.
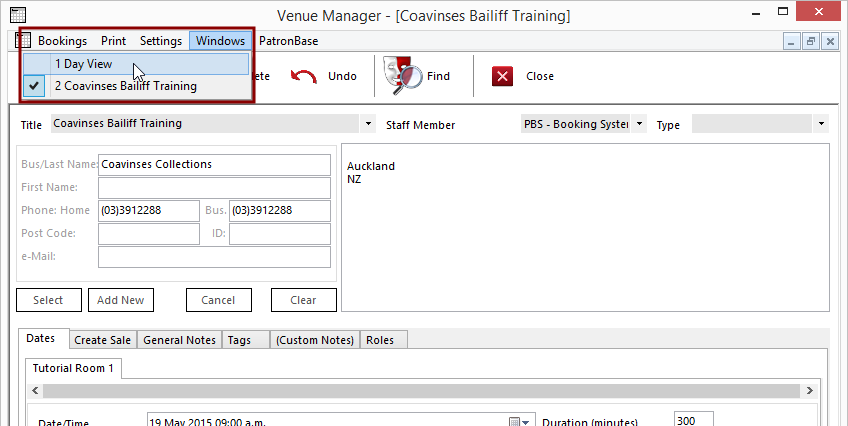
Change from the currently selected booking window to the Day View window. It is still open but is covered by the booking window. There are two alternate ways of selecting the Day View window:
- Select Windows > Day View from the menu:
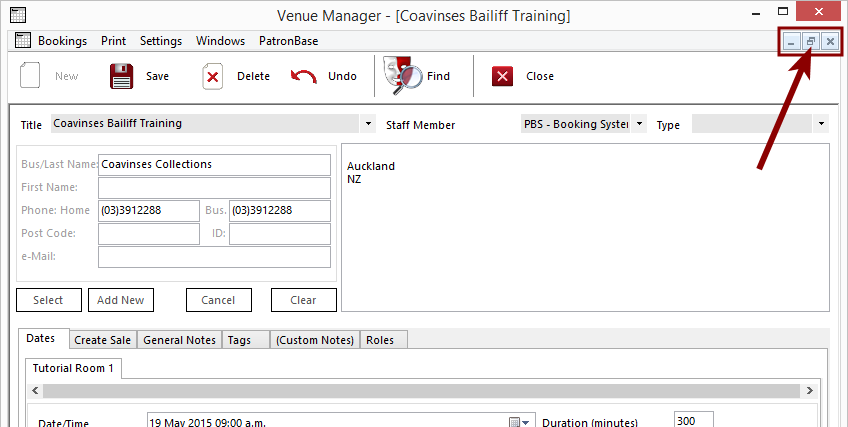
- Click the Restore Down button for the window, then drag the booking window out of the way so you can find the Day View window. The Restore Down button is the one indicated by the arrow here:
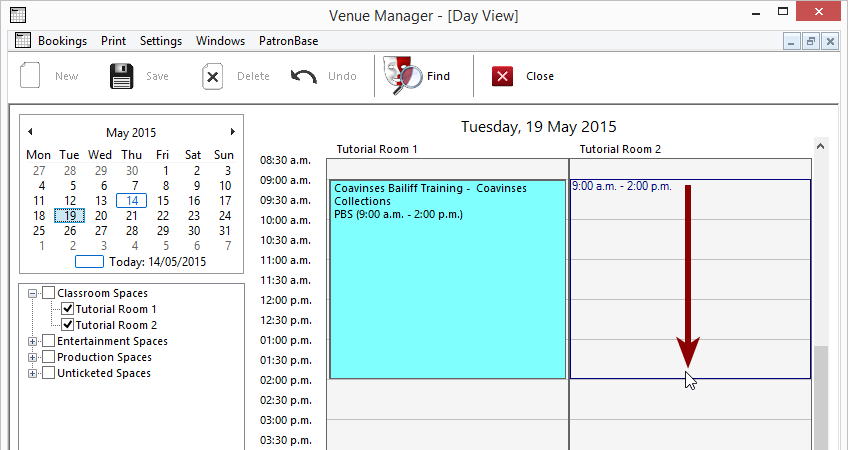
Having switched back to the Day View window, select another room or venue and a booking time.
This time, instead of a booking window appearing, you are prompted with the following message:
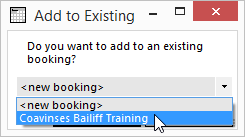
You have the choice of creating a new booking, or adding the new selection to the existing booking. If you select the latter, a new tab will be added to the booking window:
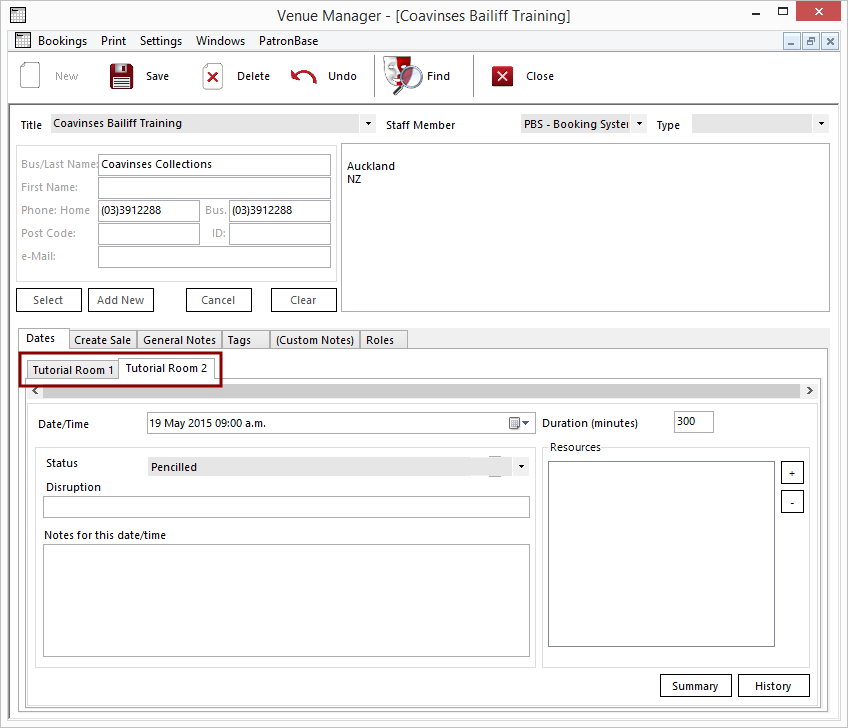
You can repeat this for additional rooms or venues. The booking dates and times need not be identical. When billed, this booking will combine the booking fees for each of the venues into a single charge.
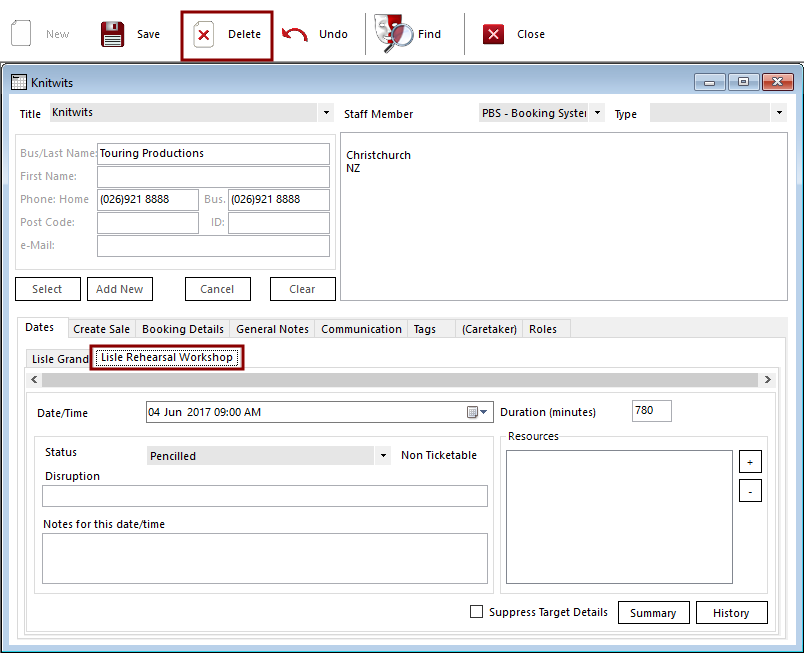
If you select the wrong venue, you can delete the entry. Select the venue to be deleted and click the Delete button in the toolbar.
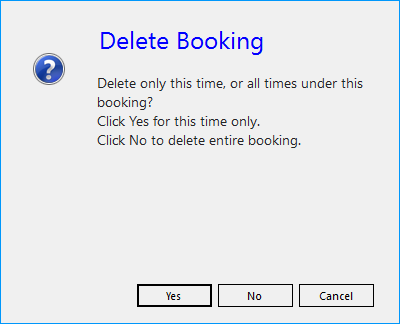
You will be prompted to indicate whether you want to delete only the selected venue/event or the entire booking.
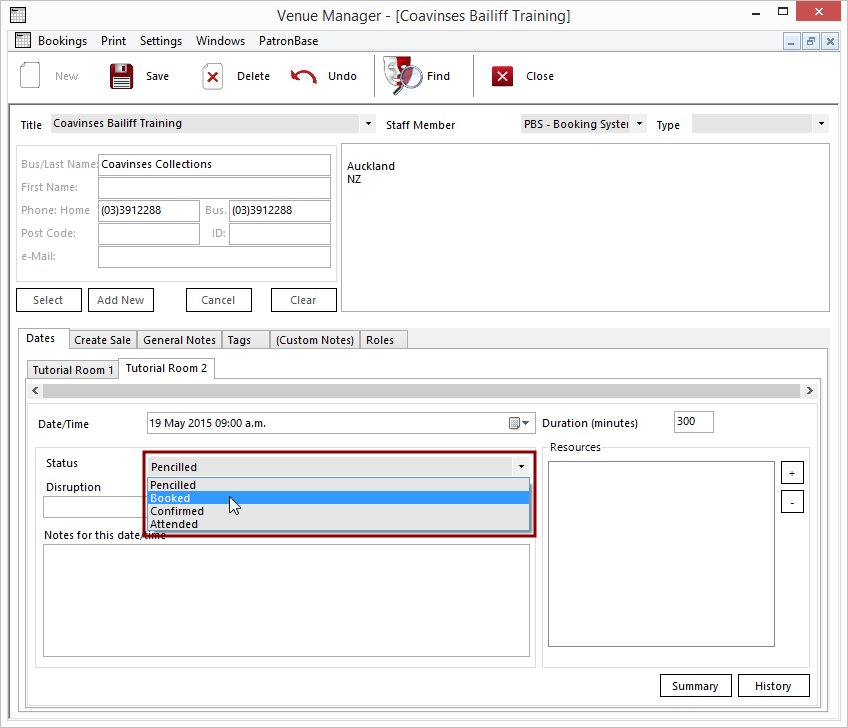
Specifying a Booking Status
Select a booking Status from the customisable list. You can change the Status as many times as you like, and you can change the booking Status back to a status used earlier, if you want. The exception is for ticketable events, which cannot have the Status changed once it has been set to an exclusive status. This protects the booking from problems associated with changing the booking to a non-exclusive state after tickets have been sold. This sort of management needs to be performed from Administration, if required.
Adding Resources
Resources added to a booking cannot be double-booked for the same time or for an overlapping time.
To add resources to the booking, click the Add button.
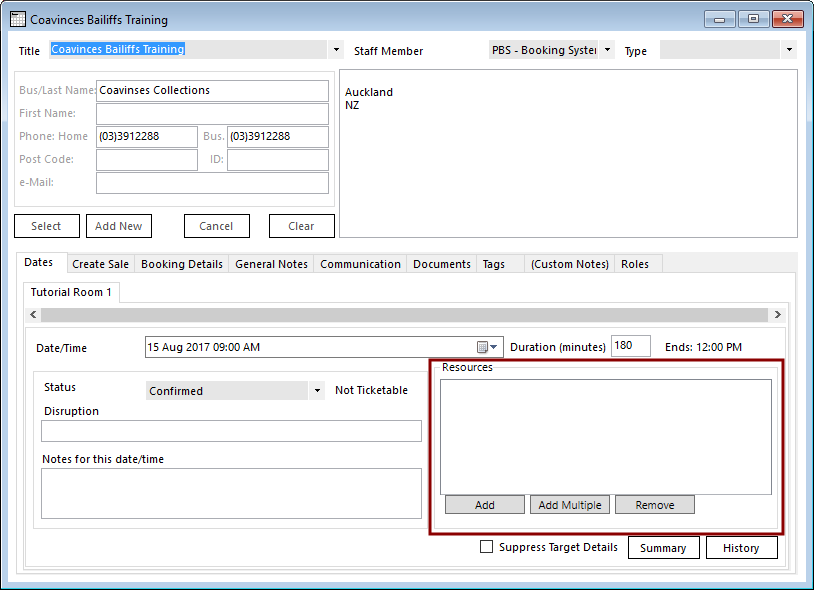
The Resources window will ask you to select a resource to add to the booking.
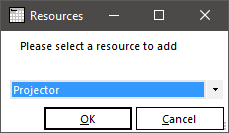
If there is no charge for the resource, it will simply be added to the list of Resources in the booking.
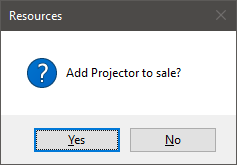
A resource can be charged for if a Product has been created in Administration and this Product has been selected as the Booking Fee in Settings > Resources. See Creating Resources for more details.
If a fee has been associated with the selected resource, you will be prompted to confirm that the resource should be added to the sale for the booking:
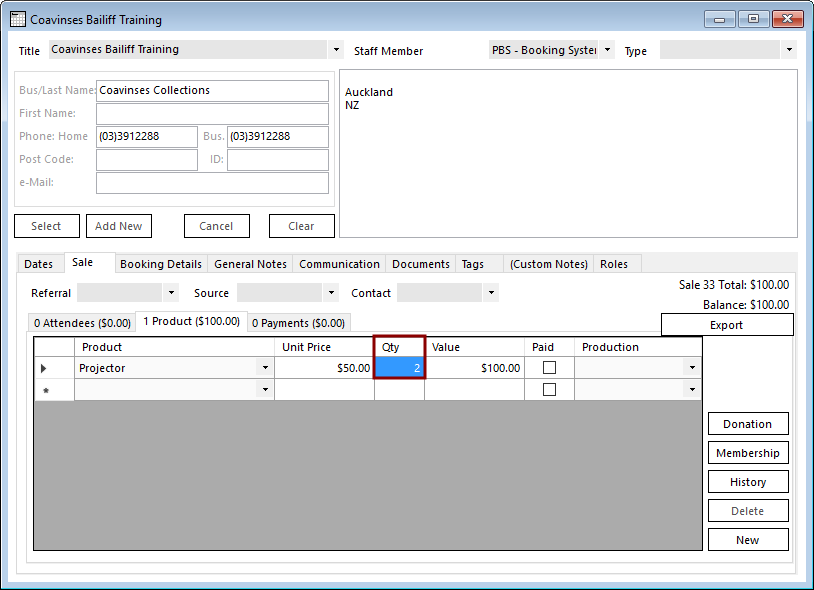
If the booking happens to include multiple dates or venues, you will need to select each additional date/venue in the booking and add the resources required to each in turn.
Check the Qty for the resources booked on the sale. Each time the resource is added to a venue/date, the Qty for the resource booked should increment.
Adding Multiple Resources From Resource Groups
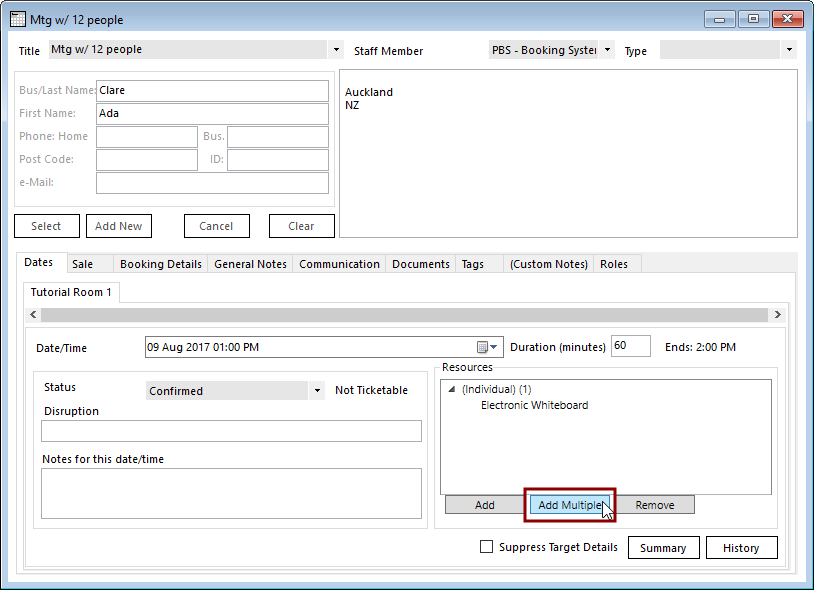
You can add multiple resource items from a Resource Group. Click the Add Multiple button.
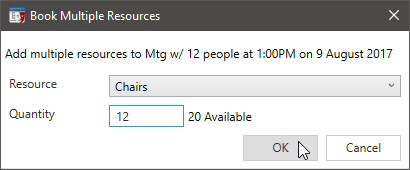
You will be prompted to select a Resource group from the available list and specify a Quantity of the number of items from the pool. Next to the Quantity box will be a note indicating how many resource units are available from the pool at the scheduled time.
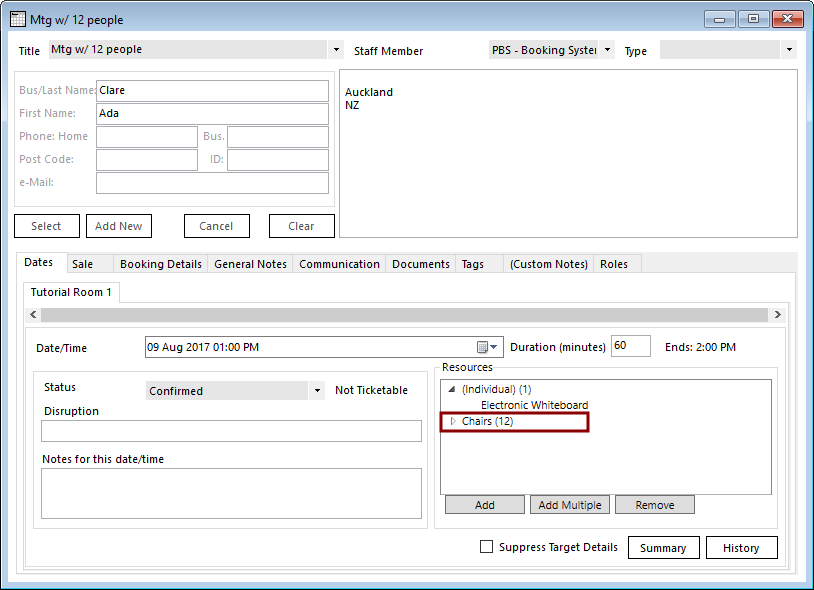
Once added, the Resource Group name and the number of units required from the group are listed in the resources for the Booking.
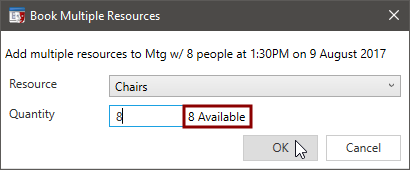
If another booking is made that overlaps with the existing booking, the number of available units in the Resource Group will be constrained because of the units already allocated to an existing booking.
This attempt to book an overlapping meeting shows that only 8 chairs are available, because the previous booking has already reserved 12 chairs.
If a booking is made that does not overlap a prior meeting with reserved units from a Resource Group, those units will still not be available if the new booking starts within the Transfer Time for the Resource Group items.
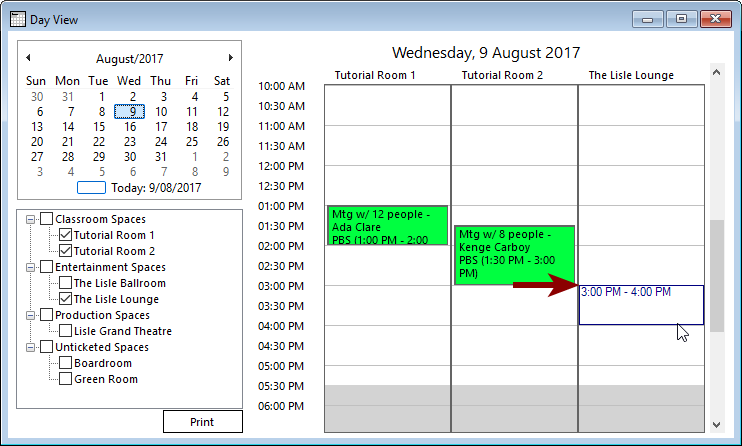
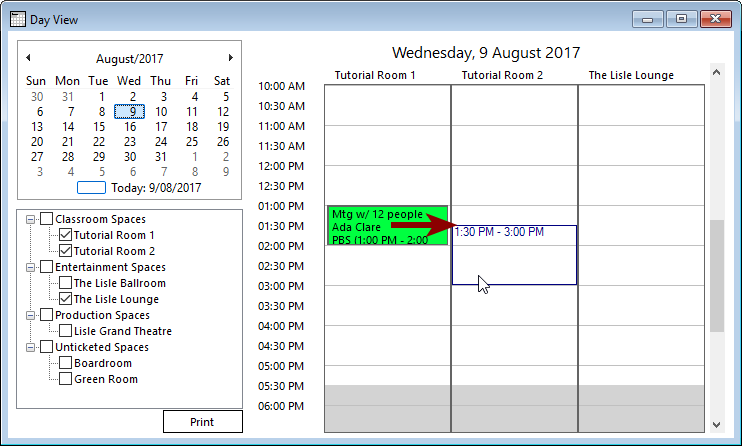
Here a meeting that does not overlap with any other meetings shows that only 12 chairs are available, as the 3:00pm meeting starts immediately after a meeting where 8 chairs are reserved, and the Transfer Time for chairs is 30 mins.

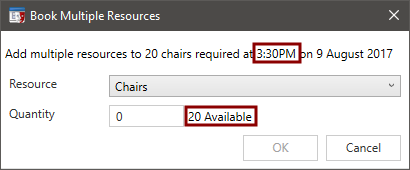
However, if the new meeting is delayed another 30 mins so the new booking starts at 3:30pm, after the 30 min Transfer Time, then the 8 chairs booked in the prior meeting are now seen to be available.
Adding Documents
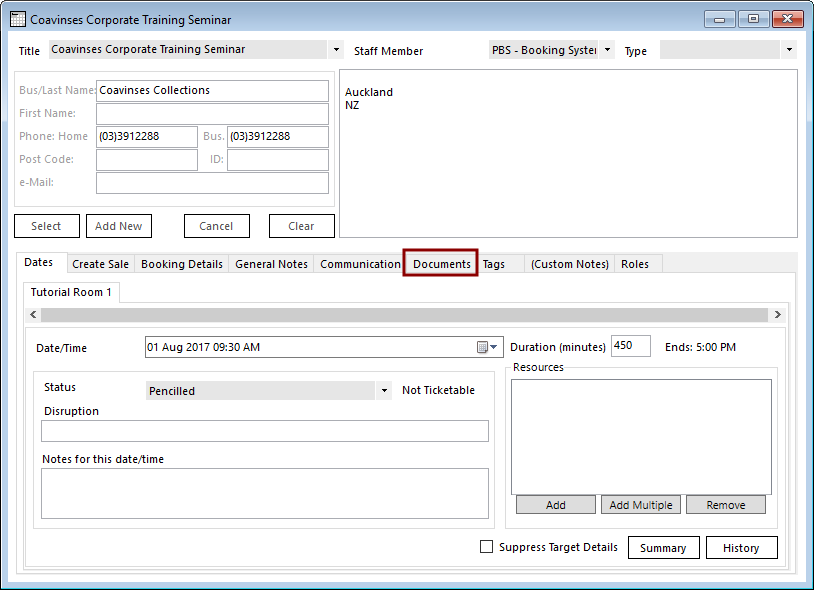
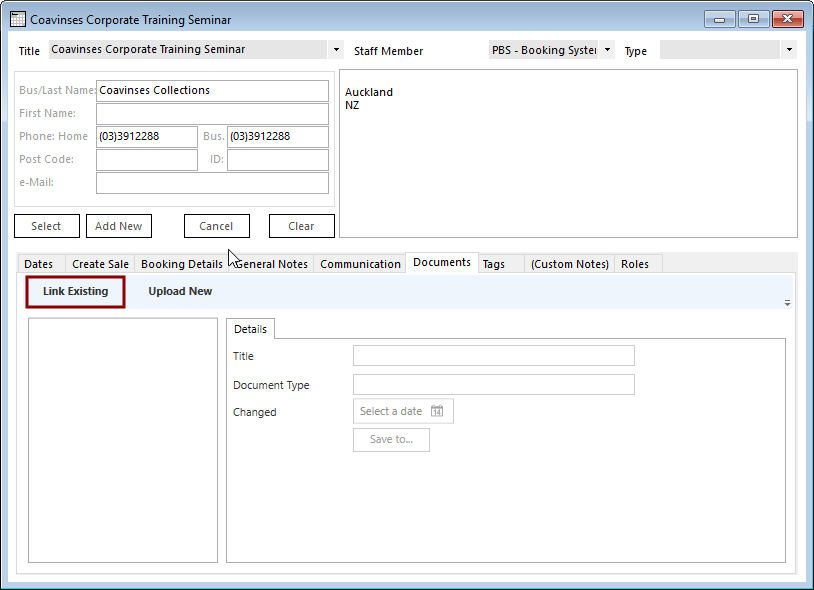
Documents relating to the venue booking can be attached to the booking using the cloud-based Document Storage option. This is an additionally licensed option, so speak to your PatronBase sales agent if you would like to license this feature. To attach a document, first enter some of the initial booking details and save them. Next, select the Documents tab.
If the document you want to link to the booking already exists in the system, you can select the Link Existing button. To learn how to add and manage files, see Store a New Document or an Updated Version.
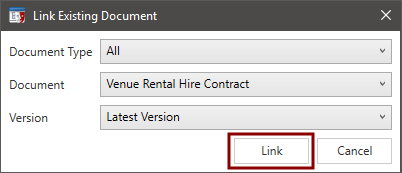
When you click Link Existing, the Link Existing Document window will open. Filter the list of available documents by first selecting the Document Type, then picking a document from the filtered Document list. You can also select which Version to attach. This defaults to the Latest Version, but you can select any available (not archived or deleted) version by choosing from the document version descriptions. Click Link to associate the booking with the selected document version.
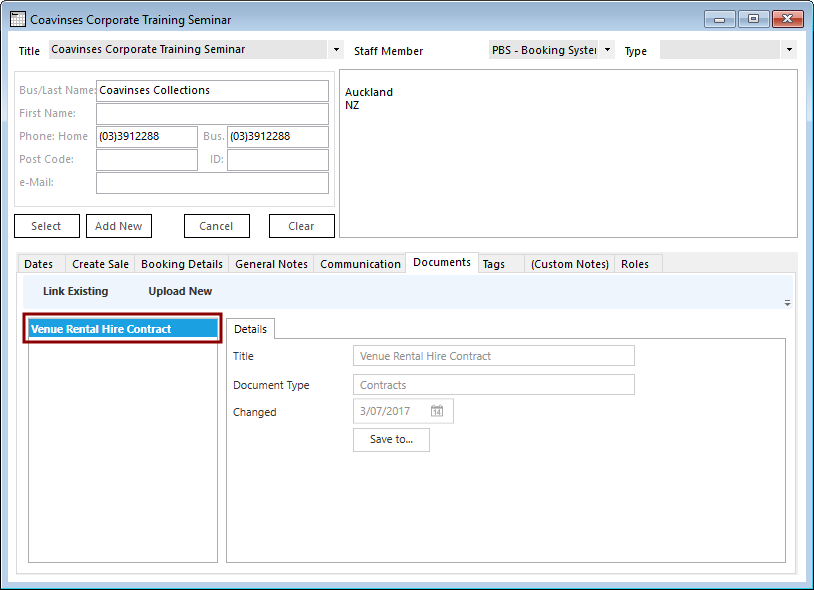
When you are returned to the booking window, the document you selected will have been added to the list of attached documents. When selected, the document details are displayed on the right.
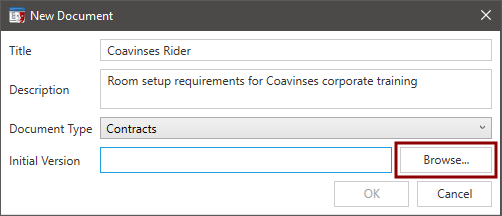
If the document you want to link to the booking has not yet been added to the cloud-based Document Storage system, you can select the Upload New button. The New Document window will open.
Provide a Title for the document, a Description, and select the Document Type. The list of document types is managed in Administration. See Create a New Document Type for more details.
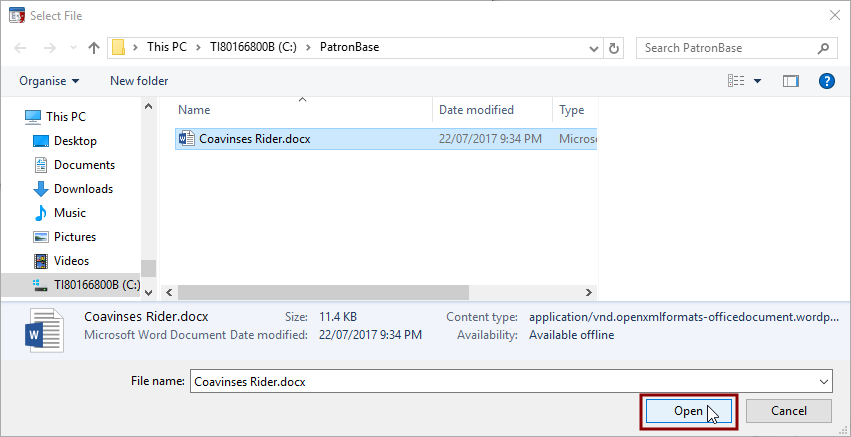
Click the Browse button to select the file to add to Document Storage and the booking.
Use the Select File window to locate the file on your PC. Select the file and click Open.
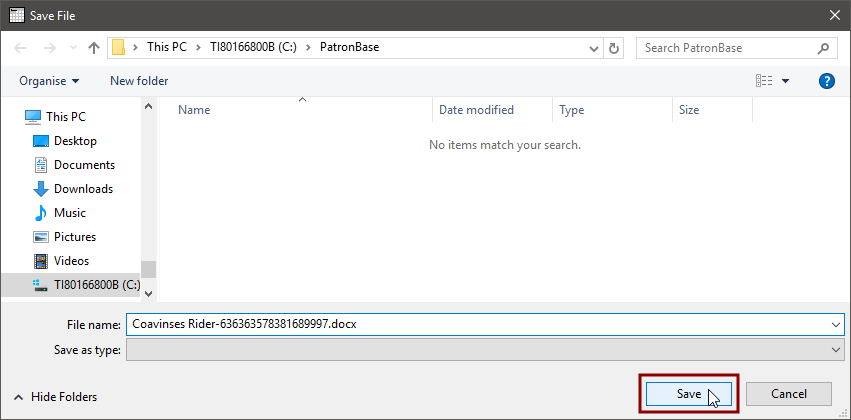
When viewing a booking, you can save the attached document to your local PC to view the file. Select the Documents tab, then select the file from the list of attached documents. Click the Save to button.

A Save File dialog window will open. Navigate to the location on your PC where you wish to store the file. The File name will default to the name of the file provided to the document storage system, with an additional unique number. You can choose to edit this file name before saving, if you choose. Click the Save button to save the file to the selected location.
Warning of Disruptions
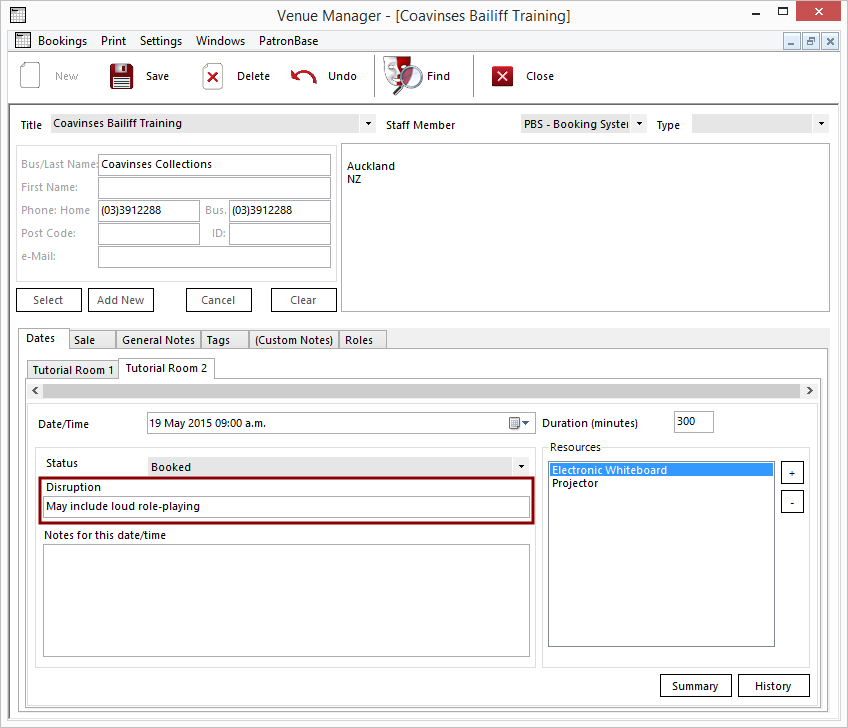
Some adjacent bookings may coexist quite happily, but this is not always the case. A band practise for a heavy-metal band could be an irritant to people holding a business meeting in the room next door. To prevent having to deal with the complaints from a situation like this, add a warning note in the Disruption field for a booking. The Disruption note can warn that there may be loud noises associated with the booking, or it might note that the booking expects peace and quiet.
When booking another venue in the same Venue Group, upon saving, the Disruption warning message will be displayed.
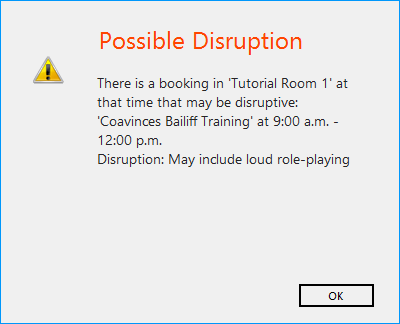
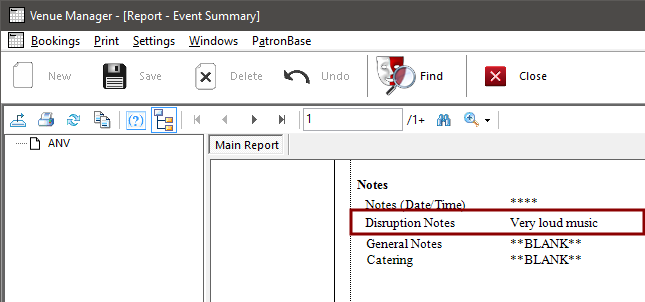
The disruption notes will also appear on the Event Summary report if it is generated. This makes it possible to notify people about potential disruptions even if they are not users of the PatronBase system.
Adding Room Rental Fees
You can hire out the venue in any of these ways:
- A flat fee per rental
- An hourly rate
- A per-attendee rate
If the venue is a ticketable venue, you can also convert the booking into a ticketable production. See Converting Booking Into Ticketable Production for more details.
Note: if the booking has no billable items, there will be a Create Sale tab. Once billable items have been added to the booking, it changes to a Sale tab. To add room rental fees to the booking, click the Create Sale or Sale tab. For convenience, this is simply called the Sale tab from this point.
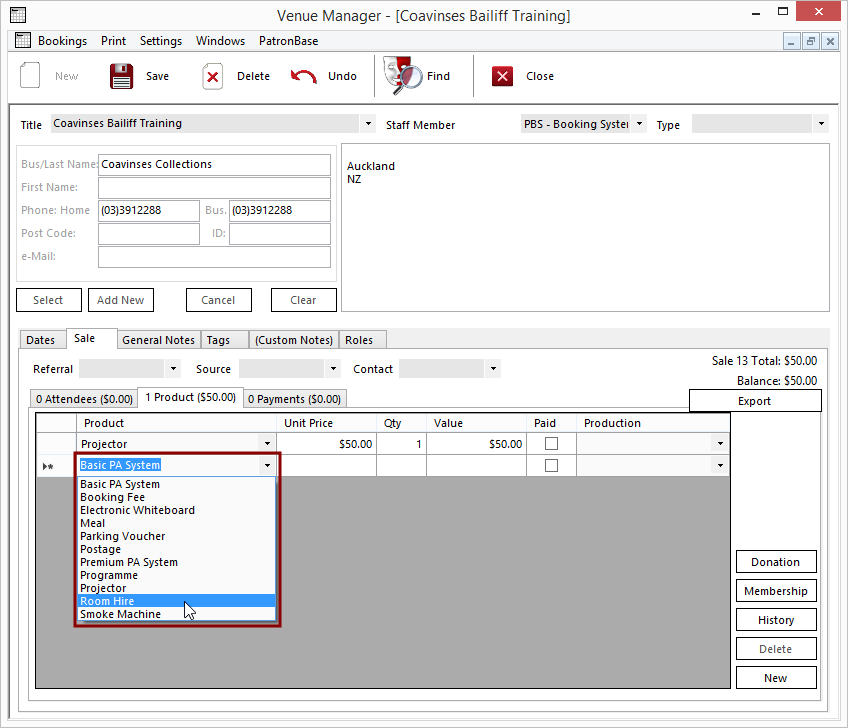
To charge a flat fee or an hourly rate, select the Sale tab of the booking and in the Product tab add an appropriate Product from the list intended for room hire. To learn how to create a Product to appear in this list, see Listing Products For Sale in Sales.
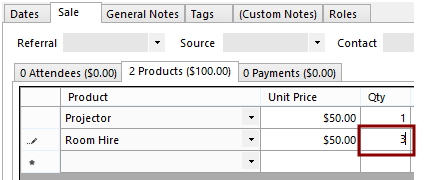
For a flat fee, leave the Qty at 1 or the number of venue/dates reserved in the booking. To charge an hourly fee, change the Qty to the number of hours in the booking.
To charge per attendee, the Venue must have been defined to include Pricesfor Book Types. See Creating a New Venue for more details.
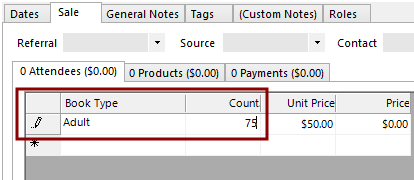
In the Sale tab, select the Attendees tab and add one or more Book Type entries. For each Book Type you add, specify a Count for the number of attendees expected.
Adding Notes to the Booking
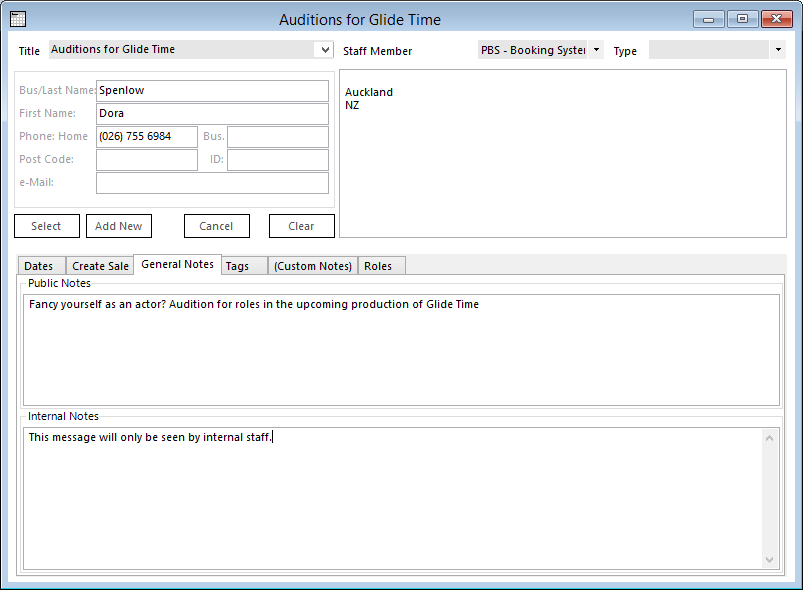
The General Notes tab offers places to make Public Notes and Internal Notes.
Adding Communication Records to the Booking
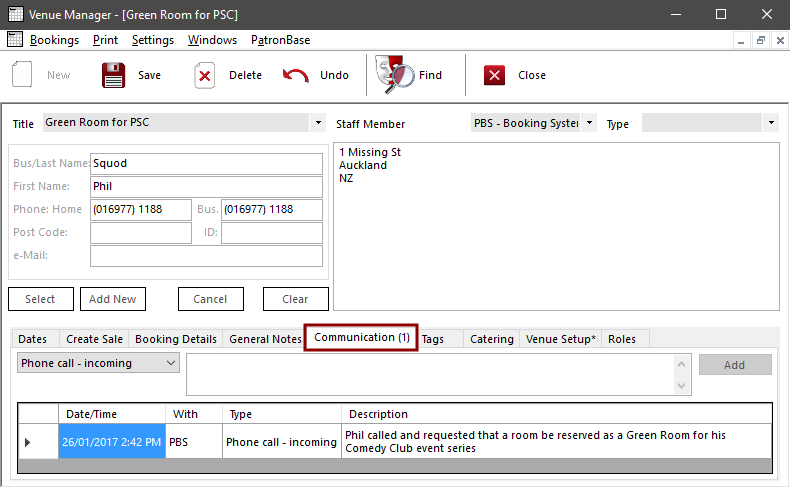
When you Save the booking, a Communications tab appears. Here operators can record details of conversations held with patrons who are booking rooms. This works like the Communications tabs on patron windows, with the selection of a patron Contact Type and the entry of a customised message.
Adding Tags to the Booking
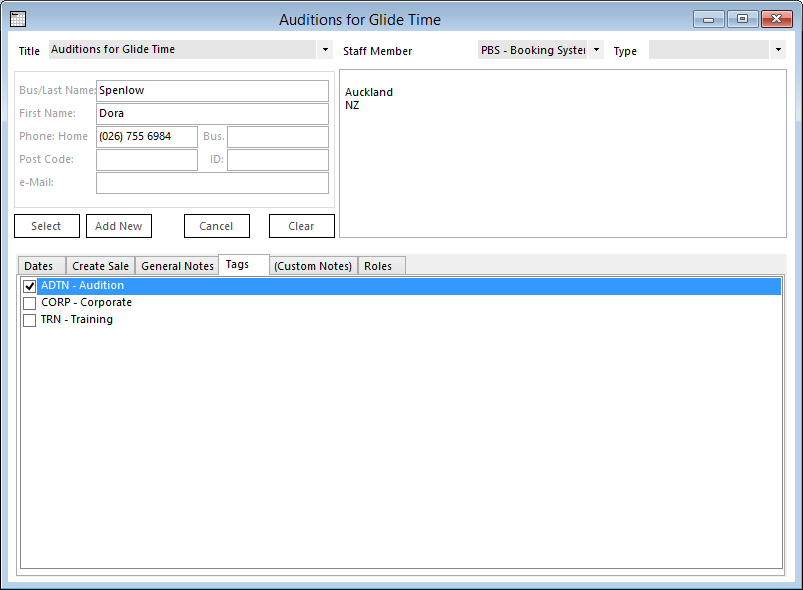
Tags can be added to a booking, which can be used in query filters in Marketing. Tags are defined in Administration. See Tags in Organisation for more detail.
Select the Tags tab in the booking window. Tick any relevant tag to enable it for the booking.
Specifying Role Assignments
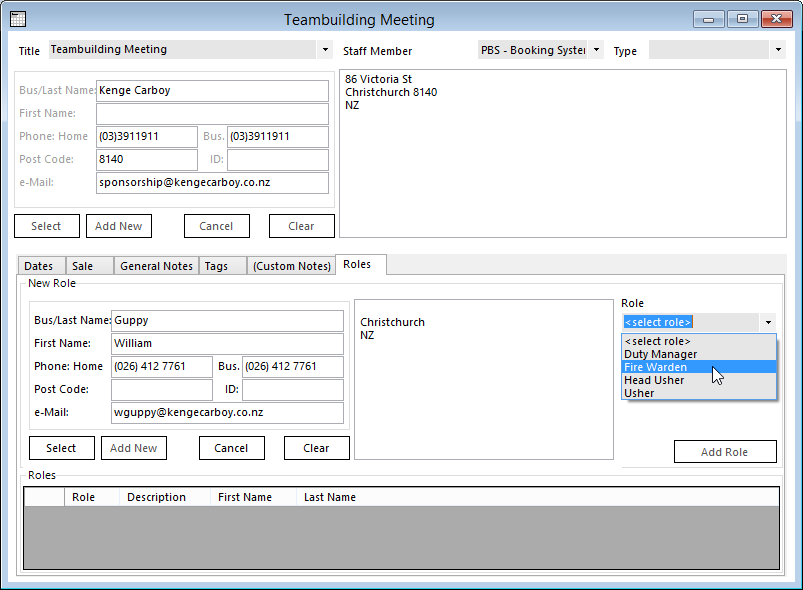
When specific people have been assigned roles or responsibilities for a booking, list people and their assigned roles. See Defining Roles for more detail.
Select the Roles tab in the booking window. Enter a patron’s details, and pick the patron from the list. If necessary, select Add New to add them to the database. Select the patron. Then select the Role the person will fulfil from the list of options in the Role field. Finally, click Add Role to add the person and their assignment to the list of Roles.
Making a Recurring Booking
Often, a reservation needs to be made on a recurring basis. Venue Manager provides a feature so you can create a series of events as easily as a single event.
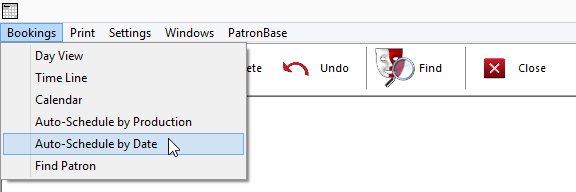
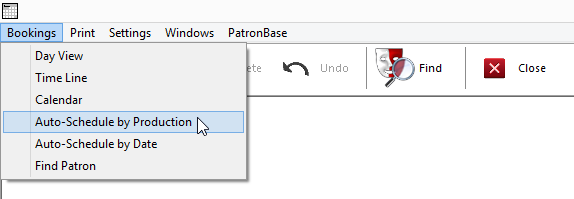
Select Bookings > Auto-Schedule by Date.
Specify the Venue that is to be reserved. Next to it will be a dropdown option list, with the options of <new booking> plus any currently open booking windows. If you already had an open booking window, this lets you add the new reservation to be part of the existing booking. Otherwise, leave it as <new booking> to manage the booking separately from any other booking.
Provide a Title to describe the booking.
If the reservation is not being associated with an existing booking, select a patron to associate with the new booking.
Choose a date range for the events by selecting a Start Date and End Date. Each of the events will have the same Start Time you choose and the same Duration. You can choose the event to recur Every day or on Specific days. If you choose Specific days, select the days of the week the event will occur on.
Select a booking Status from the options available.
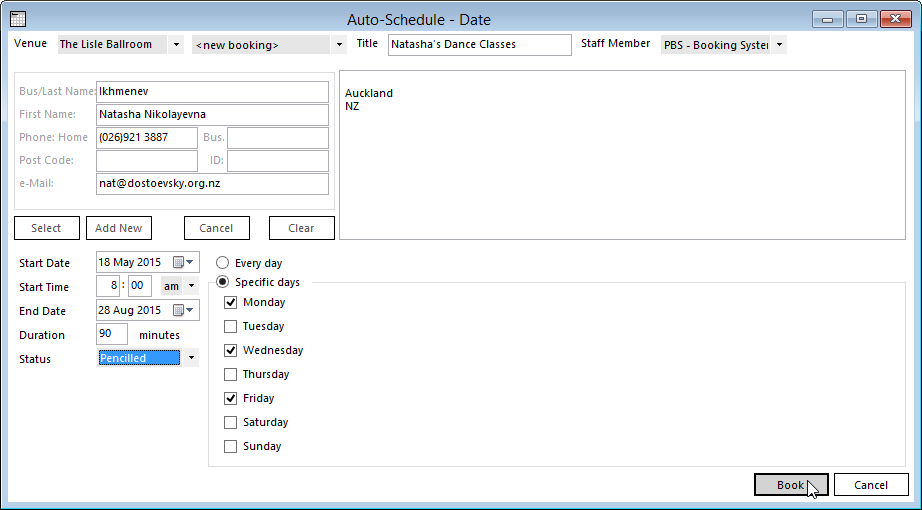
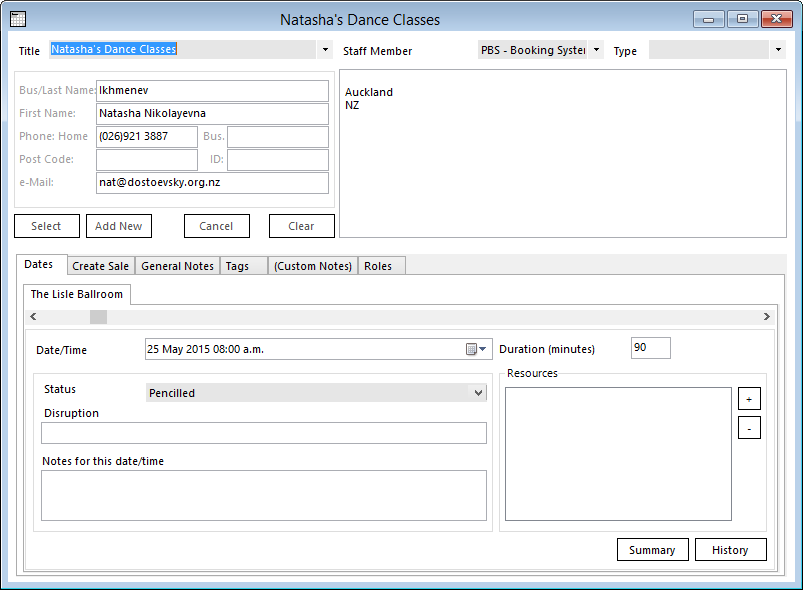
When you click Book, a booking window will open. Here you can add Resources, Notes, Tags, Roles, and create a Sale for the booking, just like Making a Booking For a One-Off Event.
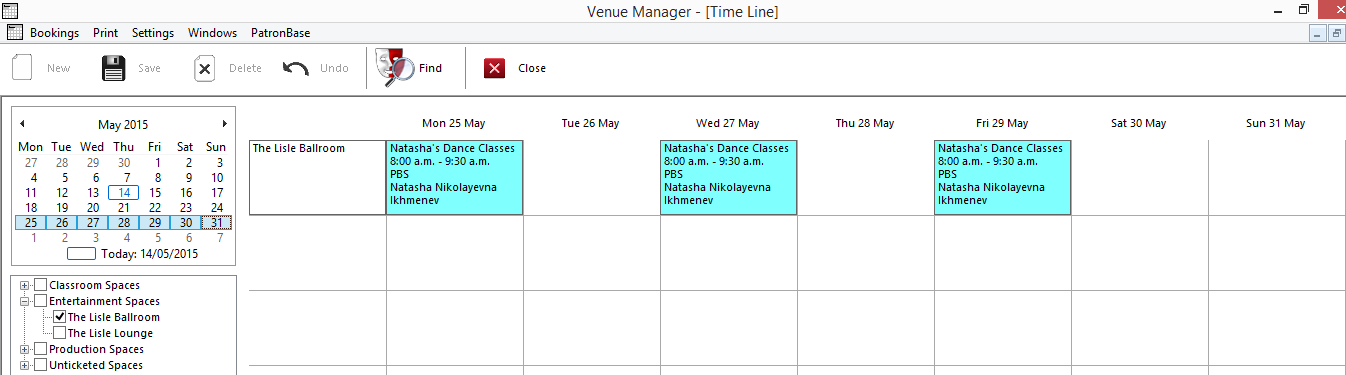
When you look at the Day View, Time Line, or Calendar, you will see the events you created.
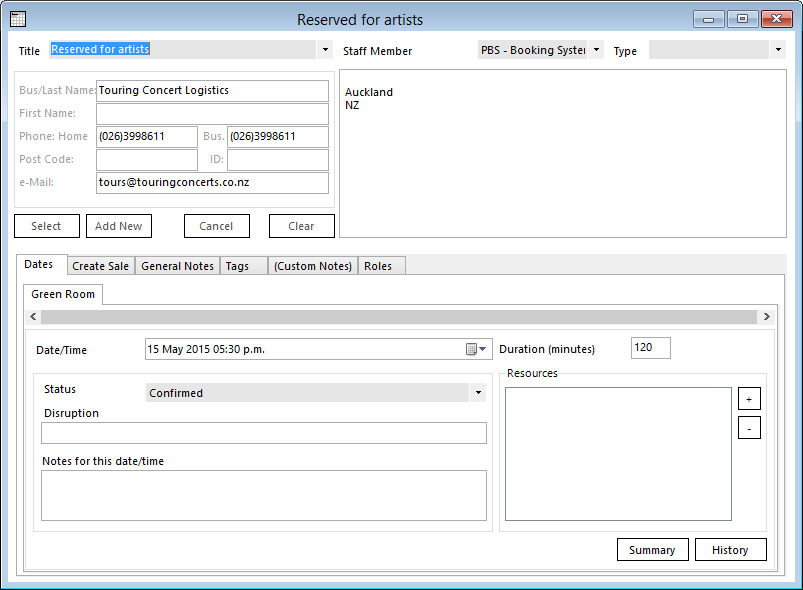
Each date in a multiple-event booking can have Notes for this date/time entered in the Dates tab when editing the booking. Double-click a specific event in the Day View to open the edit window for that event in the booking. Add information to Notes for this date/time, then select the Save button in the toolbar. You will be asked Which other dates would you like this change to affect? Choose None to make the note specific to the selected event, or All to save the note to all the events in the booking.
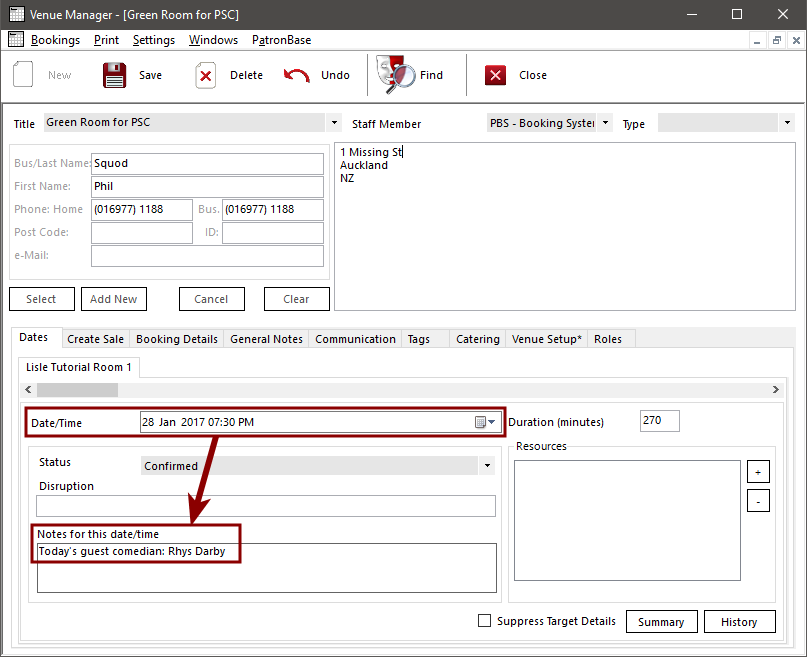
When printing an Event Summary for a particular performance, the Notes for this date/time will be included in the report.
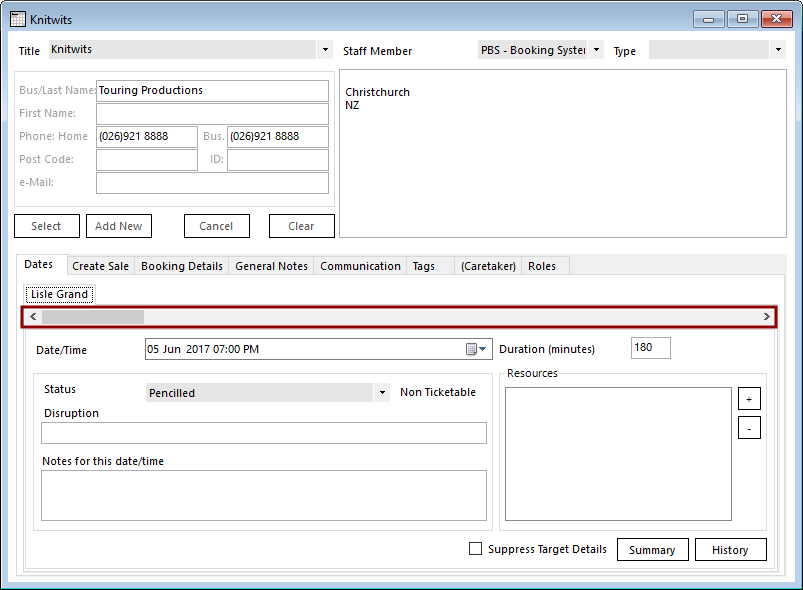
Scroll through the various dates/times in the booking using the scrollbar just below the tabs.
Once an event has been selected, it can be deleted by clicking the Delete button in the toolbar. You will be prompted to indicate whether you want to delete only the selected event or the entire booking.
Reserving Space Before/After Performances
It is often necessary to book space to reserve the space for the needs of a production beyond the time periods of the performances themselves. For instance, a production may be defined in Administration that lists the performances, but the production company may well expect that the venue is committed and reserved for the production between performances. Also, additional rooms that may not be reserved exclusively for the production company during the period of the production could be required around the time of a performance. Some rooms may be reserved for pre-performance preparations or for post-performance socialising. Venue Manager allows booking spaces relative to production performances.
Select Bookings > Auto-Schedule by Production.
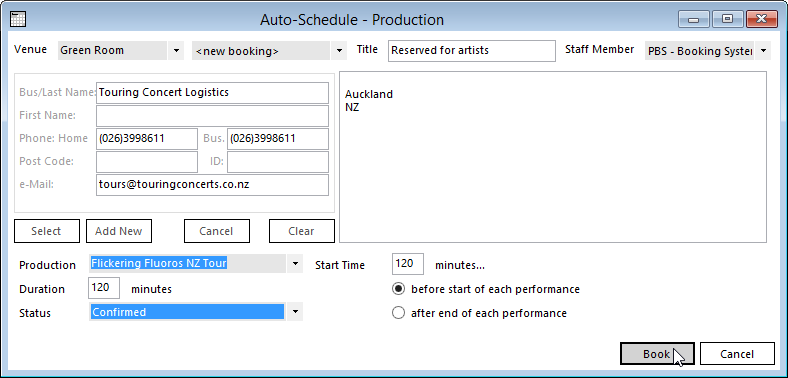
Specify the Venue that is to be reserved. Next to it will be a dropdown option list, with the options of <new booking> plus any currently open booking windows. If you already had an open booking window, this lets you add the new reservation to be part of the primary production booking. Otherwise, leave it as <new booking> to independently manage the booking.
Provide a Title to describe the booking.
If the reservation is not being associated with an existing booking, select a patron to associate with the new booking.
Choose the Production the booking is related to.
Select a booking Status from the options available.
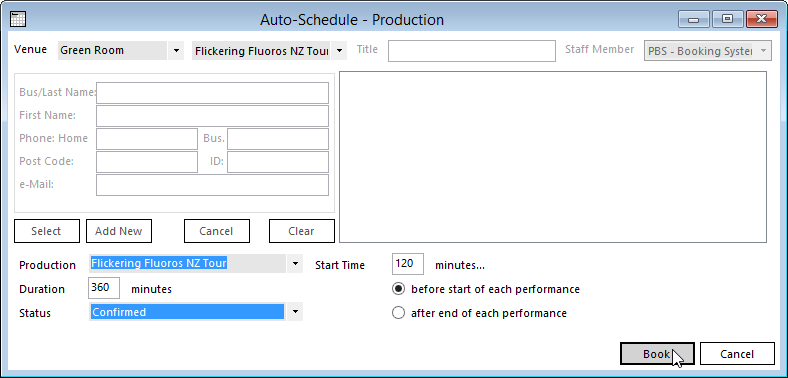
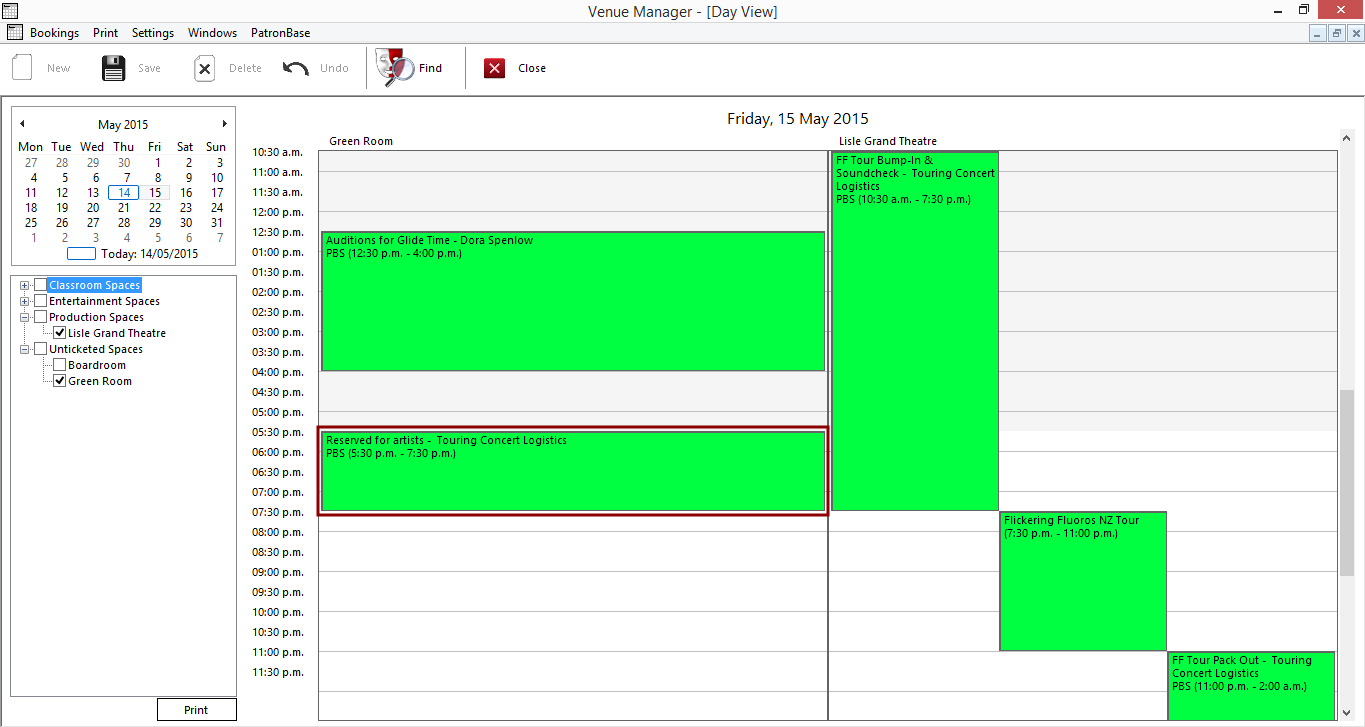
Choose a Start Time to be however many minutes you wish relative to the performance start or finish. Below, an independent reservation of the Green Room has been made for the two hours prior to the performance. Start Time has been set to 120 minutes... and the option before start of each performance has been selected. Duration has also be set to 120 minutes.
In this alternate booking below, a reservation is being made that will be associated with the existing production booking. The Green Room has been booked from 120 minutes before start of each performance but the Duration has been set to 360 minutes. This will reserve the Green Room for two hours before the performance, during the performance, and for some additional time after the performance.
Once you click book, a booking window will open. This will either be a new booking window, or the one that you have selected that the new reservation is to be added to.
The booking will be shown when you view the Day View, Time Line, or Calendar.
Printing an Event Summary Report
You can print an Event Summary report by selecting an event, then choosing Print > Event Summary, or by clicking the Summary button at the bottom of the event window.
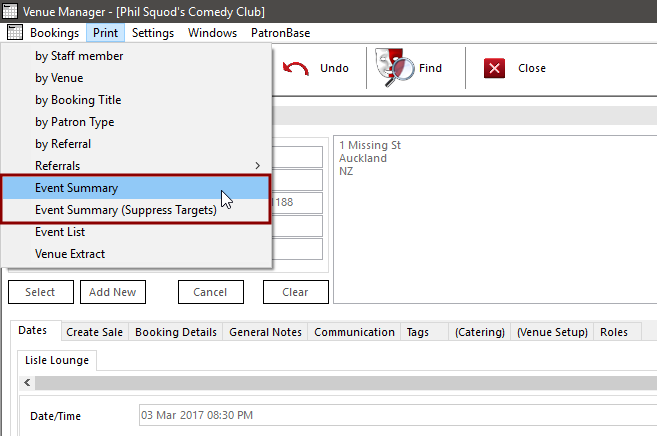
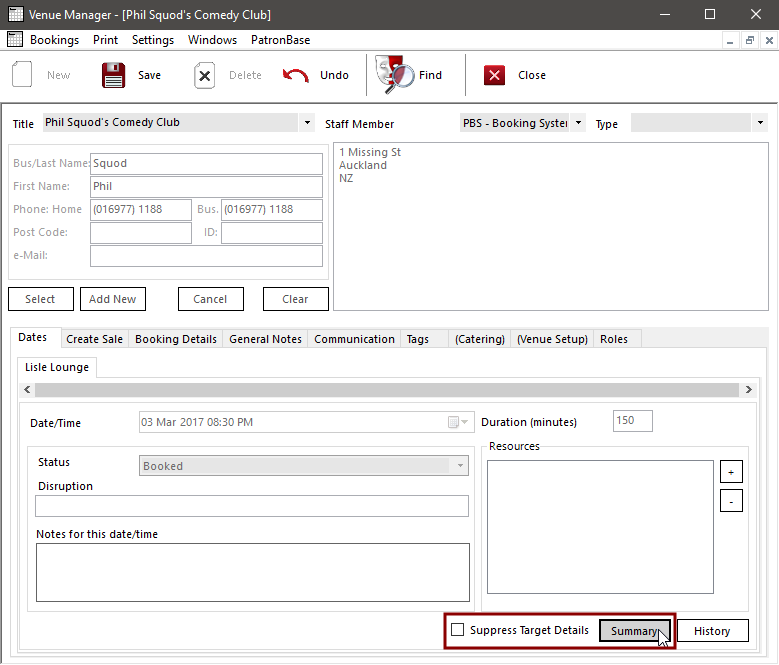
If it is not prudent or appropriate to include the financial targets and actuals details in the report, you can choose a report that excludes this information. Either select Print > Event Summary (Exclude Targets) or tick the Suppress Target Details box before clicking the Summary button.