Productions
This topic describes the Productions menu options for managing productions. It is divided into:
- Defining a Production
- Inheriting and Modifying Venue Details for a Production
- Creating Performances for a Production
- Editing a Production
- Specify Deal Details for a Production
Defining a Production
Use the following as a checklist before defining a production:
- Has the venue for the production been set up in Administration? See Defining a Venue.
- Do you know the dates and times of all performances of the production, including matinees and previews? It is possible to add performances later, if necessary, but defining a production is easier when you have this information readily at hand.
- If you are recording patron referrals, what referrals will be relevant, and are all these marketing channels defined as referral sources? See Referral Sources.
- Are you using an existing pricing plan for the venue, or will pricing be different for this production? It is possible to change the pricing for a production and any of its performances later, if necessary.
- Will bookings for the production be made available via the web?
- Is there an existing production whose settings can be used as a template for the new production?
If there is an existing production with similar settings, there is a feature to quickly create a new production using the existing settings. Otherwise, you can create a production from scratch.
Create a Production by Copying an Existing Production
To illustrate the copying of an existing production’s settings to a new production, we shall create a production of Twelfth Night by Shakespeare, using an existing production of Much Ado About Nothing as a template.
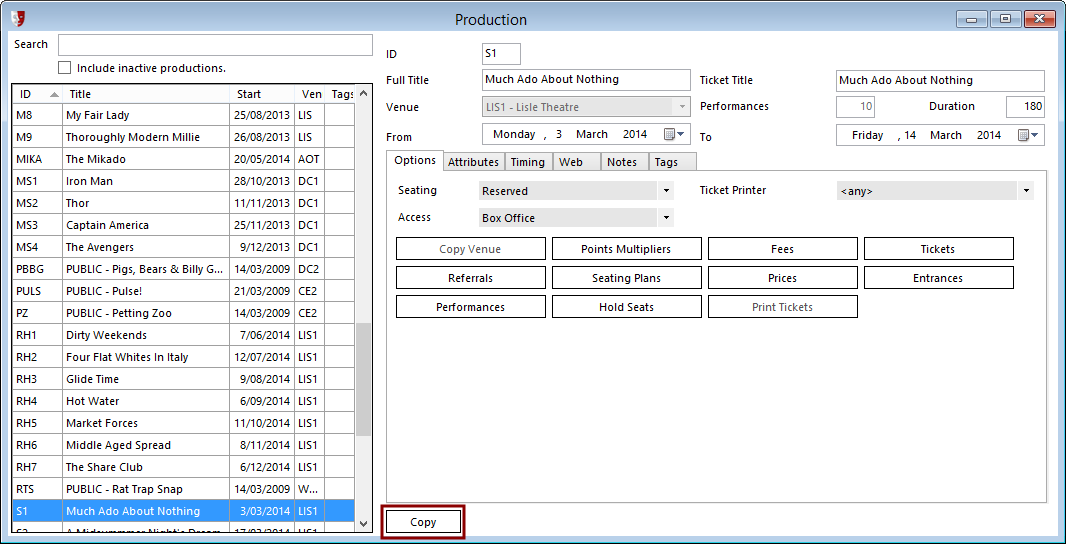
In Administration, select Productions > Edit Production. Select the template production from the list of productions on the left, as shown below. Click the Copy button at the bottom of the window.
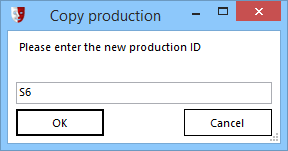
A series of pop-up windows will ask for details that do need to be varied from the template production:
- What should the new Production ID be
- The Title of the new production
- The Start and End Dates of the new production


A new window will then ask if you want to generate performances for the production. If you click Yes, the Create Performances window will let you specify the times for each day of the week the performances will be held. You will be asked to confirm the creation of the performances, and after a window notifying you of the successful creation of the performances, the Define Performances window will show the newly created performances. Here you can modify specific details relating to each performance.
Create a Production From Scratch
To illustrate the creation of a production, we shall use a production of Middle Age Spread by playwright Roger Hall, being performed in the fictional Lisle Theatre.
In Administration, select Productions > Edit Production.

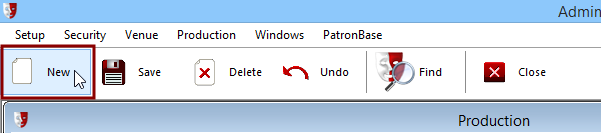
When the Productions window opens, click the New button in the toolbar.
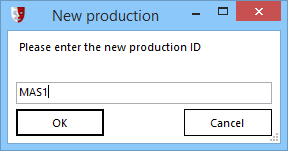
You will be prompted for a new ID for the production. This is a unique code used as a short reference for the production. The ID can only be a maximum of 4 characters, so choose something meaningful and appropriate, perhaps an acronym or abbreviation of the production title.
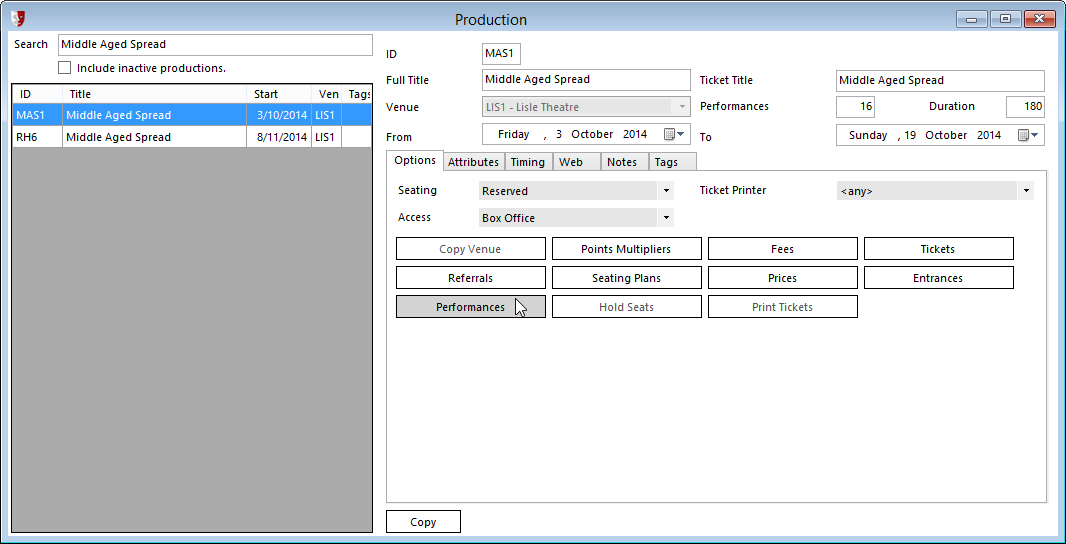
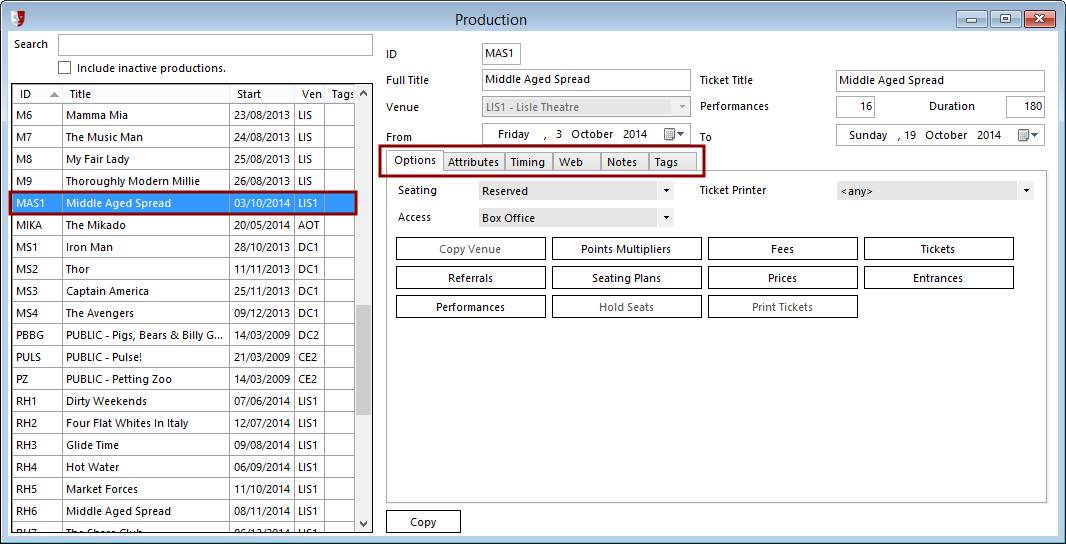
We are returned to the Productions window with the new production ID filled out on the right side of the window. On the left is a list of productions, but the new production does not yet appear here, and the currently selected item in this list can be ignored. The right side of the screen is not for details of that production, but rather the new one just created.
On the right side of the Productions window, enter the Full Title of the production, along with the Ticket Title, which is how the title will appear printed on tickets. Select the Venue the production will appear in, and specify the number of Performances that will be performed. The Duration specifies approximately how long a performance is, to avoid overlaps when multiple prductions are able to use the same venue on a non-exclusive basis.
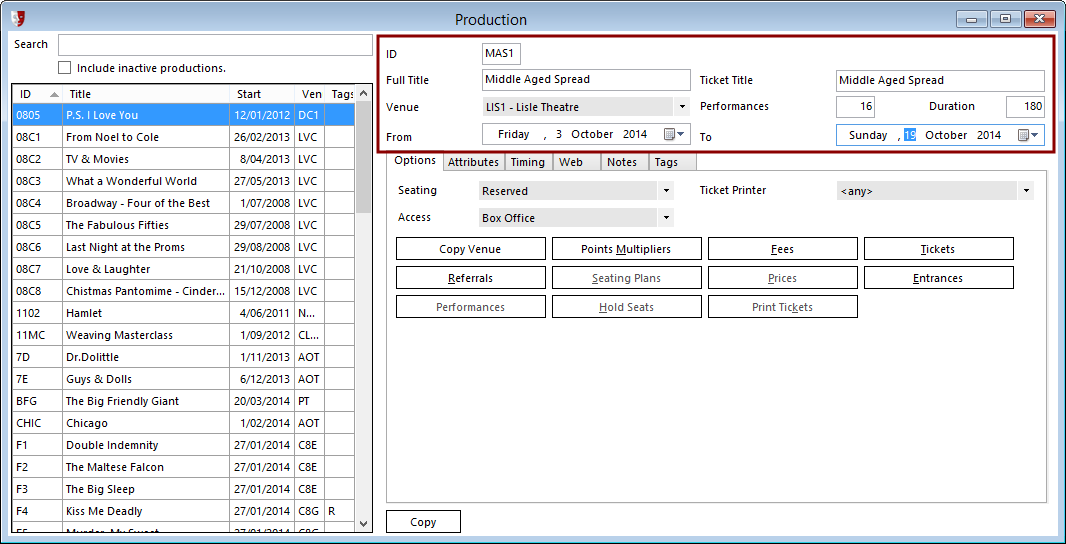
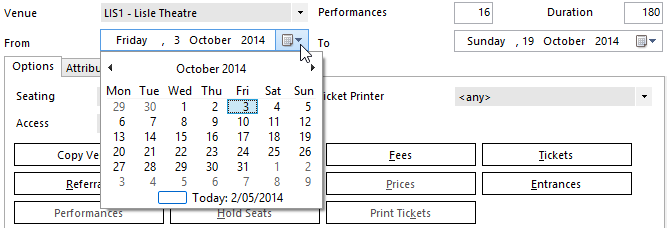
The From and To dates allow the specification of the start and end dates for a production.
There are six tabs with further details for the production, Options, Attributes, Timing, Web, Notes and Tags. You can edit these fields now, or come back and change them later. To learn about the options available, see Editing a Production.
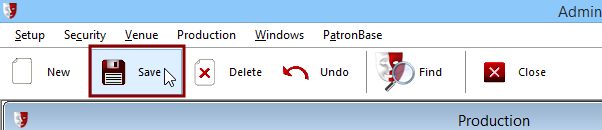
Saving New Production Details
Once you have entered details for the new production, click the Save button on the toolbar. The newly created production will appear in the list of productions on the left of the Productions window.
The next step is inheriting and modifying venue details for a production.
Inheriting and Modifying Venue Details for a Production
Once a production has been created, we need to inherit the venue’s settings that have been previously defined. See Defining a Venue. If necessary, we can then modify these settings for this specific production only.
In the Productions window, make sure the production you wish to edit is selected in the list on the left, then click the Copy Venue button. You will then see a prompt asking you to confirm this action, and then a confirmation when the copy is complete.
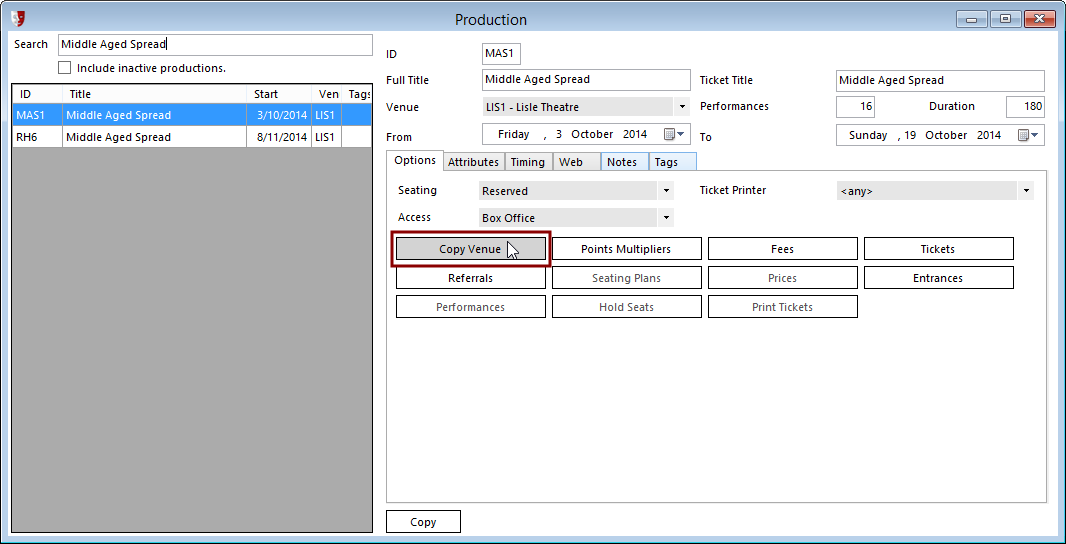
Buttons that were previously greyed out and inaccessible now become available.
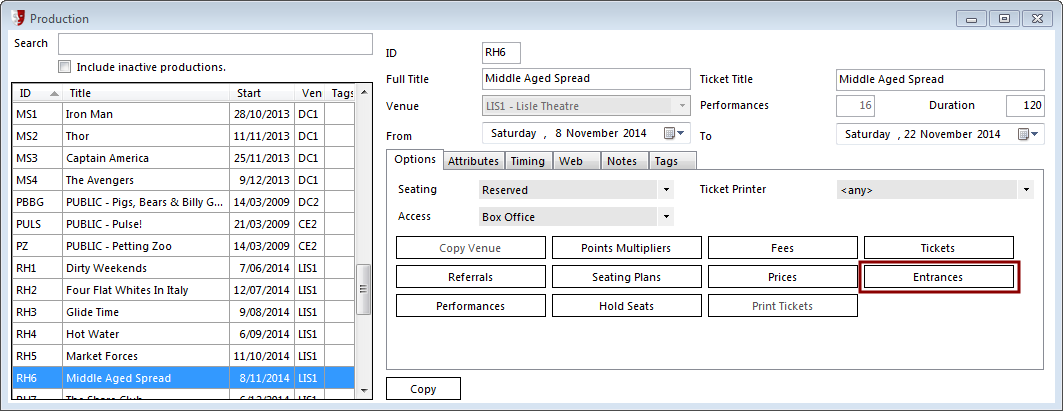
If no customisation of the details inherited from the venue is necessary, you can continue to the next step, which is Creating Performances for a Production. This makes use of the Performances, Hold Seats, and Print buttons.
The other buttons: Points Multipliers, Fees, Tickets, Referrals, Seating Plans, Prices and Entrances, allow us to make customisations for the selected production only, and these are explained as follows:
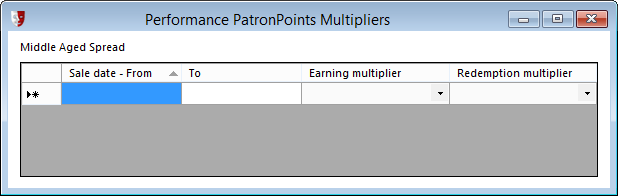
Setting Points Multipliers for a Production
When you click the Points Multipliers button on the Productions window, the Performance PatronPoints Multipliers window appears.
For further details on the setup and use of points multipliers, see the PatronPoints guide.
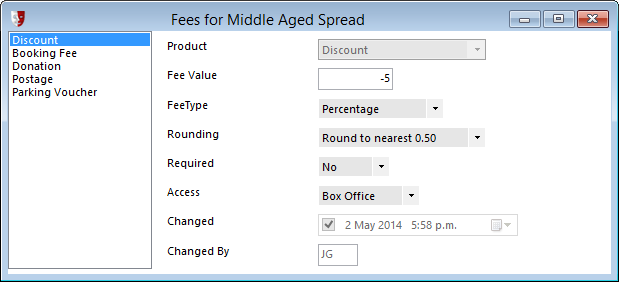
Modifying Fees for a Production
When you click the Fees button on the Productions window, the Fees... window appears. The list on the left is populated with the fees and products defined for the venue. The list will include the fees and products that are typically used with productions at the venue, but you can use this opportunity to add a fee specific to this production (New button in the toolbar), delete a fee that is not going to be used (Delete button in the toolbar), or modify the details of a selected fee.
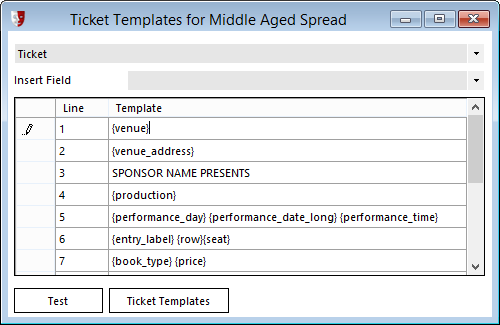
Modifying the Ticket Template for a Production
When you click the Tickets button on the Productions window, the Ticket Templates... window appears. The window is populated with the details of the ticket design as defined for the venue. Here you can edit the details that will appear on the tickets for this production and the changes will not be applied to any other production.
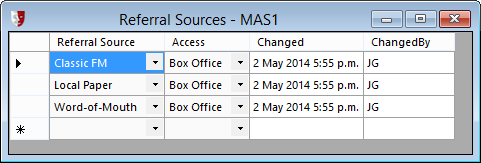
Modifying Referral Sources for a Production
When you click the Referrals button on the Productions window, the Referral Sources window appears. The list is populated with the referral sources defined for the venue. The list will include the referral sources that are typically used with productions at the venue, but you can use this opportunity to add a referral source specific to this production (New button in the toolbar), delete a referral source that is not relevant (Delete button in the toolbar), or modify the access options for any of the referral sources listed.
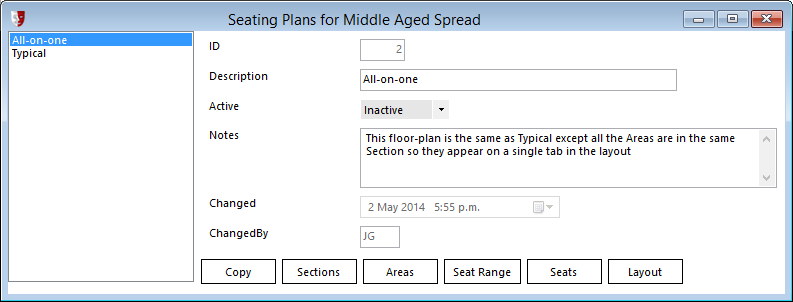
Modifying Seating Plans for a Production
When you click the Seating Plans button on the Productions window, the Seating Plans... window appears. The list on the left is populated with the seating plans defined for the venue. The list will include the seating plans that are typically used with productions at the venue, but you can use this opportunity to add a seating plan specific to this production (Copy button in the window to copy an existing seating plan to then modify), delete a seating plan that is not going to be used (Delete button in the toolbar), or modify a seating plan.
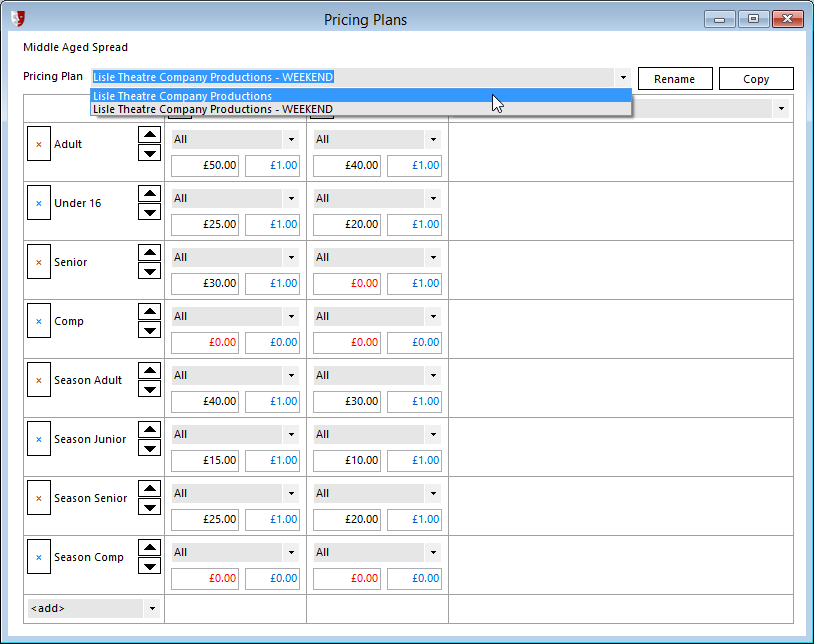
Modifying Prices for a Production
When you click the Prices button on the Productions window, the Pricing Plans window appears. The table is populated with the ticket prices defined for the venue. The table will include the prices for book types and seat types that are typically used with productions at the venue, but you can use this opportunity to customise the table for the selected production.
Prices for tickets can be altered, affecting this production only. New book types and seat types can be added, and prices set for these new combinations of book types and seat types.
Use the Copy button to copy a pricing plan, then modify the original or the new copy by selecting the appropriate Pricing Plan from the dropdown list.
Modifying Entrances for a Venue
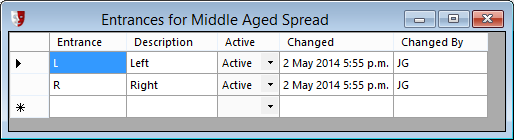
When you click the Entrances button on the Production window, the Entrances window appears. This is an optional feature, useful when Entry Manager is also being used.
The Entrances window will show each Entrance inherited from the venue whose details were copied when the production was created. If necessary, you can add, edit, or delete entrances from this list to customise the list specifically for this production.
The details in this list will be used by Entry Manager to permit or deny access to patrons scanning their ticket barcode at a venue entrance. Entry Manager will check the entrance scanner’s identity against the entrance details in this list, to ensure one matches. This prevents a patron accidentally entering the wrong venue in a multi-venue facility, when more than one production is opening at the same time.
Once customisations to the items inherited from the venue are completed for the production, continue to the next step, creating performances for a production.
Creating Performances for a Production
Once a production has been created and the venue details inherited and modified as necessary, we need to create performances for the production.
One optional step to perform first, so that performances inherit the settings from the production, is to assign Tags to the production.
Adding Tags to a Production

Tags can be added to the production to flag important attributes relating to the production’s performances. These tag codes will appear in the production and performance lists in Box Office. They can be used to indicate information such as a screening of a movie in 3D, or to indicate that ID will be required due to a censor classification.
The tags are defined in Administration, in Setup > Organisation > Tags. See Tags for more information.
To add Tags to a production, tick the checkbox next to the tags appropriate for the production. When performances are added to the production, they will inherit the tags assigned to the production.
Creating Performances
In the Productions window, make sure the production you wish to edit is selected in the list on the left, then click the Performances button.
In the Create Performances window, select the appropriate seating plan from the Seating Plan dropdown. In the Pricing Plan dropdown, select the plan that will apply to the majority of performances. If not all the performances will utilise the same pricing plan, we will customise this later.
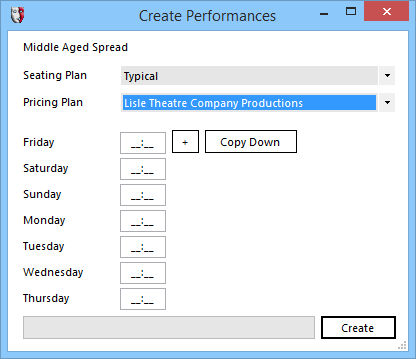
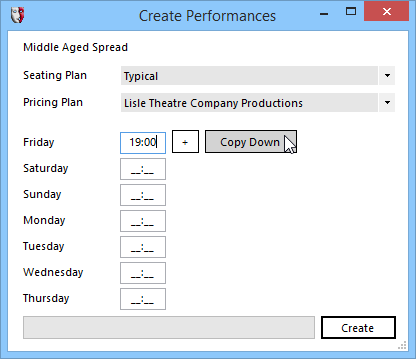
Each of the days of the week can have a performance time specified. If more than one performance a day may be performed, click the + button to add another column of times. A Copy Down button has been provided to make it easier to enter the same time(s) for all days of the week, as daily schedules are usually consistent. Having copied down so that all days are the same, the times for any specific day can then be altered or deleted.
Once the performance times for the production are correctly listed, click the Create button. You will then see a prompt asking you to confirm this action, and then a confirmation when the creation of the performances is complete.
You will then see the Define Performances window. Here details such as the Seating Plan and the Pricing Plan can be changed on a per-performance basis. Access to booking tickets can be customised, so certain performances could be restricted in who can book tickets.
Here, weekend pricing is selected for performances that fall on a Saturday or Sunday:
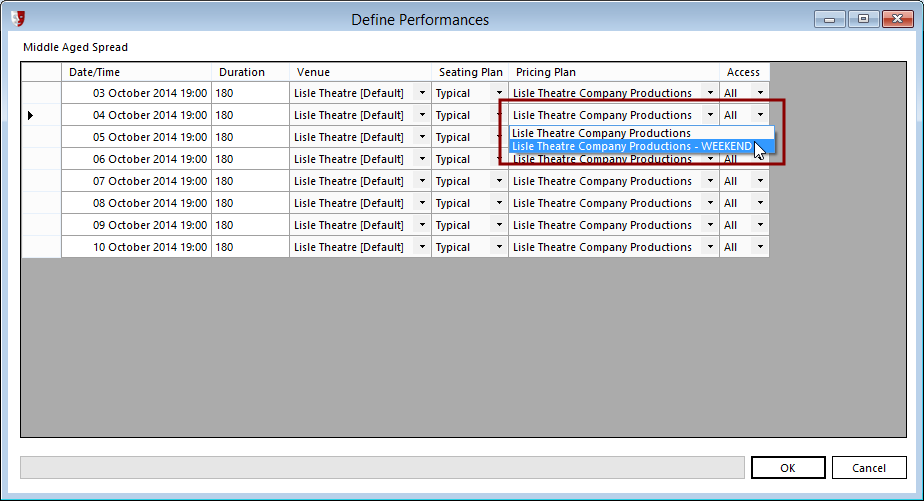
Click OK to confirm the changes to the performances for the production.
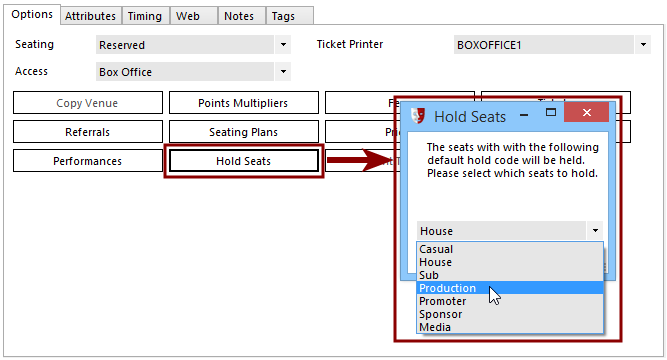
To reserve house seats, click the Hold Seats button. A window will appear requesting you select a hold code. Seats that have been defined with a default hold code that matches this selection will be put on hold. (See Defining a Venue for details on setting the default hold code for seats.) Click the Hold Seats button and repeat the process for each hold code category that needs to be reserved.
The production has now been defined, complete with performances. If you skipped over detailing some of the production options when creating the production, you might now want to edit a production.
Editing a Production
If you do not already have the Productions window open, select Productions > Edit Production.
Unless you are just in the process of creating a new production, make sure the production you wish to edit is selected in the left column.
Setting Seating and Access Options

Seating defines if the production will have Reserved or Unreserved seating. A third choice, Unreserved Display, will display the seating graphic in Box Office. For Unreserved general admission seating it is not displayed.
Access controls where the production is visible: in the Box Office or on the Web only, All to make it available both in the box office and online, Restricted to make it available only to administrators, or Inactive to make the production unavailable everywhere.
Ticket Printer selects the printer that will be used for the production.
Setting Production Attributes

Seat Text is available options for what is displayed on the Seat in the Box Office graphic. Here, the mouse over shows that this is Row A, Seat 1 and the seat type is [S]tandard as directed by the {row} {seat} – {seattype} entry:

Promoter. Drop-down options from Setup > Organisation > Promoters. This associates the production as one this promoter can view statistics for online.
Category. Drop-down options from Setup > Organisation > Productions Categories. This is able to be queried from within Marketing.
Type. Drop-down options from Setup > Organisation > Productions Types. This is able to be queried from within Marketing.
Department. Drop-down options from Setup > Organisation > Departments. This is able to be queried from within Reporting.
Project. Drop-down options from Setup > Organisation > Projects. This is able to be queried from within Reporting.
Account Code. This is for recording any GL codes to be assigned to this production. They will appear alongside the production name in selected financial reports.
Rating. This can be used for rating the production particularly where a censor rating is required to be picked up by the Web Control Panel.
Hold Seats. This records the number of seats that are needed to be held for say, a promoter. This can come through from Venue Manager if used.
Referral. This indicates whether the Referral field in a sale form is Required to be filled in by the sales operator or whether it is Optional. The default is Optional.
Source. This indicates whether the Source field in a sale form in Box Office is Required to be filled in by the operator or whether it is Optional . The default is Optional.
Sales Tax. Whether the Sales Tax is to be calculated on sales of tickets to this production, and if so, at what rate. The tax rate options are set in Setup > Sales >VAT Rates or GST Rates.
Specifying Production Sales Timing
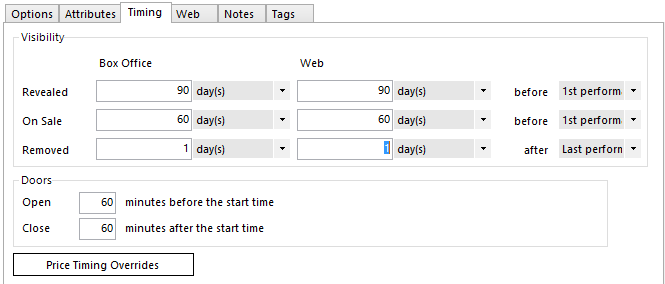
This provides separate settings for Box Office, Agency and Web to control the accessibility of the production’s performances for bookings.
There are separate controls for when the production is Revealed and when it actually goes On Sale, and there is a further option to specify when the production is Removed from view. When a production is revealed but not on sale, patrons can be added to the Wait List, and the date that the seats go on sale will be displayed.
This tab also has information as to when Doors Open and Close for sales at the venue. The Doors Open time may be used by the Fast Tickets feature; see Booking Fast Tickets.
The Price Timing Overrides button opens a new window that allows you to customise the visibility and sales timings for specific book types for the selected production. Normally, these timings for each book type are set globally. See Book Types for more information. Click the New button in the toolbar, then select a book type whose timings you want to override. Customise the book type timings for this production, then click the Save button in the toolbar. Repeat this process for each book type whose timings need to be changed for this production.
Specifying Production Web Details
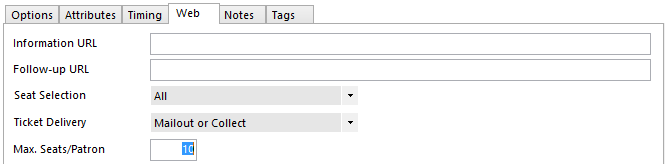
Information URL. This is a URL reference that the Web Control Panel will refer to with a more about link. If this is left blank, the more about link will refer to the Notes field and display whatever is in there. If the Notes field is blank then the more about link will refer to the Website URL specified in Setup > Organisation > Settings.
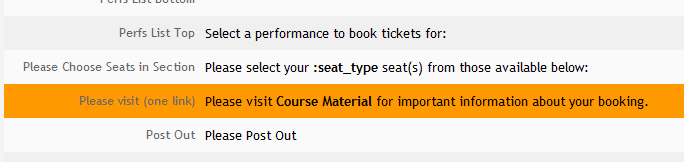
Follow-up URL. This field is available for the production and is used on confirmation pages and emails for any online purchases for this production. This URL could be used for example to show parking recommendations, things needed for the booking, or even to make a recommendation. The context around the URL as it appears in the email is set in Web Control Panel under Web Module Settings > Wording. Look for the PLEASE VISIT (ONE LINK) phrase.
Seat Selection. These options are only available if the Pick-Your-Own-Seats (PYOS) Web Control Panel option is available, and indicates if this production will allow seats to be picked from a live seating plan online by the patron.
Ticket Delivery. Mailout or Collect means the patron will be offered their preferred option (as long as there is time enough to post out tickets). Mailout means that regardless of other settings, online tickets will only be able to be posted out, and will not be available for collection. Collect means that regardless of other settings, online tickets will only be able to be collected, and will not be posted out. Print@Home Only requires web customers to print the ticket out, as no mailout or collection options are provided.
Max.Seats/Patron. The maximum number of seats allowed to be purchased online by a patron to this production, regardless of the number of sales involved. Use 0 if no limit is imposed.
Specifying Prompts and Notes for a Production
Use the Prompt option to create a display prompt for the operator or patron when the production is selected for a sale. Tick the box in front of Description to enable the prompt, and enter into Description a headline that will appear on the prompt. In both the Operator and Patron fields, type the message to be displayed. The prompt may be anything, and is often used to alert the patron to aspects of the performance (such as the use of strobes) or things that may cause offence (such as nudity). Different messages can be posted for the Box Office operator and a patron booking online.
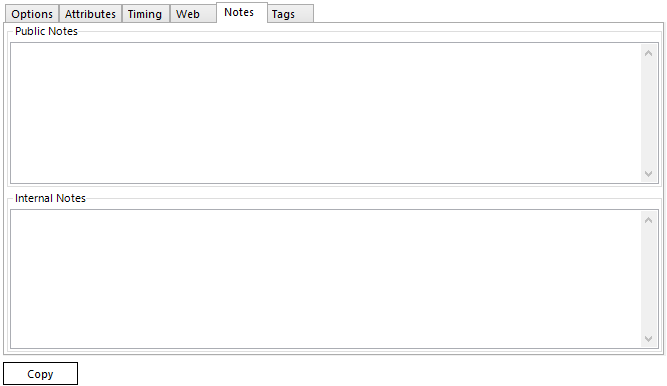
Notes are displayed as an alternate form of advisory to the patron, but does not require the operator or patron to specifically acknowledge the message. Public Notes are seen by the patron booking online, Internal Notes are displayed below the statistics legend on the seating plan.
Specify Deal Details for a Production
A final optional step in creating a production is to specify the details of any distribution deals or similar deals involving production partners, if such financial deals exist. Detailing the deals within the PatronBase system allows reports to be generated that help you monitor the profit/loss leading up to the production, tracking sales to see if the break-even point for the deal has been met. Even if no financial consideration is in place, if data is being shared with a third party organisation as part of the production, link the production partner to the production by defining a deal.
In the Production window, click the Deals button.

Initially, the window for the Production Deals for the production will be blank. To add a new deal, click the New button in the toolbar.
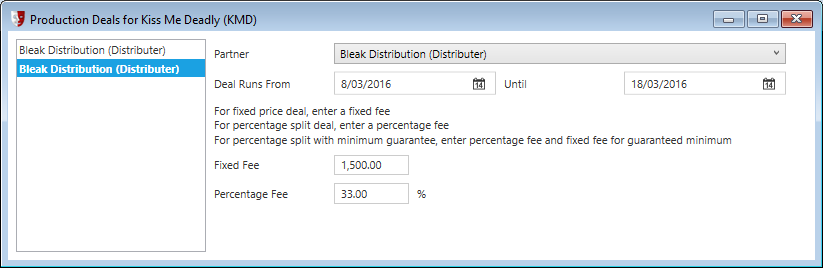
From the Partner dropdown, select the production partner that is involved in the deal.
Use the date control boxes to select the dates the Deal Runs From and Until.
There are two fields to specify the financial deal with the production partner, Fixed Fee and Percentage Fee. The window has a comment above these fields to remind you how they work.
If the deal involves a fixed fee for the duration of the production deal, enter the fee in the Fixed Fee field.
If the deal involves a percentage fee for the duration of the production deal, enter the fee in the Percentage Fee field.
If the deal is for a percentage, but with a minimum guarantee, then fill in both fields, first the minimum fee guaranteed in the Fixed Fee field, then the percentage fee in the Percentage Fee field.

A production may have more than one production deal, perhaps with more than one production partner taking a cut of the sales, or the deal may change based on time. In the example below, after the first week of the movie’s screenings, the guaranteed minimum drops from $2500 in the first week to $1500 for the remaining time.
To learn how to set up a partner, see Setting Up the Organisation.
To learn how to create a new Partner Role, see Partner Roles.
To monitor financial progress relating to Production Deals, see Partner Sales and Profit and Loss reports in the Reporting application.