Creating a New Season
First, set up the productions that will form part of the season. See Defining a Production for more detail.
You may also wish to set up Season Categories. See Season Categories more detail.
In the Administration module, select Productions > Edit Seasons from the menu.
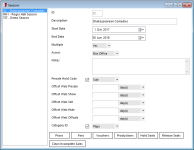
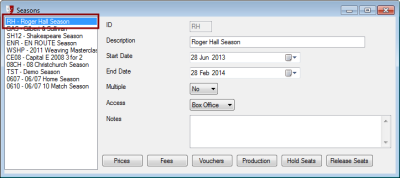
A Seasons window will appear, populated with a list of present and past seasons.
To add a new season to the list, click the New button in the toolbar.
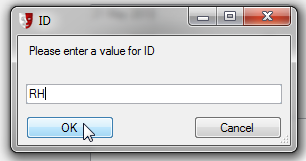
A series of windows will appear, prompting you for essential details regarding the season. First, enter an ID code for the season that will uniquely identify it in an abbreviated form, then click OK. Use something that will be useful to you as a short-hand identifier for the season.
The ID code for the season cannot be changed later.
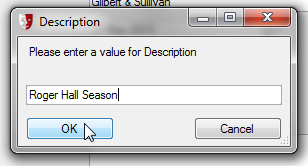
Next, enter the name of the production as the Description, then click OK.
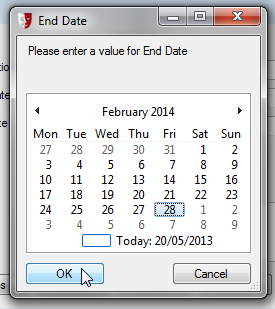
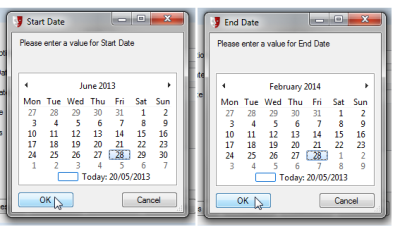
Enter the Start Date and End Date in the next two windows.
Once you have entered the End Date, click OK. The Seasons window will be updated with the newly defined season.
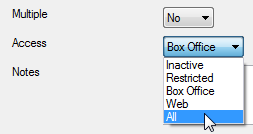
Use the Access field to specify where season subscriptions will be sold: only through the box office, only via the website, or both.
Optionally, you can put the season into a season Category ID. Tick the checkbox to activate this option, then select from the season categories available in the dropdown list. This list is defined in Administration. See Season Categories for more details.
The next step is Defining Season Ticket Prices.

